好几天没有继续学习,日渐荒芜,而终期日近,深刻检讨。。
这次终于开始正式上手weex开发。看了几期技术胖的视频,确实略显古旧,与当前的版本差异较大,基本属于自己矫正的状态。
说到底,weex的开发目前仍然是基于vue的(weel-cli生成的就是vue文件为核心的工程,不过当前版本只支持create创建,已经取消了init命令)
本人在Android Studio创建AVD虚拟机的过程中遇坑无数(Ubuntu18.04环境),相关细节不展开讲了,最终采用自己的手机(华为荣耀9,Android9.0系统)作为app测试方案。
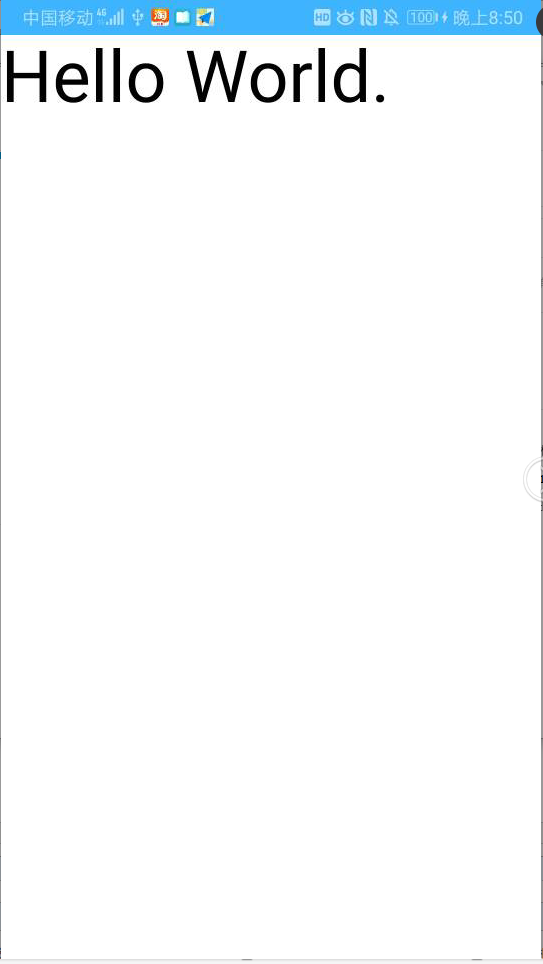
按照技术胖的思路,采用weex platform add android命令生成Android工程,然后用Android Studio打开并下载,得到的结果就是这个样子(

出现了与技术胖一样的问题,按照他的说法是还没有渲染出来,但是我等呀等呀,这个页面就是不变。。
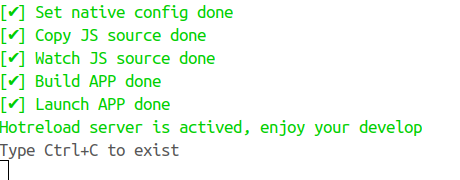
后来直接采用weex run android命令,可以直接连接自己的手机进行安装,此时便可以加载出来完整页面了,而且。。

还有热加载功能,这可太舒服了呀(不过要手机上先打开开发者模式,然后选择待调试应用为WEEX APP)
接下来开始正式的功能开发学习。。。
首先是自定义组件。这个完全是Vue的路子,技术胖视频中讲的非常清楚,此处给出一份本人的示例代码:
mytest.vue (位于src/components目录下,与Helloworld平行。在技术胖的演示中,weex工程还没有现在这样的架构,现在的weex工程demo已经将helloworld做成了一个独立组件)
 1 <template>
 2     <text class="test">a test of vue component in weex.</text>
 3 </template>
 4
 5 <script>
 6 export default {
 7   name: 'mytest.vue'
 8 }
 9 </script>
10
11 <style scoped>
12     .test{
13         background-color: #41B883;
14         font-size: 60px;
15         margin: 20px;
16     }
17 </style>
index.vue:(话说博客园根本没法识别现在的前端框架语言,只能勉强当html用了)
<template>
  <div class="wrapper">
    <image :src="logo" class="logo" />
    <text class="greeting">The environment is ready!</text>
    <HelloWorld/>
    <mytest></mytest>
  </div>
</template>

<script>
import HelloWorld from '@/components/HelloWorld'
import mytest from '@/components/mytest'

export default {
  name: 'App',
  components: {
    mytest,
    HelloWorld,
  },
  data () {
    return {
      logo: 'https://gw.alicdn.com/tfs/TB1yopEdgoQMeJjy1XaXXcSsFXa-640-302.png'
    }
  }
}
</script>

<style scoped>
  .wrapper {
    justify-content: center;
    align-items: center;
  }
  .logo {
    width: 400px;
    height: 200px;
  }
  .greeting {
    text-align: center;
    margin-top: 70px;
    font-size: 50px;
    color: #41B883;
  }
  .message {
    margin: 30px;
    font-size: 32px;
    color: #727272;
  }
</style>
接下来又尝试了一下将weex-ui中的组件整合进页面中,weex-ui控件示例代码在https://alibaba.github.io/weex-ui/#/cn/with-weex-toolkit
也做成了一个独立的组件button.vue,与mytest.vue类似,也要导入到index.vue中。
<template>
    <div>
        <wxc-button text="Open Popup"
                    @wxcButtonClicked="buttonClicked">
        </wxc-button>
        <wxc-popup width="500"
                   pos="left"
                   :show="isShow"
                   @wxcPopupOverlayClicked="overlayClicked">
        </wxc-popup>
    </div>
</template>

<script>
import { WxcButton, WxcPopup } from 'weex-ui'
module.exports = {
  components: { WxcButton, WxcPopup },
  data: () => ({
    isShow: false
  }),
  methods: {
    buttonClicked () {
      this.isShow = true
    },
    overlayClicked () {
      this.isShow = false
    }
  }
}
</script>
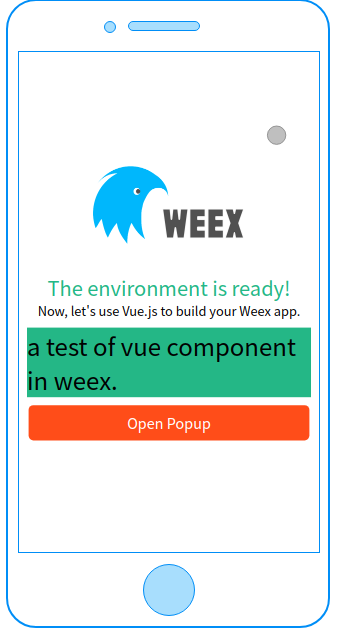
运行效果如下:


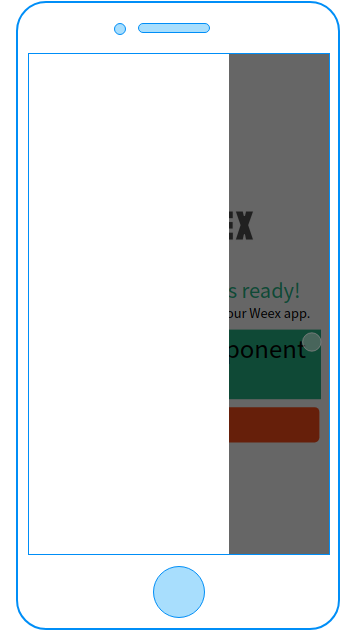
点击Open Popup按钮 就打开了左侧的弹出窗(虽然目前里面是空的,什么都没),然后再点击窗外部的程序页面,窗口就会退回。
html的部分很好理解,设定了相关的外观表现并注册了两个方法(method),一个是按钮的点击事件,另一个是窗口外部区域的点击事件,
script的部分,能看到isShow成员控制是否显示,这应该是WxcPopup的一个属性,控制是否显示弹出窗,但是由于本人目前对vue/js了解尚浅,仍未能明白此处的module this所指为何。似乎这个module是包含了按钮和弹出窗两个组件的一个整合模块,而this指向整个模块,this.isShow直接控制的是WxcPopup,为什么对WxcButton没有影响呢?这些之后再继续研究。
最后遇到了这样一个问题:默认demo显示的weex logo图片是超链接资源:https://gw.alicdn.com/tfs/TB1yopEdgoQMeJjy1XaXXcSsFXa-640-302.png
本人试图将其更换为本地资源,放置在web/assets目录下,然后通过相对路径进行访问。由于weex网页输出在dist目录,与src平级,因此src/index.vue中的logo路径复制到了dist/index.vue中依然可以正常访问,但是对于安卓程序,整个工程处于platform文件夹下,无法访问外部资源,即使根据platform/android下的index.vue位置手动添加资源,也根本不会被编译到app里。安卓工程中的index.vue位于platform/android/bundlejs/下,原先的资源文件是platforms/web/assets/res/res1.jpg,故我添加了一个platforms/android/web/assets/res/res1.jpg放进安卓工程中,index.vue中的文件路径为
logo: '../web/assets/res/res1.jpg'
目前关于本地资源的问题仍未解决,但是由于比赛要求只需要在weex playground上演示程序,故此部分先暂时放下,接下来继续学习weex开发方面的内容