最近抽时间学习一下Android,做个笔记:
布局xml:
   <LinearLayout
                     android:id="@+id/date_label"
                    android:layout_width="35dp"
                    android:layout_height="wrap_content"
                    android:background="@layout/slipercornerenable"
                    android:gravity="right|center"
                    android:padding="1dp" >

                    <LinearLayout
                        android:layout_width="18dp"
                        android:layout_height="18dp"
                        android:background="@layout/slipercircle" >
                    </LinearLayout>
                </LinearLayout>
@Override
    protected void onCreate(Bundle savedInstanceState) {
        super.onCreate(savedInstanceState);
    view = View.inflate(this, layout.listview_select_date, null);
//设置两个选项的监听
            view.findViewById(id.date_label).setOnClickListener(this);
            view.findViewById(id.auto_update_date).setOnClickListener(this);

}
切换方法:
    void switchControl(View view) {
        LinearLayout llLayout = (LinearLayout) view;
        int tag = 0;
        if (view.getTag() != null) {
            tag = Integer.parseInt(view.getTag().toString());
        }
        if (tag == 0) {
            // 打开
            view.setTag(1);
            view.setBackgroundResource(layout.slipercornerenable);
            llLayout.setGravity(Gravity.RIGHT);
        } else {
            // 关闭
            view.setTag(0);
            view.setBackgroundResource(layout.slipercornerdisenable);
            llLayout.setGravity(Gravity.LEFT);
        }
    }
实现onClick事件:
    @Override
    public void onClick(View arg0) {
        int cid = arg0.getId();
        switch (cid) {
        case id.date_label:// 日期标签
            switchControl(arg0);
            return;
        case id. auto_update_date:// 自动同步日期
            switchControl(arg0);
            return;
        default:
            break;
        }
        super.onClick(arg0);
    }
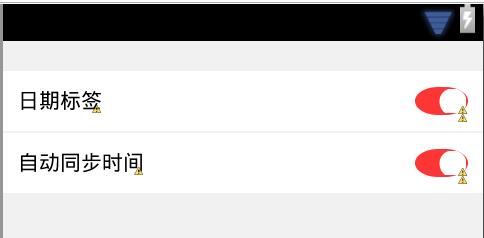
开发中效果:

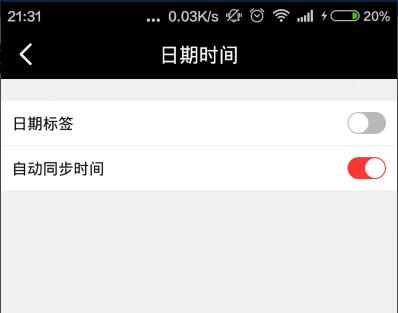
运行效果:

