
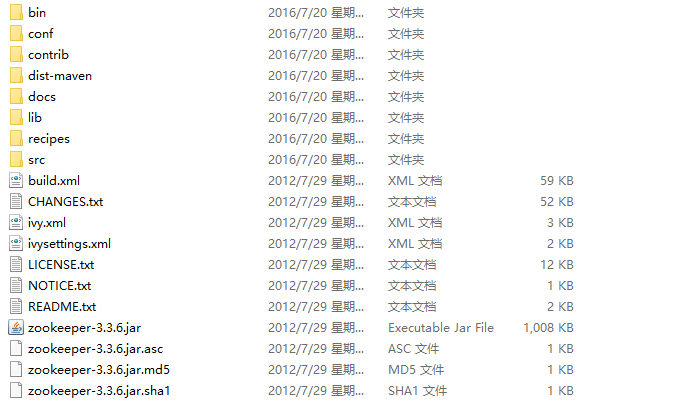

# The number of milliseconds of each tick
tickTime=2000
# The number of ticks that the initial
# synchronization phase can take
initLimit=10
# The number of ticks that can pass between
# sending a request and getting an acknowledgement
syncLimit=5
# the directory where the snapshot is stored.
dataDir=/tmp/zookeeper
# the port at which the clients will connect
clientPort=2181
- tickTime:这个时间是作为 Zookeeper 服务器之间或客户端与服务器之间维持心跳的时间间隔,也就是每个 tickTime 时间就会发送一个心跳。
- dataDir:顾名思义就是 Zookeeper 保存数据的目录,默认情况下,Zookeeper 将写数据的日志文件也保存在这个目录里。
- clientPort:这个端口就是客户端连接 Zookeeper 服务器的端口,Zookeeper 会监听这个端口,接受客户端的访问请求。
dubbo.registry.address=zookeeper://127.0.0.1:2181
dubbo.admin.root.password=root
dubbo.admin.guest.password=guest
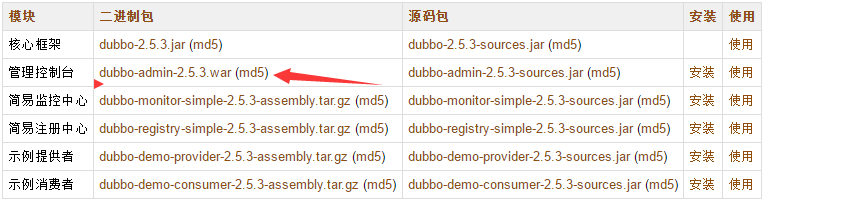
address:zookeeper 的ip地址 后面是端口号 ,和zookeeper中配置的端口号一样
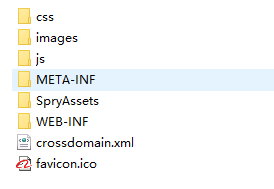
修改完成后需要一个tomcat 打开tomcat webappsROOT 目录 ,此目录放置的是tomcat的首页,删除所有的文件,将解压后修改好的所有的dubbo-admin 里的文件复制到 webappsROOT中,
此时我们已经配置好了。现在可以启动tomcat了 (主意:在启动tomcat之前要先启动zookeeper ,启动zookeeper前面有介绍)。 启动tomcat之后 在浏览器输入 http://localhost:8080 (我的是8083) 进入dubbo管控台的主页
(备注:使用jdk1.8 tomcat启动可能会出错 有关 URI。。。。 的错误。我最后换成1.7了)
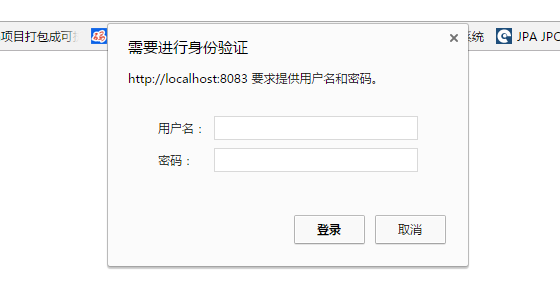
用户名和密码就是dubbo.properties 中配置的 默认的是 用户名 :root, 密码:root
输入用户名和密码之后 进入首页


package com.cl.user.serviceImpl;

import org.springframework.stereotype.Service;

import com.cl.user.servicei.UserService;

@Service("userService")
public class UserServiceImpl implements UserService{

	@Override
	public String sayHello() {

		System.out.println("hello world----------------------------");

		return "hello world";

	}
}
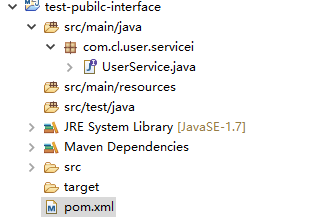
package com.cl.user.servicei;

public interface UserService {
	public String sayHello();

}
当然 项目 1 要 依赖 项目 2
所以在1 的 pom.xml 中 有
1 <dependency>
2             <groupId>test-web</groupId>
3             <artifactId>test-pubilc-interface</artifactId>       加入项目2依赖
4             <version>0.0.1-SNAPSHOT</version>
5             <scope>test</scope>
6 </dependency>
那么 1 中的 UserServiceImpl 就可以实现 UserService接口
1 <dependency>
2     <groupId>com.alibaba</groupId>
3     <artifactId>dubbo</artifactId>
4     <version>2.5.3</version>
5 </dependency>
还要有 zookeeper的 所以在1 的 pom.xml 中 有
1 <dependency>
2         <groupId>org.apache.zookeeper</groupId>
3         <artifactId>zookeeper</artifactId>
4         <version>3.3.3</version>
5 </dependency>
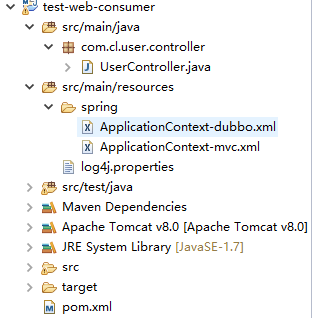
下面介绍一下项目1 中 的 ApplicationContent-dubbo.xml 和 ApplicationContent.xml
1 <!-- 启动组件扫描,排除@Controller组件,该组件由SpringMVC配置文件扫描 -->
2     <context:component-scan base-package="com.cl.user.serviceImpl"/>
ApplicationContent-dubbo.xml dubbo服务的配置
 1     <!-- 提供方应用信息,用于计算依赖关系 -->
 2     <dubbo:application name="hehe_provider" />
 3     <!-- 使用zookeeper注册中心暴露服务地址   端口是zookeeper 中配置的2181-->
 4     <dubbo:registry address="zookeeper://127.0.0.1:2181"/>
 5     <!-- <dubbo:registry address="multicast://224.5.6.7:1234" /> -->
 6     <!-- 用dubbo协议在20880端口暴露服务 -->
 7     <dubbo:protocol name="dubbo" port="20880" />
 8     <!-- 具体的实现bean -->
 9     <bean id="userService" class="com.cl.user.serviceImpl.UserServiceImpl" />
10     <!-- 声明需要暴露的服务接口 -->
11     <dubbo:service interface="com.cl.user.servicei.UserService" ref="userService" />
主意:有可能你的配置文件中不识别 <dubbo:> 去网上找解决的办法
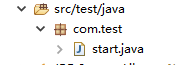
到这里我们的 “提供者” 即 服务 已经开发完了,那么如何启动服务呢? 在项目1中有个start.java
 1 package com.test;
 2
 3 import org.apache.log4j.PropertyConfigurator;
 4
 5 public class start {
 6      static{
 7             PropertyConfigurator.configure("src/main/resources/log4j.properties");
 8         }
 9     public static void main(String[] args) {
10
11         com.alibaba.dubbo.container.Main.main(args);
12     }
13 }
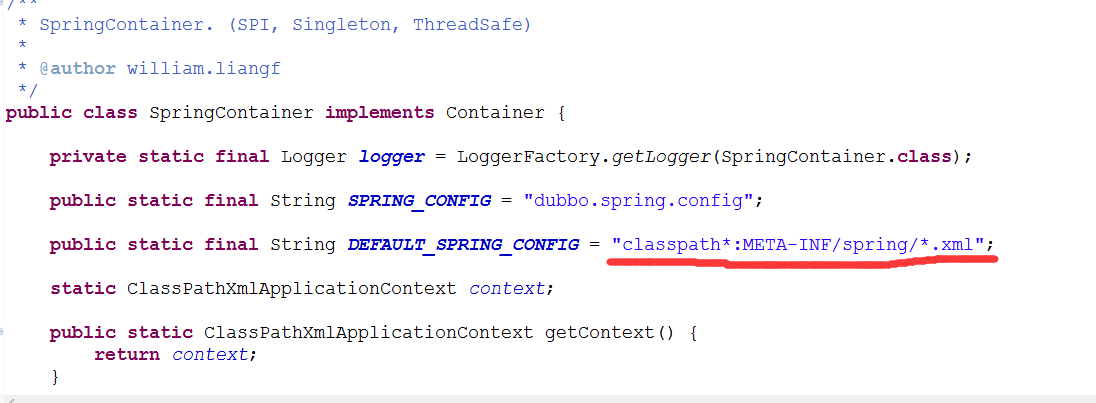
主意里面有main方法,可以直接运行启动了。别急!!! 之前还有个问题就是为什 ApplicationContent-dubbo.xml 和 ApplicationContent.xml 这两个配置文件 必须要放到 /MATE-INF/spring/下面
因为 com.alibaba.dubbo.container.Main.main(args) 默认就会去加载 /MATE-INF/spring/ 下的配置文件
我们来看一下源码

@Controller
public class UserController {

    @Resource(name="userService")
    private UserService userService;


    @RequestMapping("/hello/test/world")
    public void sayHello(){
        System.out.println(userService.sayHello()+"**************************");
    }
}
ApplicationContext-mvc.xml 都是springmvc的配置 如下不解释了
<mvc:annotation-driven/>
    <mvc:default-servlet-handler/>
    <context:component-scan base-package="com" />


    <!-- 对静态资源文件的访问  restful-->
    <mvc:resources mapping="/js/**" location="/js/" />
    <mvc:resources mapping="/lib/**" location="/lib/" />
    <mvc:resources mapping="/plugins/**" location="/plugins/" />
    <mvc:resources mapping="/uploadFiles/**" location="/uploadFiles/" />
    <mvc:resources mapping="/WEB-INF/html/**" location="/WEB-INF/html/" />

    <!-- 配置SpringMVC的视图解析器 -->
    <bean class="org.springframework.web.servlet.view.InternalResourceViewResolver">
        <property name="prefix" value="/WEB-INF/html"/>
        <property name="suffix" value=".jsp"/>
    </bean>

    <!-- 上传拦截,如最大上传值及最小上传值 -->
      <bean id="multipartResolver"   class="org.springframework.web.multipart.commons.CommonsMultipartResolver" >
          <property name="maxUploadSize">
              <value>104857600</value>
           </property>
            <property name="maxInMemorySize">
                <value>4096</value>
            </property>
             <property name="defaultEncoding">
                <value>utf-8</value>
            </property>
    </bean>
ApplicationContext-dubbo.xml
<?xml version="1.0" encoding="UTF-8"?>
<beans xmlns="http://www.springframework.org/schema/beans"
    xmlns:xsi="http://www.w3.org/2001/XMLSchema-instance" xmlns:dubbo="http://code.alibabatech.com/schema/dubbo"
    xsi:schemaLocation="http://www.springframework.org/schema/beans http://www.springframework.org/schema/beans/spring-beans-2.5.xsd
    http://code.alibabatech.com/schema/dubbo http://code.alibabatech.com/schema/dubbo/dubbo.xsd">

    <!-- 消费方应用名,用于计算依赖关系,不是匹配条件,不要与提供方一样 -->
    <dubbo:application name="hehe_consumer" />

    <!-- 使用zookeeper注册中心暴露服务地址 -->

     <dubbo:registry address="zookeeper://127.0.0.1:2181" />

    <!-- 组播注册 -->
   <!-- <dubbo:registry address="multicast://224.5.6.7:1234" /> -->

    <!-- 生成远程服务代理,可以像使用本地bean一样使用userService -->
    <dubbo:reference id="userService"    interface="com.cl.user.servicei.UserService" />
</beans>
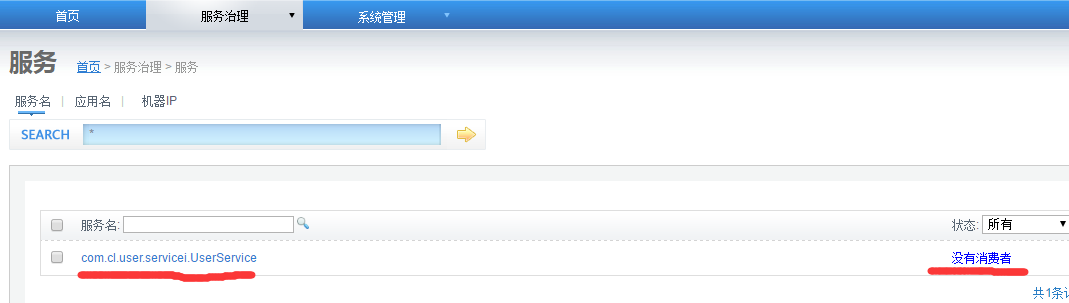
开发完消费者后 ,启动消费者,可以在管控台看到


 <!-- 组播注册 -->
   <!-- <dubbo:registry address="multicast://224.5.6.7:1234" /> -->
域名购买.com 后缀好域名