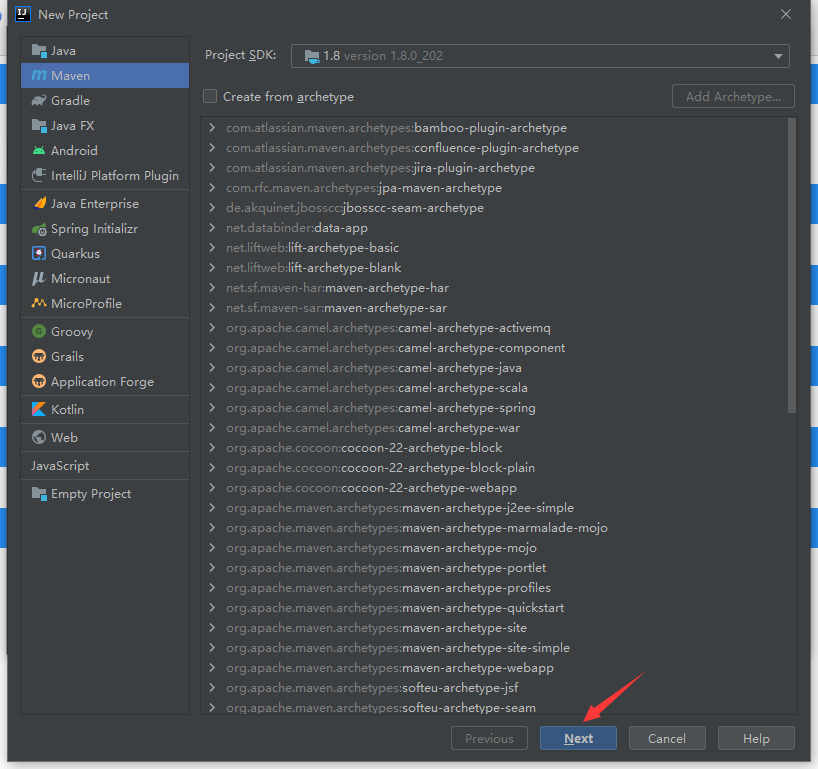
idea方式1:Maven创建
- 首先创建一个Maven的普通项目,不选择模板
- 填入Maven项目的基本信息

- 创建完成后,在pom.xml文件中,添加如下依赖
<parent>
    <groupId>org.springframework.boot</groupId>
    <artifactId>spring-boot-starter-parent</artifactId>
    <version>2.4.4</version>
</parent>
<dependencies>
    <dependency>
        <groupId>org.springframework.boot</groupId>
        <artifactId>spring-boot-starter-web</artifactId>
    </dependency>
</dependencies>
- 添加成功后,在java目录下创建包,包中创建启动类
package com.gongxy.demo;

import org.springframework.boot.SpringApplication;
import org.springframework.boot.autoconfigure.SpringBootApplication;

@SpringBootApplication
public class DemoApplication {

    public static void main(String[] args) {
        SpringApplication.run(DemoApplication.class, args);
    }

}
- 测试代码
package com.gongxy.demo.controller;

import org.springframework.web.bind.annotation.GetMapping;
import org.springframework.web.bind.annotation.RestController;

@RestController
public class EmployeeController {

    @GetMapping("hello")
    public String hello()
    {
        return "hello";
    }
}
- 访问地址

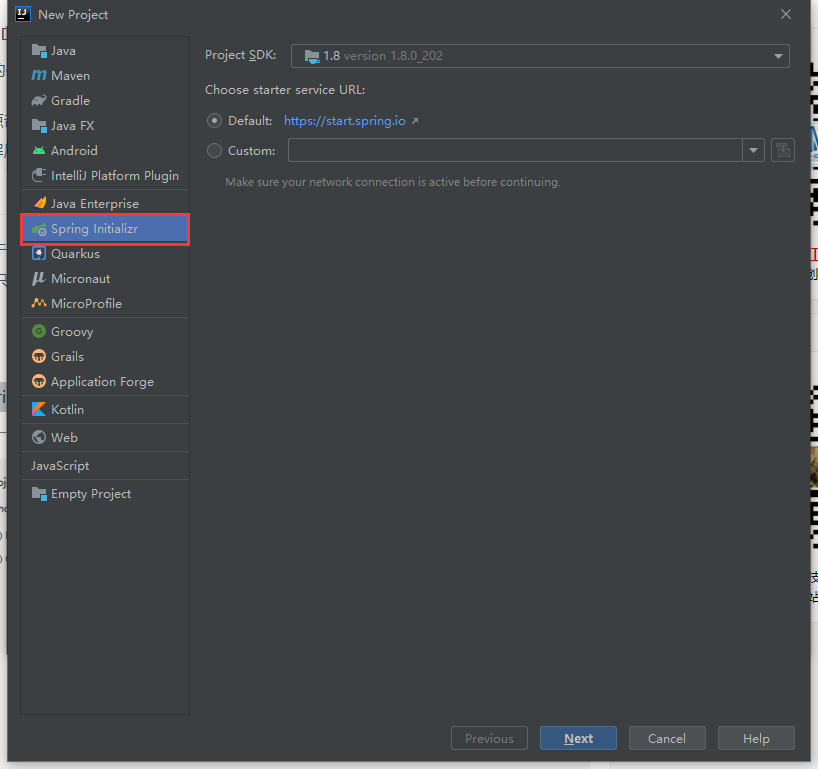
idea方式2:Spring Initializr
- 创建项目是选择 Spring Initializr,如下图
- 填入Maven项目的基本信息

- 选择需要添加的依赖,如图

- 输入项目信息

- 添加包controller,添加测试类EmployeeController类
package com.gongyg.demo.controller;

import org.springframework.web.bind.annotation.GetMapping;
import org.springframework.web.bind.annotation.RestController;

@RestController
public class EmployeeController {
    @GetMapping("hello")
    public String hello()
    {
        return "hello";
    }
}
- 运行项目,并访问地址
