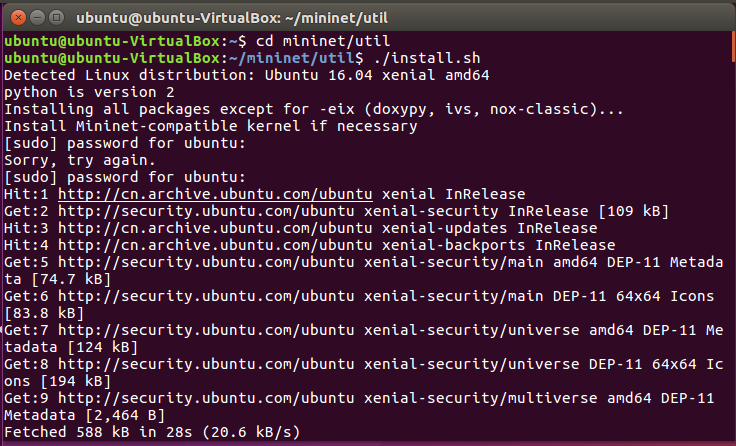
1. 安装轻量级网络仿真工具Mininet
-
使用
git clone https://github.com/mininet/mininet.git命令克隆安装包 -
安装mininet
-
安装成功
-
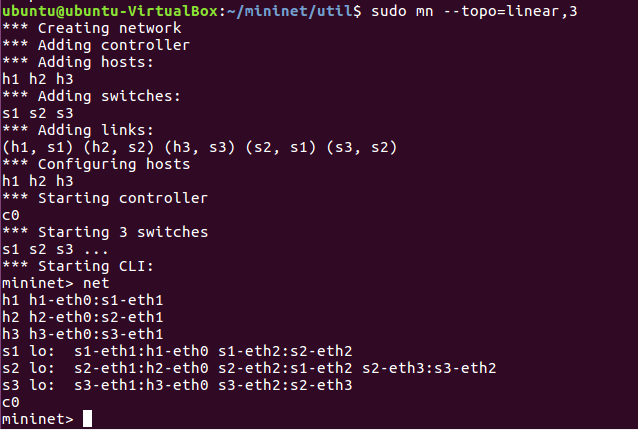
建立最小的拓扑结构,并使用net命令查看

2. 用字符命令搭建如下拓扑,要求写出命令
-
sudo mn --topo=linear,3
-
sudo mn --topo=tree,depth=2,fanout=3

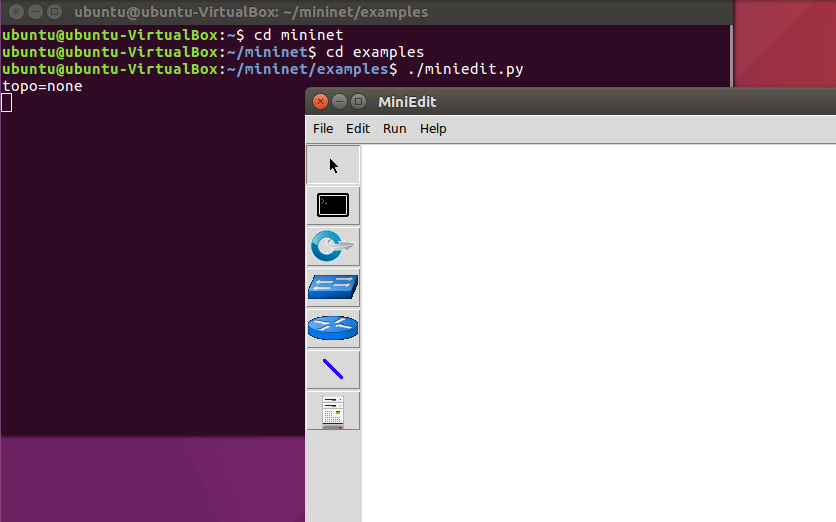
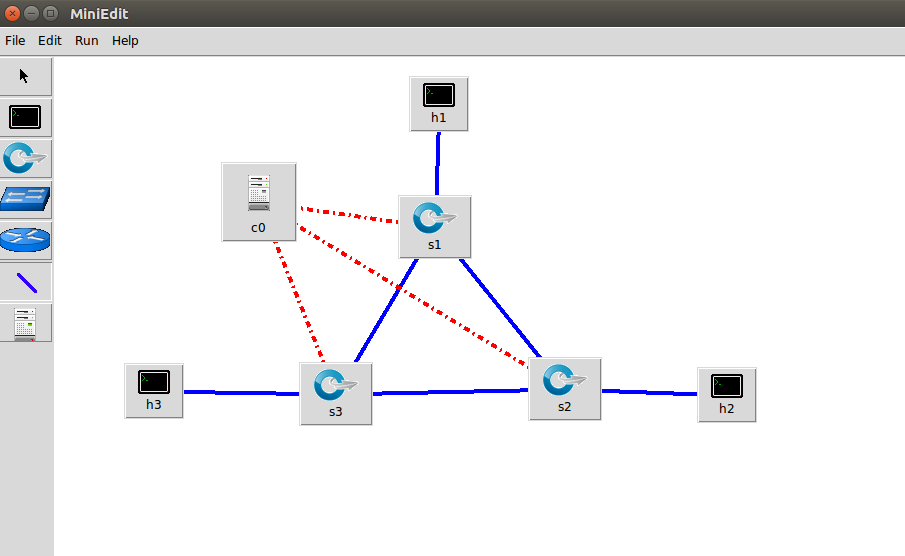
3. 利用可视化工具搭建如下拓扑,并要求支持OpenFlow 1.0 1.1 1.2 1.3,设置h1(10.0.0.10)、h2(10.0.0.11)、h3(10.0.0.12),拓扑搭建完成后使用命令验证主机ip,查看拓扑端口连接情况。
- 搭建拓扑
-
设置


-
验证主机ip


4. 利用Python脚本完成如下图所示的一个Fat-tree型的拓扑(交换机和主机名需与图中一致,即s1s6,h1h8,并且链路正确,请给出Mininet相关截图)

- 代码
#!/user/bin/python
# create topo
"""Custom topology example
Adding the 'topos' dict with a key/value pair to generate our newly defined
topology enables one to pass in '--topo=mytopo' from the command line.
"""
from mininet.topo import Topo
from mininet.net  import Mininet
from mininet.node import RemoteController,CPULimitedHost
from mininet.link import TCLink
from mininet.util import dumpNodeConnections

class MyTopo(Topo):
	"Simple topology example"

	def __init__(self):
		"Create custom topo"

		# Initialize topology
		Topo.__init__(self)
		L1=2
		L2=L1*2
		L3=L2
		c=[]
		a=[]

		# add core ovs
		for i in range(L1):
			sw = self.addSwitch('s{}'.format(i+1))
			c.append(sw)

		# add aggregation ovs
		for i in range(L2):
			sw = self.addSwitch('s{}'.format(L1+i+1))
			a.append(sw)


		#add links between core and aggregation ovs
		for i in range(L1):
			sw1 = c[i]
			for sw2 in a[i/2::L1/2]:
				self.addLink(sw2,sw1)

		#add hosts and its links with edge ovs
		count=1
		for sw1 in a:
			for i in range(2):
				host = self.addHost('h{}'.format(count))
				self.addLink(sw1,host)
				count += 1
topos={'mytopo':(lambda:MyTopo())}