1、环境
Linux centos7
elasticsearch-head的zip包,github网址如下:https://github.com/mobz/elasticsearch-head
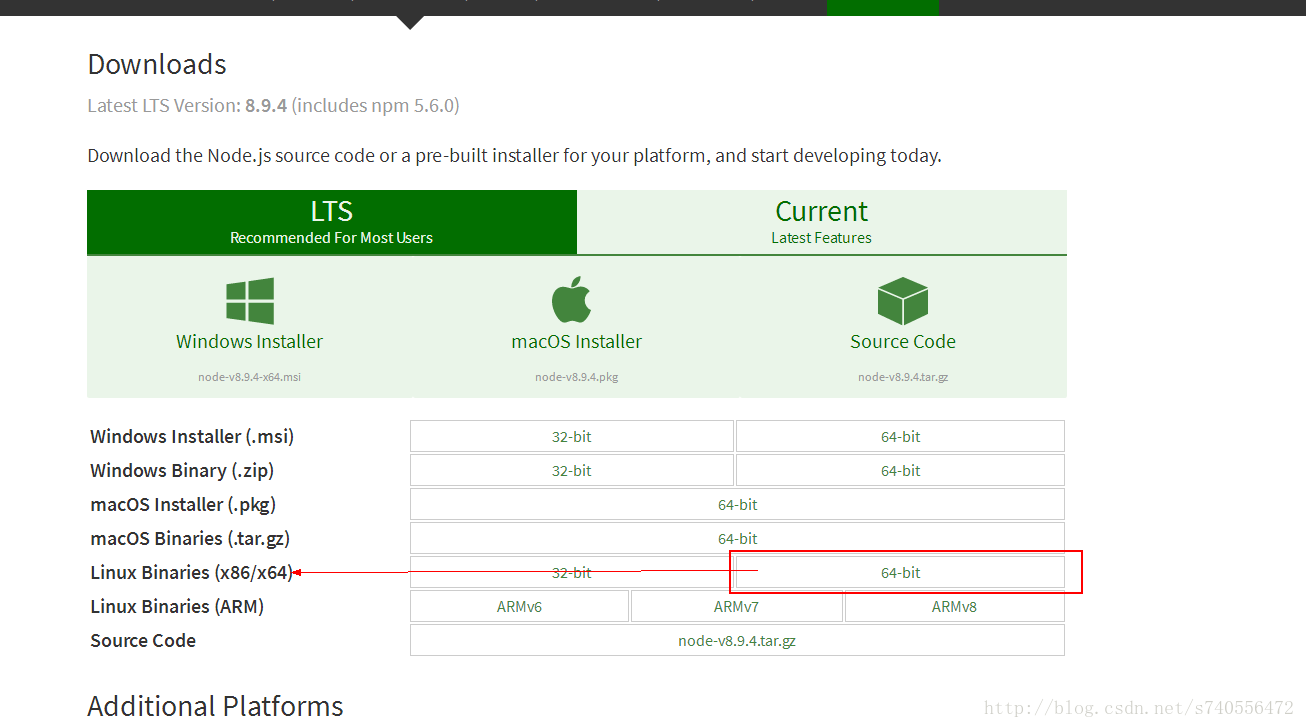
nodejs的linux对应位数下载:https://nodejs.org/en/download/
2、安装nodejs
解压后如下图所示:
进入bin执行下面的三个可执行文件:

[root@mycentos bin]# ./node -v
[root@mycentos bin]# ./npm -v
[root@mycentos bin]# ./npx -v
执行./npm -v会报错如下:
/usr/bin/env: node: 没有那个文件或目录
此时需要配置环境变量即可,修改/etc/profile,行尾追加如下命令:
[root@mycentos ~]# vim /etc/profile

export NODE_HOME=/opt/nodejs/node-v8.9.4-linux-x64/
export PATH=$PATH:$NODE_HOME/bin
export NODE_PATH=$NODE_HOME/lib/node_modules
#执行命令生效:
[root@mycentos ~]# source /etc/profile
3、安装elasticsearch-head
进入到elasticsearch-head主目录执行:
[elastic@mycentos elasticsearch-head-master]$ npm install
安装过程中出现错误:
Please report this full log at https://github.com/Medium/phantomjs
npm ERR! Darwin 15.0.0
npm ERR! argv "/usr/local/bin/node" "/usr/local/bin/npm" "install"
npm ERR! node v4.4.3
npm ERR! npm v3.10.9
npm ERR! code ELIFECYCLE
npm ERR! phantomjs-prebuilt@2.1.14 install: `node install.js`
npm ERR! Exit status 1
npm ERR!
npm ERR! Failed at the phantomjs-prebuilt@2.1.14 install script 'node install.js
解决方案如下:
#忽略脚本继续进行安装
npm install phantomjs-prebuilt@2.1.14 --ignore-scripts
最终安装成功!成功后当前目录多了一个node_modules文件夹。
4、配置
(1)配置Head主目录下的Gruntfile.js,默认文件中是没有hostname属性的,我们需要手动添加:
connect: {
          server: {
                   options: {
                        port: 9100,
                        base: '.',
                        keepalive: true,
                        hostname: '*'
                    }
          }
  }
(2)配置elasticsearch 的启动配置文件:
为什么需要修改配置文件:
head插件连接elasticsearch需要注意的点:
因为head插件是一个独立进程,启动后是一个独立的服务器外加端口,比如我的虚拟机ip地址:http://192.168.0.111:9100/
而elasticsearch启动后也是一个独立的进程,ip地址:http://192.168.0.111:9200/
这样两个独立进程,虽然服务器ip地址相同,但是端口不同,此时会发生跨域的情况。。
于是官方给出这样一段话,我们在对elasticsearch启动的时候追加两个配置文件属性即可防止跨域。
#在文件末尾添加即可
http.cors.enabled: true
http.cors.allow-origin: "*"
5、启动Head插件
#切回到head的主目录下,执行如下命令
[elastic@mycentos elasticsearch-head-master]$ npm run start

然后在浏览中打开:http://localhost:9100

安装完毕!