UINavigationController是用于构建分层应用程序的主要工具,主要采用栈形式来实现视图。任何类型的视图控制器都可放入栈中。在设计导航控制器时需要指定根视图即用户看到的第一个视图。根视图控制器是被导航控制器推入到栈中的第一个视图控制器。当用户查看下一个试图时,栈中将加入一个新的视图控制器,它所控制的视图将展示给用户。我们可以通过导航按钮来操作分层的应用程序,用它来控制视图的推入或推出。
1、把子控制器添加到导航控制器中常用的方法
   //创建视图控制器
    JRViewController * vc=[[JRViewController alloc] init];


    //创建导航控制器,并且将上面的控制器作为导航控制器的根控制器
    UINavigationController * naVC=[[UINavigationController alloc] initWithRootViewController:vc];


    //将当前的导航控制器设置窗口的根视图控制器
self.window.rootViewController=naVC;
2、这样我们就把JRViewController作为了当前导航控制器的根控制器,下面我们进入到JRViewController,并且添加一个标题和按钮代码如下
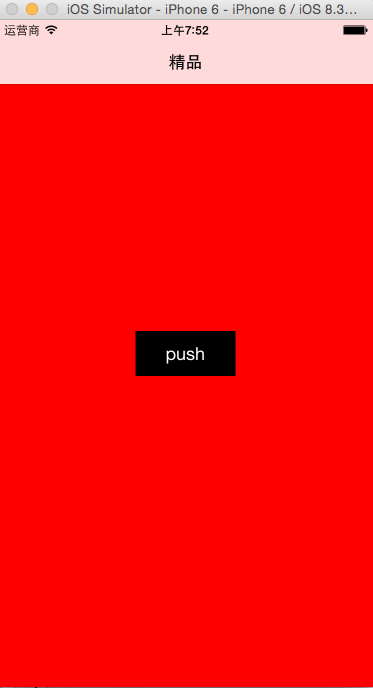
    //设置背景
    self.view.backgroundColor=[UIColor redColor];
    //设置标题
    self.title=@"精品";

    //添加按钮
    UIButton * button=[[UIButton alloc] initWithFrame:CGRectMake(0, 0, 100, 45)];
    button.backgroundColor=[UIColor blackColor];
    [button setTitle:@"push" forState:UIControlStateNormal];
    button.center=self.view.center;
    [button addTarget:self action:@selector(pushVCNew) forControlEvents:UIControlEventTouchUpInside];

[self.view addSubview:button];
效果图如下:
3、下面我们就进行视图控制器之间的跳转
导航控制器管理视图控制器主要采取压栈和出栈的方式,下面我们一起来感受一下如何切换,上面添加了按钮我们增加了点击事件,下面我们重新一下这个点击事件触发的方法:
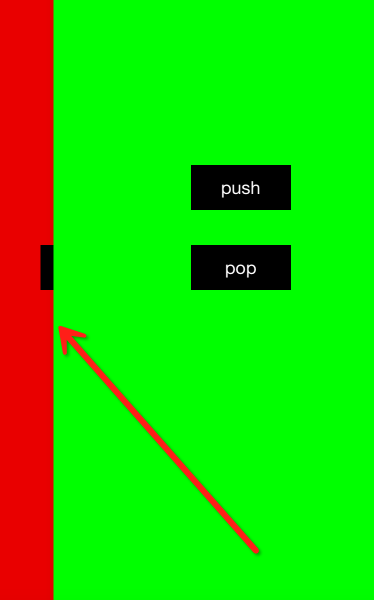
- (void) pushVCNew{

    //初始化第二个控制器
    SecondViewController * sec=[[SecondViewController alloc] init];
    //切换到另一个视图控制器
    [self.navigationController pushViewController:sec animated:YES];

}
效果图如下:
压栈进入后响应的就有出栈,如何进行出栈返回呢,我们重写一下第二个控制器的返回方法,调用控制器的popViewControllerAnimated方法即可
- (void) popVC{
    [self.navigationController popViewControllerAnimated:YES];
}
5、导航按钮
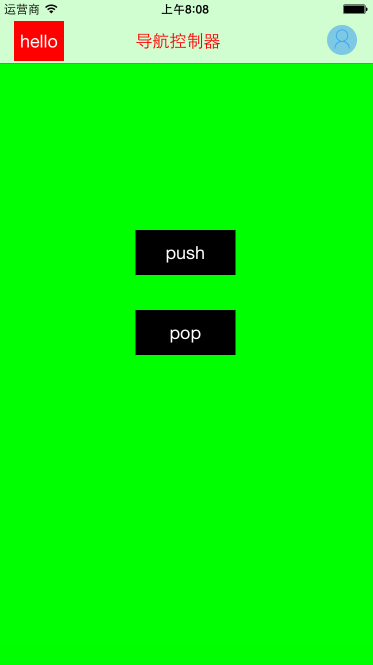
//1 构造方法
    UIBarButtonItem * item1=[[UIBarButtonItem alloc] initWithImage:[UIImage imageNamed:@"bt1"] style:UIBarButtonItemStylePlain target:self action:@selector(leftClick)];


    //2 自定义视图
    UIButton * button=[[UIButton alloc] initWithFrame:CGRectMake(100, 100, 50, 40)];
    button.backgroundColor=[UIColor redColor];
    [button setTitle:@"hello" forState:UIControlStateNormal];
    UIBarButtonItem * item2=[[UIBarButtonItem alloc] initWithCustomView:button];


    //3 添加到当前navigationItem
    self.navigationItem.leftBarButtonItem=item2;
    self.navigationItem.rightBarButtonItem=item1;

    //4 增加标题
    UILabel * label=[[UILabel alloc] initWithFrame:CGRectMake(0, 0, 100, 40)];
    label.text=@"导航控制器";
    label.textColor=[UIColor redColor];
self.navigationItem.titleView=label;
效果图如下
6、ToolBar工具条,每个导航控制器都有一个工具条,默认为隐藏状态,下面我们将工具条打开并使用它。
//打开toolbar
    self.navigationController.toolbarHidden=NO;

    //定义ToolBar增加按钮
    UIBarButtonItem * item1=[[UIBarButtonItem alloc] initWithBarButtonSystemItem:UIBarButtonSystemItemCancel target:self action:@selector(pushVC)];
    UIBarButtonItem * item2=[[UIBarButtonItem alloc] initWithBarButtonSystemItem:UIBarButtonSystemItemSave target:self action:@selector(pushVC)];
    UIBarButtonItem * item3=[[UIBarButtonItem alloc] initWithBarButtonSystemItem:UIBarButtonSystemItemBookmarks target:self action:@selector(pushVC)];
    UIBarButtonItem * item4=[[UIBarButtonItem alloc] initWithBarButtonSystemItem:UIBarButtonSystemItemOrganize target:self action:@selector(pushVC)];
    UIBarButtonItem * item5=[[UIBarButtonItem alloc] initWithBarButtonSystemItem:UIBarButtonSystemItemAdd target:self action:@selector(pushVC)];
    UIBarButtonItem * item6=[[UIBarButtonItem alloc] initWithBarButtonSystemItem:UIBarButtonSystemItemStop target:self action:@selector(pushVC)];

     UIBarButtonItem * item7=[[UIBarButtonItem alloc] initWithBarButtonSystemItem:UIBarButtonSystemItemFlexibleSpace target:self action:@selector(pushVC)];
      UIBarButtonItem * item8=[[UIBarButtonItem alloc] initWithBarButtonSystemItem:UIBarButtonSystemItemFixedSpace target:self action:@selector(pushVC)];
    item8.width=20;
    //将按钮添加到工具条
     self.toolbarItems=@[item1,item8,item2,item8,item3,item8,item4,item7,item5,item8,item6];
效果图如下:

作者:杰瑞教育
出处:http://www.cnblogs.com/jerehedu/
版权声明:本文版权归烟台杰瑞教育科技有限公司和博客园共有,欢迎转载,但未经作者同意必须保留此段声明,且在文章页面明显位置给出原文连接,否则保留追究法律责任的权利。
技术咨询:
出处:http://www.cnblogs.com/jerehedu/
版权声明:本文版权归烟台杰瑞教育科技有限公司和博客园共有,欢迎转载,但未经作者同意必须保留此段声明,且在文章页面明显位置给出原文连接,否则保留追究法律责任的权利。
技术咨询: