硬件
http://zhan.renren.com/h5/entry/3602888498044209332
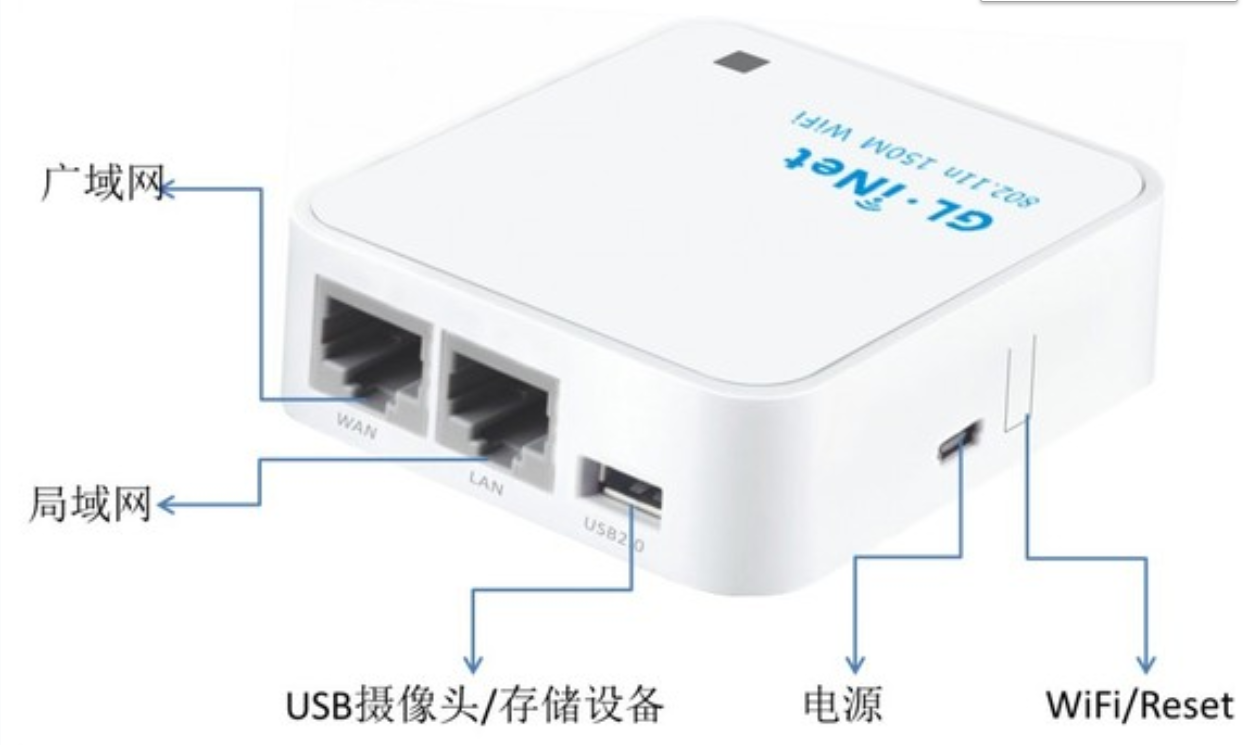
GL-iNet
1 首先安装 webserver之lighttpd ,openwrt自带的是uhttpd
http://www.voidcn.com/article/p-zqbwgqwy-vy.html
1-1安装过程简略
1-2配置
Lighttpd默认页面
http://localhost/index.lighttpd.html
写lighttpd的配置文件lighttpd.conf。
(1)使用语句 server.modules = ("mod_cgi")加入 cgi 模块;
(2)使用语句 cgi.assign = (".cgi" => "") 设置 cgi模块的扩展名和解释器。就本语句而言,表示cgi模块的扩展名是“.cgi”且该 cgi模块不需要特别的解释器来执行
lighttpd configuration
修改文件 /etc/lighttpd/lighttpd.conf in:
server.modules              = (
            "mod_access",
            "mod_cgi",
            "mod_alias",
            "mod_accesslog",
            "mod_compress",
)
and add these lines:

$HTTP["url"] =~ "/cgi-bin/" {
        cgi.assign = ( "" => "" )
}

cgi.assign      = (
        ".cgi"  => ""
)
Restart lighttpd typing:

debarm:~# /etc/init.d/lighttpd restart
2 编写登陆网页
http://192.168.8.1/cgi-bin/webservice?wifi-key=xixi&wifi-key-msg=xx

3 编写lua脚本文件执行修改
3-1 lua获取http参数 https://www.cnblogs.com/kekeoutlook/p/10787233.html
3-2 lua解析http参数
3-3 lua调用shell脚本命令,使用uci接口交互修改。
- 安装uhttpd包(https需要加装“uhttpd-mod-tls”和“px5g”);
- 修改uhttpd配置文件“/etc/config/uhttpd”,将Lua作为“interpreter”;
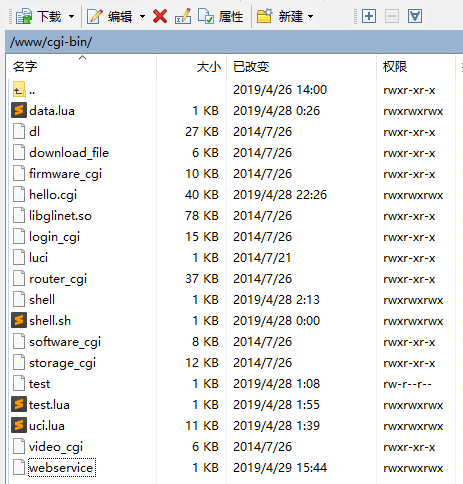
- Lua脚本写到“/www/cgi-bin/”目录下,但是不带扩展名,且可执行;
- Fast-CGI要求Lua脚本必须首先使用“io.write()”输出“Content-type: text/html ”;
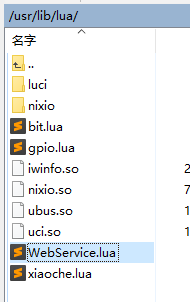
- “/www/cgi-bin/”目录下的脚本可以调用“/usr/lib/lua/”目录下的自定义模块;
- Lua环境已经就绪。
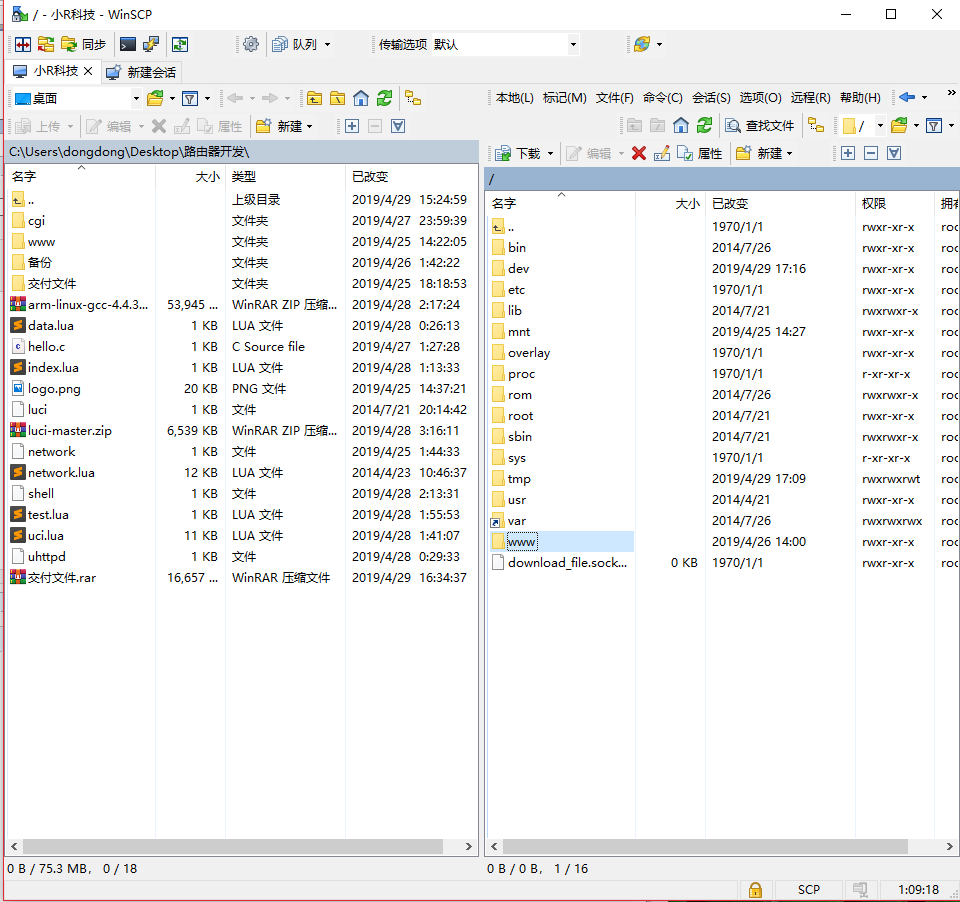
1登陆路由器文件系统

登陆后
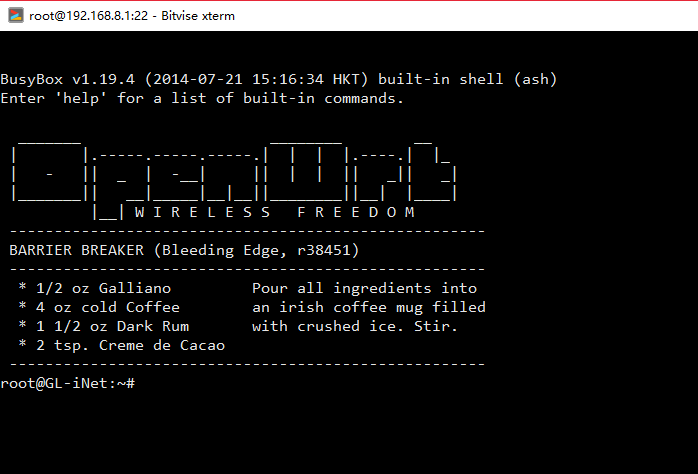
登录命令行

新建文件“/www/cgi-bin/webservice” 给予访问修改权限(注意没有 .lua结尾)
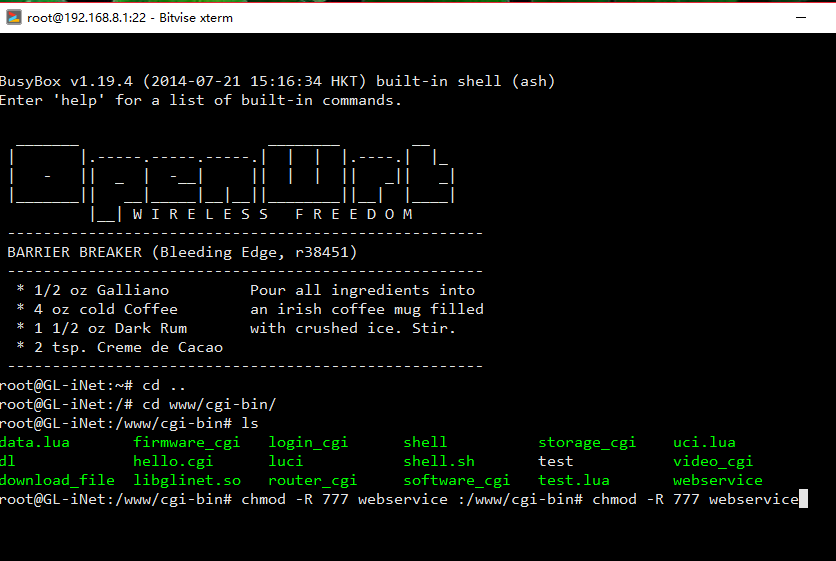
cd ..
cd www/cgi-bin/
ls
chmod -R 777 webservice
内容修改为:
#!/usr/bin/lua
local WebService = require 'WebService'
WebService.Run()
建立Lua模块文件,并读取参数,返回响应:
路径/usr/lib/lua/WebService.lua
local WebService = {}

--分割字符串函数
function Split(szFullString, szSeparator)
    local nFindStartIndex = 1
    local nSplitIndex = 1
    local nSplitArray = {}
    while true do
--找=号
        local nFindLastIndex = string.find(szFullString, szSeparator, nFindStartIndex)

        if not nFindLastIndex then
            nSplitArray[nSplitIndex] = string.sub(szFullString, nFindStartIndex, string.len(szFullString))
            break
        end
--从=号后面开始找 &
        nFindStartIndex=nFindLastIndex+1
        nFindLastIndex = string.find(szFullString, '&', nFindStartIndex)

 	if not nFindLastIndex then --最后一个
        nFindLastIndex=string.len(szFullString)
--截取 =和&之间
 	nSplitArray[nSplitIndex] = string.sub(szFullString, nFindStartIndex, nFindLastIndex)
        nFindStartIndex = nFindLastIndex+1
        nSplitIndex = nSplitIndex + 1

 	end
--截取 =和&之间
	nSplitArray[nSplitIndex] = string.sub(szFullString, nFindStartIndex, nFindLastIndex - 1)
     	nFindStartIndex = nFindLastIndex+1
                nSplitIndex = nSplitIndex + 1
      end
    return nSplitArray
end


--执行修改配置文件
function change_config(wifiname,wifipws)
--查询现有的WIFi名字
local t= io.popen('uci get wireless.@wifi-iface[0].ssid')
local a = t:read("*all")

--修改WIFI名字
local setwifiname='uci set wireless.@wifi-iface[0].ssid='..wifiname
io.popen(setwifiname)

--修改WIFI密码
local setwifipsd='uci set wireless.@wifi-iface[0].key='..wifipws
io.popen(setwifipsd)

--保存文件提交
io.popen('uci commit wireless')
--print("save change!")

--重启WIFI生效
--print("restart!")
io.popen('wifi')

end

--主函数
function WebService.Run()
    local client = os.getenv("REMOTE_ADDR")
    local GET = os.getenv("QUERY_STRING")
--解析求求
      list = Split(GET,'=')

    local POST = nil
    local POSTLength = tonumber(os.getenv("CONTENT_LENGTH")) or 0
    if (POSTLength > 0) then
        POST = io.read(POSTLength)
        --POST = io.read("*a")
    end

    io.write("Content-type: text/html
Pragma: no-cache

")
    local reply = string.format("Client %s said: url: [%s], data: [%s]
", client or '-', GET or '-', POST or '-')
    io.write(reply )
 --修改配置文件
       change_config(list [1],list [2])


end

return WebService
重启“uhttpd”服务(为了让更改的/etc/config/uhttpd生效):
root@OpenWrt:~# /etc/init.d/uhttpd restart
使用浏览器测试:
http://<openwrt_ipaddr>/cgi-bin/webservice?author=qige
这里假设OpenWrt开发板的IP为192.168.8.1
http://192.168.8.1/cgi-bin/webservice?wifi-key=xixi&wifi-key-msg=xx

单独讲解:
1脚本命令交互uci
查看每个配置在那个文件
uci export
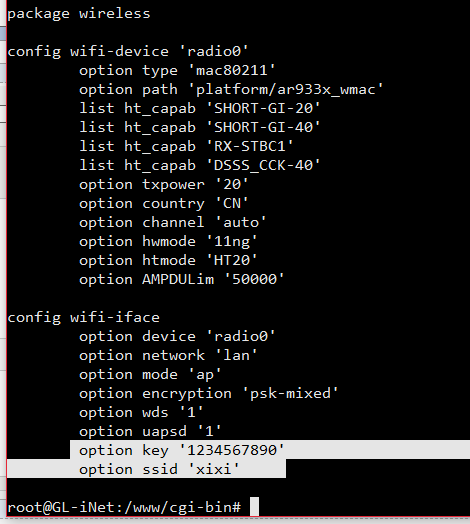
在次看到 无线账号密码在wireless配置文件里
uci show
查看具体包里面的信息

查询
uci get wireless.@wifi-iface[0].ssid
修改
uci set wireless.@wifi-iface[0].ssid="dongdong"
提交保存
uci commit wireless
重启生效
wifi
@wifi-iface[0]可能一个文件里面有多个同名的,这个代表第一个