b3D图形绘制
# 导包:
from mpl_toolkits.mplot3d.axes3d import Axes3D
import matplotlib.pyplot as plt
%matplotlib inline
import numpy as np
画3D散点图
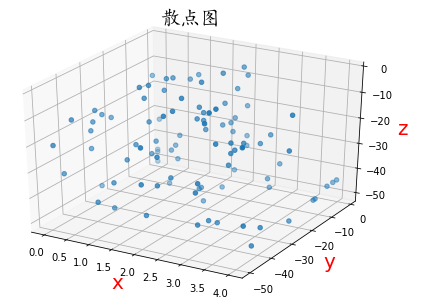
fig= plt.figure() # 二维
axes3D = Axes3D(fig) # 二维变成三维,生成三维坐标系
x =np.random.randint(0,5,size = 100)
y = np.random.randint(-50,0,size = 100)
z = np.random.randint(-50,0,size = 100)
axes3D.scatter3D(x,y,z)
axes3D.set_title("散点图",fontproperties = "KaiTi",fontsize = 20) #设置标题
axes3D.set_xlabel("x",color = "r",fontsize = 20) #设置坐标轴标识的属性
axes3D.set_ylabel("y",color = "r",fontsize = 20)
axes3D.set_zlabel("z",color = "r",fontsize = 20)
绘制3D空间线型
fig1 = plt.figure(figsize = (6,5)) #设置二维视图的大小
# 二维变三维
axes3D = Axes3D(fig1)
x = np.linspace(0,200,2000) #分别生成三个轴的坐标数据
y = np.sin(x)
z = np.cos(x)
axes3D.plot(x,y,z) #进行3D图形的绘制

绘制面
思路:
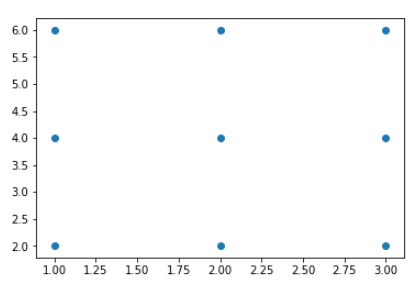
利用网格交叉
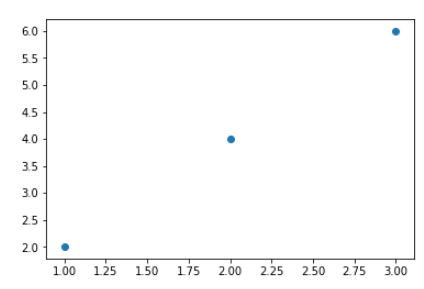
a = np.arange(1,4,1)
b = np.linspace(2,6,3)
plt.scatter(a,b)
A,B = np.meshgrid(a,b) # :meshgrid():从坐标向量返回坐标矩阵。
plt.scatter(A,B)
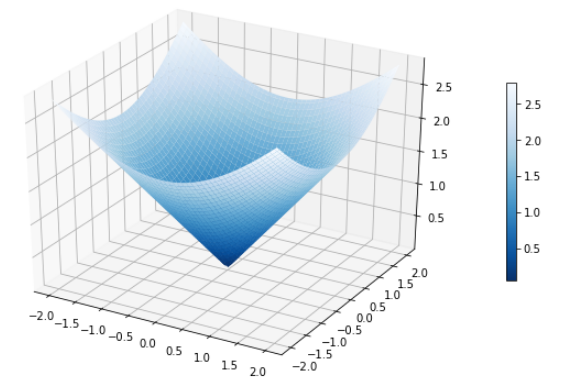
画出三维面
fig = plt.figure(figsize = (8,5))
axes3D = Axes3D(fig)
x = np.linspace(-2,2,100)
y = np.linspace(-2,2,100)
X,Y = np.meshgrid(x,y) #绘制网格交叉点的x,y值
Z = (X**2+Y**2)**0.5 #给交叉点添加纵坐标
poly3D = axes3D.plot_surface(X,Y,Z,cmap = plt.cm.Blues_r) #在三维坐标系里创建一个曲面图
# 色柱
plt.colorbar(poly3D,shrink = 0.5) shrink属性是设置缩放比例
图示:
在三维空间中绘制条形图
from matplotlib.pyplot import rcParams
rcParams["font.sans-serif"]="KaiTi" #对全局的字体进行设置
rcParams["axes.unicode_minus"]=False #对符号进行设值,不设置显示方框
fig = plt.figure(figsize = (7,5))
axes3D = Axes3D(fig)
x = np.arange(10)
# y = np.random.randint(0,20,size = 10)
# axes3D.bar(x,y,zs = -100,zdir = "y")
#zs表示若指定一个值,则在该值的z平面上生成图像。zdir表示使用哪个轴作为z轴显示
for year in [2010,2011,2012,2013,2014,2015]:
y = np.random.randint(0,50,size = 10)
axes3D.bar(x,y,zs =year,zdir = "x")
axes3D.set_xlabel("x",color = "r",fontsize = 20)
axes3D.set_ylabel("y",color = "r",fontsize = 20)
axes3D.set_zlabel("z",color = "r",fontsize = 20)
plt.xticks([2010,2011,2012,2013,2014,2015],["2010年","2011年","2012年","2013年","2014年","2015年"],rotation = 60)
#xticks是获取或设置x轴的当前刻度位置和标签
plt.savefig("./image/sanwei.jpg")

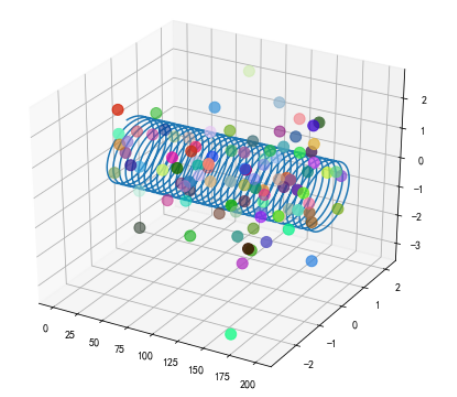
绘制混合3D图形
fig1 = plt.figure(figsize = (6,5))
# 二维变三维
axes3D = Axes3D(fig1)
x = np.linspace(0,200,2000)
y = np.sin(x)
z = np.cos(x)
axes3D.plot(x,y,z)
# 散点图
axes3D.scatter(np.random.randint(0,200,size =100),
np.random.randn(100),
np.random.randn(100),
s = 100,
color =np.random.rand(100,3))
三维子视图的绘制
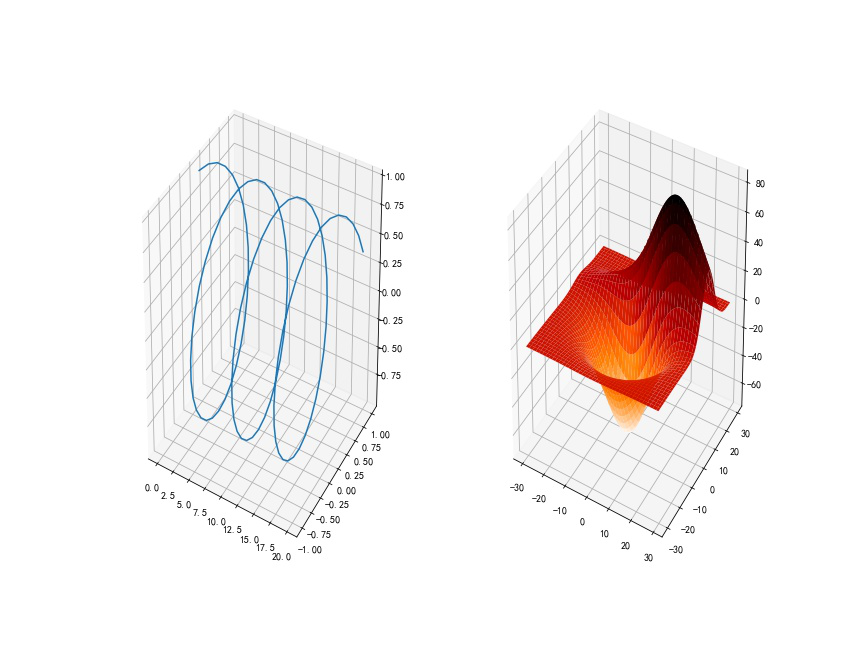
from mpl_toolkits.mplot3d import axes3d
# 三维的子视图
plt.figure(figsize = (12,9))
axes3D = plt.subplot(1,2,1,projection ="3d")
x = np.linspace(0,20,100)
axes3D.plot(x,np.sin(x),np.cos(x))
axes3D1 = plt.subplot(1,2,2,projection="3d")
X,Y,Z = axes3d.get_test_data()
axes3D1.plot_surface(X,Y,Z,cmap =plt.cm.gist_heat_r)
plt.savefig("./image/hunhe.jpg")
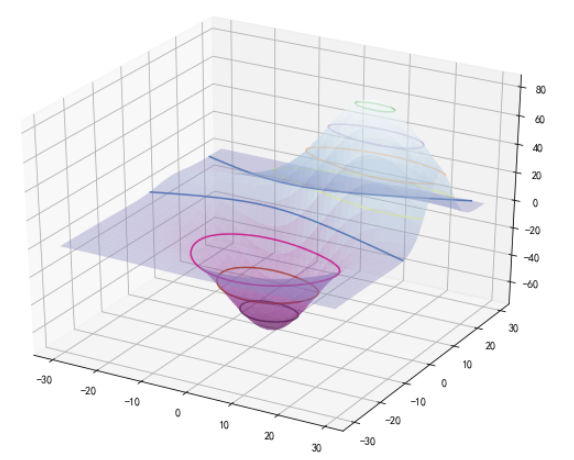
等高线的绘制contour()
fig = plt.figure(figsize = (12,9))
axes3D = Axes3D(fig)
x = np.linspace(0,20,200)
X,Y,Z = axes3d.get_test_data()
axes3D.plot_surface(X,Y,Z,cmap = plt.cm.BuPu_r,alpha = 0.4)
axes3D.contour(X,Y,Z,cmap =plt.cm.Accent_r,zdir = "z") #设置等高线用函数contour()方法
