Manage existing portals in Power Apps
Once you've created a portal, it is visible under the Recent apps section on the Power Apps home page.

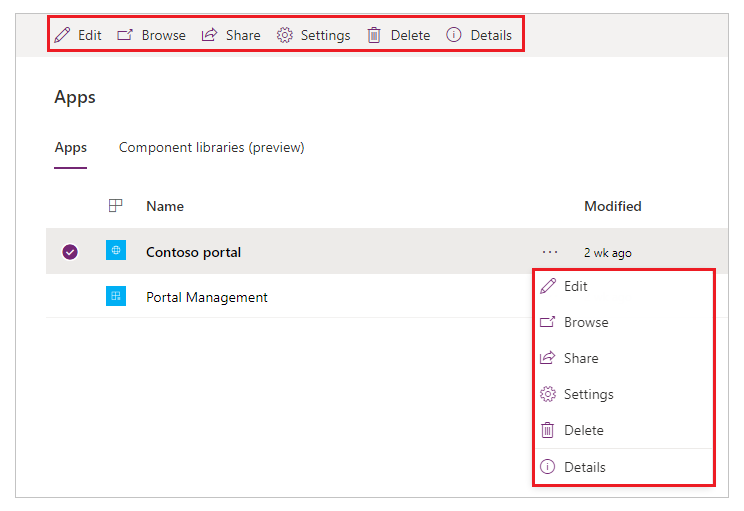
To manage an app, select More Commands (…) for the portal and choose an action from the context menu.

Edit
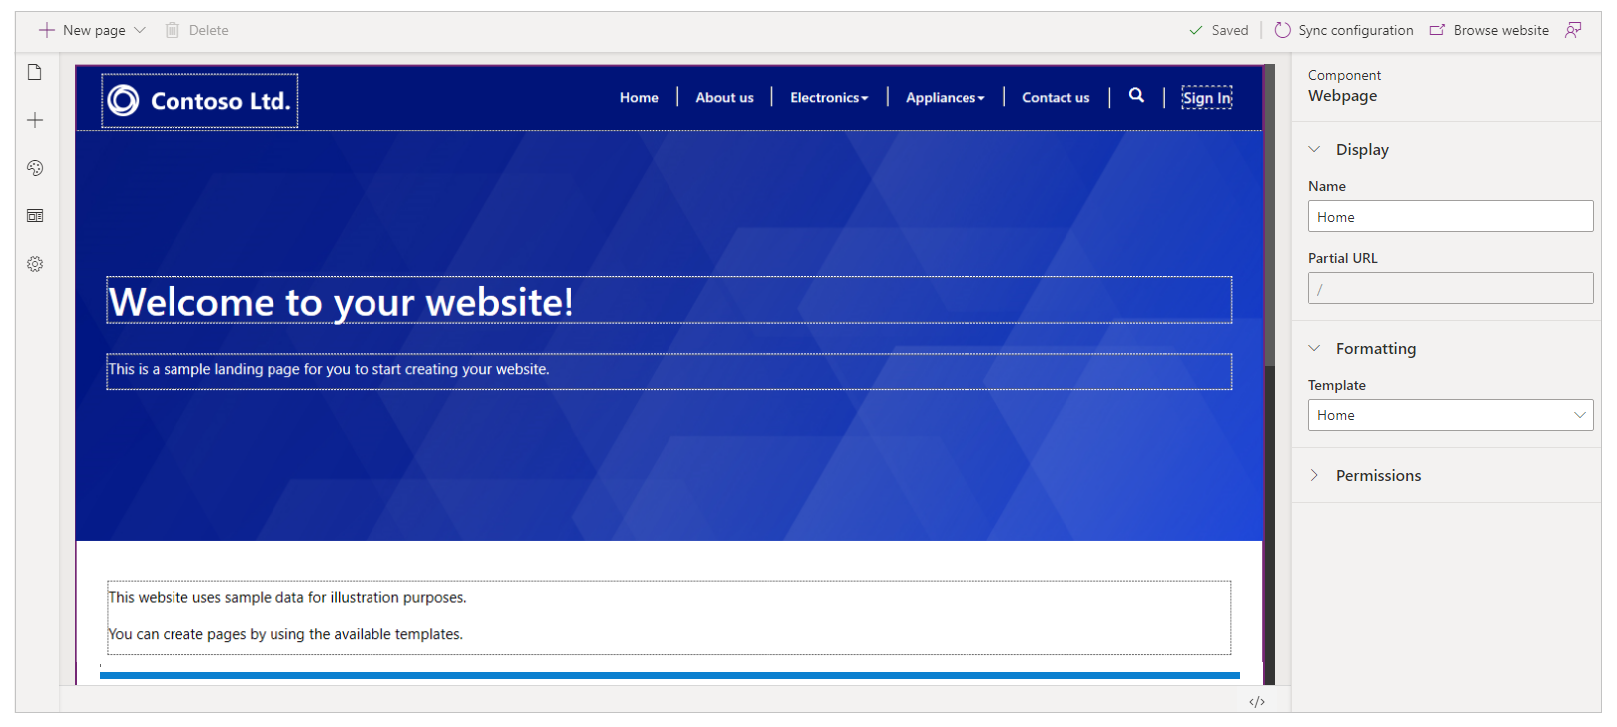
Opens the Power Apps portals Studio to edit the content and components of the portal.

Browse
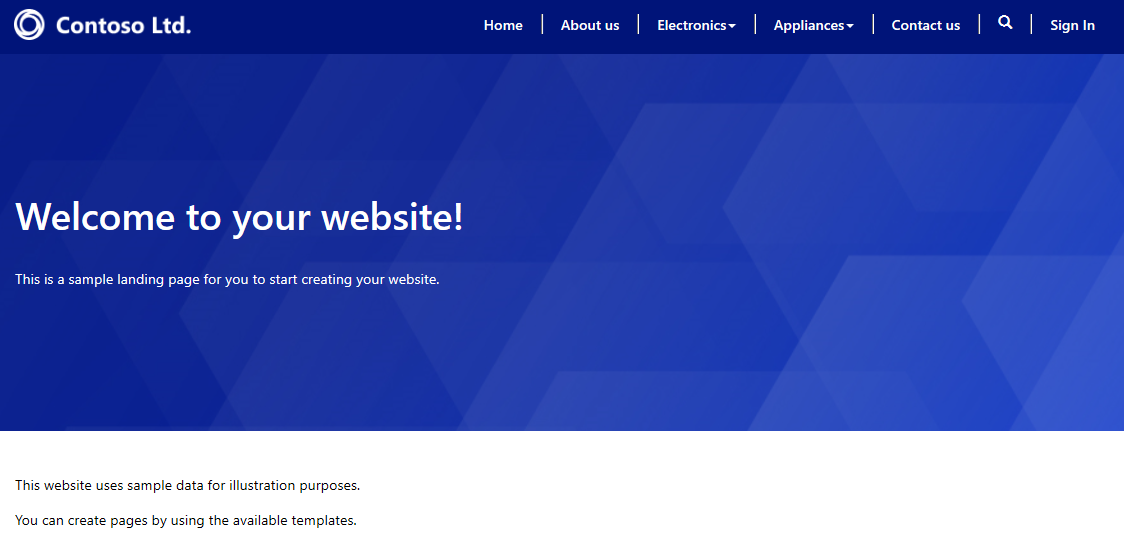
Opens the portal to browse the website. This helps you to see the portal as it will look to your customers.

Alternately, you can also open the portal to browse the website by selecting Browse website in the Power Apps portals Studio to view the changes you have made to the website. The website opens in a new tab with URL of the website.
Share
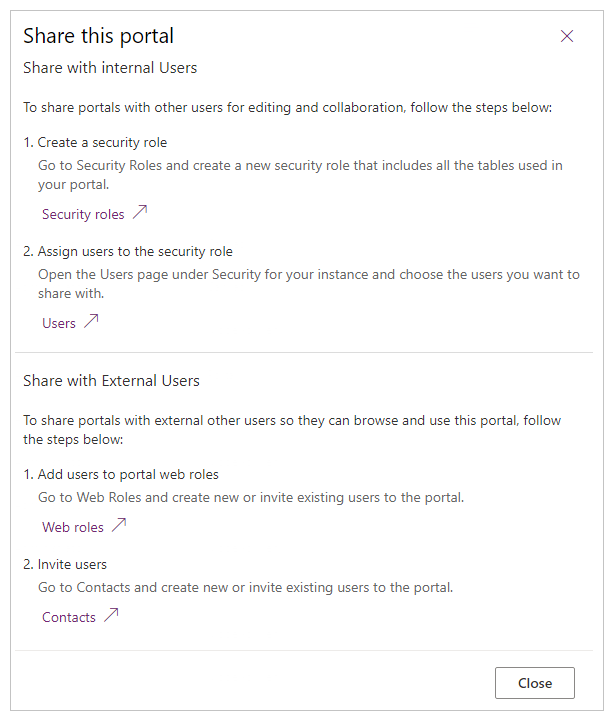
Share your portal with internal or external users. Follow the steps mentioned in the Share this portal pane.

Share with internal users
To share the portal with internal users you must first create a security role and then assign users to the security role so they can use the portal.
Note
As a user in Common Data Service, if you do not have appropriate privileges on portal entities, you might see errors such as “You do not have access to view solutions in this environment.” or “You do not have access to view Website in this environment”. It is recommended that you are in a System Administrator security role in the corresponding Common Data Service database.
Step 1: Create a security role
-
In the Share this portal pane, under Create a security role, select Security Roles. A list of all the configured security roles is displayed.
-
On the Actions toolbar, select New.
-
In the New Security Role window, enter the role name.
-
Set the privileges for all the entities used in your portal.
-
When you have finished configuring the security role, on the toolbar, select Save and Close.
For information on security roles and privileges, see Security roles and privileges.
Step 2: Assign users to the security role
-
In the Share this portal pane, under Assign users to the security role, select Users. A list of all users is displayed.
-
Select the user that you want to assign a security role to.
-
Select Manage Roles.
Note
If you are unable to see the Manage Roles button on the command bar, you must change the client by setting forceUCI to 0 in the URL. For example, https://<org_url>/main.aspx?pagetype=entitylist&etn=systemuser&forceUCI=0
-
In the Manage User Roles dialog box, select the security role that you created earlier, and then select OK.
Share with external users
Your portal should work anonymously and should be accessible by the external users. If you want to try advanced capabilities for managing roles and permissions for external users, see Configure a contact for use on a portal, Invite contacts to your portals, Create web roles for portals, Assign entity permissions.
Settings
Displays the portal settings and allows you to change the name of the portal. You can also perform advanced actions such as administering the portal though the Power Apps Portals admin center and working with site settings. Settings provides links to the Power Apps Portals admin center and Site settings. More information: Advanced portal administration and Configure site settings.

Delete
Deletes the portal and hosted resources. When you delete a portal, its URL becomes inaccessible. Deleting a portal does not affect any portal configurations or solutions present in your environment, and they will remain as-is. You must delete the portal configurations manually to completely remove portal configurations from your environment. To do this, use the Portal Management app, and delete the corresponding website record for the portal.
Note
- If you don't have sufficient privileges to delete a portal, an error is displayed. You must have the System Administrator role to delete a portal. Also, you must be the owner of the portal application in Azure Active Directory. The user who creates the portal is by default the owner and can delete a portal. For information on adding yourself as an owner, see Add yourself as an owner of the Azure AD application.
- When you delete a portal, and create a new portal with a different URL, the authentication provider configuration must be configured for the new portal to work correctly. To configure the authentication provider, go to Get started with authentication configuration.
Completely delete a portal
To learn about how to delete a portal completely, go to How do I delete a portal completely after it's provisioned?.
Details
Displays details such as owner of the portal, date and time when it was created and last modified, and the URL of the portal.
