ELK介绍
ELK是三个开源软件的缩写,即elasticsearch、logstack、kibana。
Elasticsearch:开源分布式搜索引擎,提供搜集、分析、存储数据三大功能。它的特点有:分布式,零配置,自动发现,索引自动分片,索引副本机制,restful风格接口,多数据源,自动搜索负载等。(搜索引擎)
Logstash:主要是用来日志的搜集、分析、过滤日志的工具,支持大量的数据获取方式。一般工作方式为c/s架构,client端安装在需要收集日志的主机上,server端负责将收到的各节点日志进行过滤、修改等操作在一并发往elasticsearch上去。(日志搜集器)
Kibana :一个开源和免费的工具,Kibana可以为 Logstash 和 ElasticSearch 提供的日志分析友好的 Web 界面,可以帮助汇总、分析和搜索重要数据日志。(可视化)
利用ELK可替代原始的MySQL/Oracle + ECharts方案,极大减少人工成本。
背景
elasticsearch-5.5.2 rpm 包

5台机器搭建,IP分别为:
192.168.33.232 node4
192.168.33.233 node5
192.168.33.235 node7
192.168.33.236 node8
192.168.33.230 node11
其中 node4为主节点,结构为1主5从。
硬件:4C6G
软件:redhat7.4 jdk1.8.0_144
1. 系统设置(5台机器统一)
sed -e '$a vm.max_map_count = 262144' -i /etc/sysctl.conf
sysctl -p
echo "ulimit -SHn 1048576" >> /etc/rc.local
sed -e '$a DefaultLimitCORE=infinity DefaultLimitNOFILE=1048576 DefaultLimitNPROC=1048576' -i /etc/systemd/system.conf
cat >> /etc/security/limits.conf << EOF
* soft nofile 1048576
* hard nofile 1048576
* soft nproc 1048576
* hard nproc 1048576
EOF
sed -i 's/4096/1048576/' /etc/security/limits.d/20-nproc.conf
sed -e '/root soft nproc unlimited/a* soft nofile 1048576 * hard nofile 1048576' -i /etc/security/limits.d/20-nproc.conf
- 修改elasticsearch.yml文件
192.168.33.232 node4
#-----
cluster.name: es-application
node.name: node-1 #其他节点用另外的名称
network.host: 192.168.33.232 #其他节点写上对应的ip
http.port: 9200
http.cors.enabled: true
http.cors.allow-origin: "*"
node.master: true #其他节点改成false
node.data: true
discovery.zen.ping.unicast.hosts: ["192.168.33.232", "192.168.33.233","192.168.33.235","192.168.33.236","192.168.33.230"]#其他节点也写这个ip
bootstrap.system_call_filter: false
#----
192.168.33.233 node5
#-----
cluster.name: es-application
node.name: node-2 #其他节点用另外的名称
network.host: 192.168.33.233 #其他节点写上对应的ip
http.port: 9200
http.cors.enabled: true
http.cors.allow-origin: "*"
node.master: true #其他节点改成false
node.data: true
discovery.zen.ping.unicast.hosts: ["192.168.33.232", "192.168.33.233","192.168.33.235","192.168.33.236","192.168.33.230"]#其他节点也写这个ip
bootstrap.system_call_filter: false
#----
192.168.33.235 node7
#-----
cluster.name: es-application
node.name: node-3 #其他节点用另外的名称
network.host: 192.168.33.235 #其他节点写上对应的ip
http.port: 9200
http.cors.enabled: true
http.cors.allow-origin: "*"
node.master: true #其他节点改成false
node.data: true
discovery.zen.ping.unicast.hosts: ["192.168.33.232", "192.168.33.233","192.168.33.235","192.168.33.236","192.168.33.230"]#其他节点也写这个ip
bootstrap.system_call_filter: false
#----
192.168.33.236 node8
#-----
cluster.name: es-application
node.name: node-4 #其他节点用另外的名称
network.host: 192.168.33.236 #其他节点写上对应的ip
http.port: 9200
http.cors.enabled: true
http.cors.allow-origin: "*"
node.master: true #其他节点改成false
node.data: true
discovery.zen.ping.unicast.hosts: ["192.168.33.232", "192.168.33.233","192.168.33.235","192.168.33.236","192.168.33.230"]#其他节点也写这个ip
bootstrap.system_call_filter: false
#----
192.168.33.230 node11
#-----
cluster.name: es-application
node.name: node-5 #其他节点用另外的名称
network.host: 192.168.33.230 #其他节点写上对应的ip
http.port: 9200
http.cors.enabled: true
http.cors.allow-origin: "*"
node.master: true #其他节点改成false
node.data: true
discovery.zen.ping.unicast.hosts: ["192.168.33.232", "192.168.33.233","192.168.33.235","192.168.33.236","192.168.33.230"]#其他节点也写这个ip
bootstrap.system_call_filter: false
#----
至此,超级简单版本的elasticsearch1主5从的分布式集群搭建完毕。
测试:
-->查看集群监看状态
curl '192.168.33.232:9200/_cat/health?v'
-->查看集群节点
curl '192.168.33.232:9200/_cat/nodes?v'
-->查看所有索引
curl '192.168.33.232:9200/_cat/indices?v'
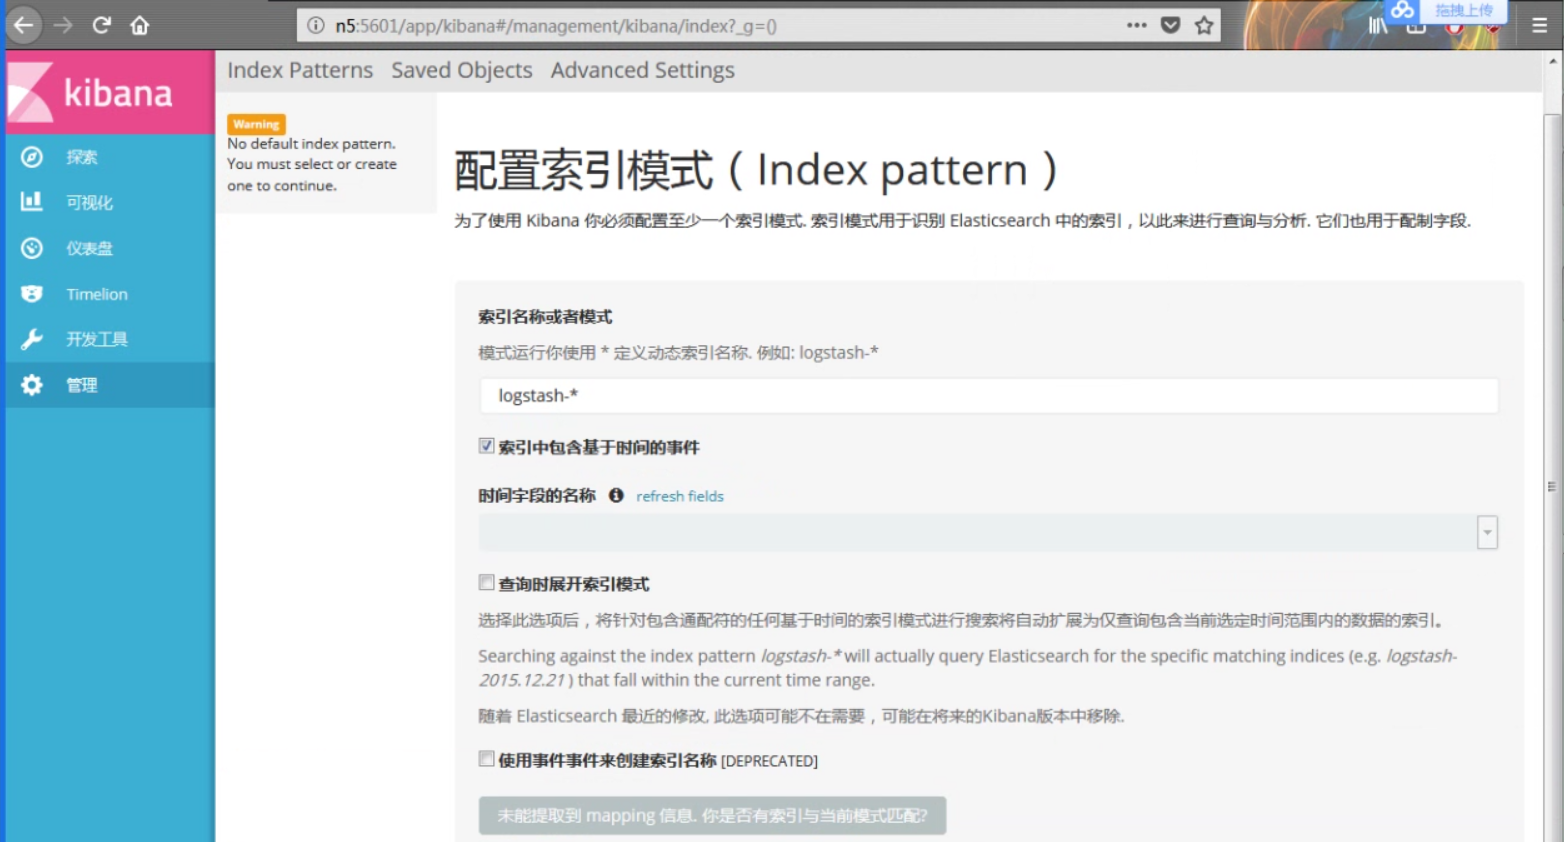
界面: