首先到github下载相应的Tensorflow模型,以及配置好环境。具体的可参考这篇博客
或者参考Github上,TensorFlow models/research/object_detection里的安装教程。
这里给出一个视频里面的目标检测代码:
import os
import time
import argparse
import multiprocessing
import numpy as np
import tensorflow as tf
import tarfile
from matplotlib import pyplot as plt

from object_detection.utils import label_map_util

from object_detection.utils import visualization_utils as vis_util
'''
    视频目标追踪
'''
#1.得到模型 (这里首先下载流模型并在解压在path/to/models/research/object_detection里面)
MODEL_NAME = 'ssd_mobilenet_v1_coco_2017_11_17'
PATH_TO_CKPT = os.path.join(MODEL_NAME, 'frozen_inference_graph.pb')

PATH_TO_LABELS = os.path.join('data', 'mscoco_label_map.pbtxt')

print('Loading model...')


#load frozen of tensorflow to memeory
detection_graph = tf.Graph()
with detection_graph.as_default():
    od_graph_def = tf.GraphDef()
    with tf.gfile.GFile(PATH_TO_CKPT, 'rb') as fid: #文本操作句柄,类似python里面的open()
        serialized_graph = fid.read()
        od_graph_def.ParseFromString(serialized_graph)
        tf.import_graph_def(od_graph_def, name='')  #将图像从od_graph_def导入当前的默认Graph

#label map to class name 如预测为5,知道它是对应飞机
NUM_CLASS = 90

print("Loading label map...")
label_map = label_map_util.load_labelmap(PATH_TO_LABELS)  #得到label map proto
categories = label_map_util.convert_label_map_to_categories(label_map, NUM_CLASS) #得到类别
category_index = label_map_util.create_category_index(categories)


#2.对视频进行物体检测
def detect_objects(image_np, sess, detection_graph):
    image_np_expanded = np.expand_dims(image_np, axis=0)
    image_tensor = detection_graph.get_tensor_by_name('image_tensor:0')

    boxes = detection_graph.get_tensor_by_name('detection_boxes:0')

    scores = detection_graph.get_tensor_by_name('detection_scores:0')

    classes = detection_graph.get_tensor_by_name('detection_classes:0')

    num_detections = detection_graph.get_tensor_by_name('num_detections:0')

    #Actual detection
    (boxes, scores, classes, num_detections) = sess.run(
        [boxes, scores, classes, num_detections], feed_dict={image_tensor : image_np_expanded})

    #Visualization of the results of a detection
    vis_util.visualize_boxes_and_labels_on_image_array(image_np, np.squeeze(boxes),
                                                       np.squeeze(classes).astype(np.int32),
                                                       np.squeeze(scores),
                                                       category_index,
                                                       use_normalized_coordinates=True,
                                                       line_thickness=8)
    return image_np

from moviepy.editor import VideoFileClip
from IPython.display import HTML

def process_image(image):
    with detection_graph.as_default():
        with tf.Session(graph=detection_graph) as sess:
            image_process = detect_objects(image, sess, detection_graph)
            return image_process

white_output = '/home/magic/111_out.mp4'
clip1 = VideoFileClip("/home/magic/111.avi")
white_clip = clip1.fl_image(process_image)  #This function expects color images!
white_clip.write_videofile(white_output, audio=False)
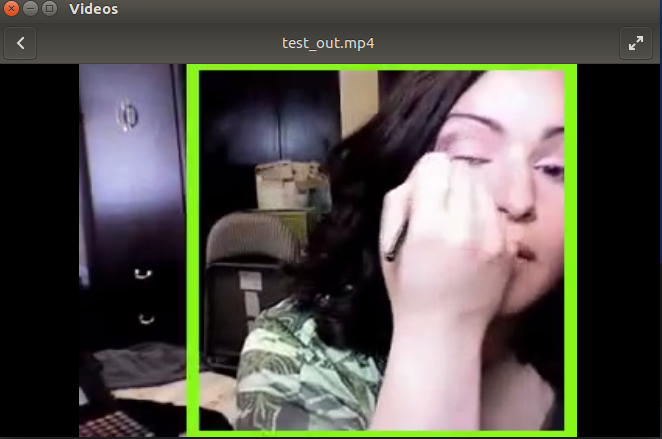
#等待一段时间后,得到111_out.mp4,可以去查看效果 我的测试结果如下