BYOD is short for bring your own device. BYOD is an IT policy where employees are allowed or encouraged to bring personally owned devices (laptops, tablets, and smart phones) to their workplace, and to use those devices to access enterprise data and systems. The advantage of using BYOD is that it can increase productivity, improve employee satisfaction and reduce costs, so BYOD become more and more popular now. In order to satisfy this requirement, Microsoft developed a new feature called Windows To Go (WTG) since Windows 8. With this feature, you can install and run Windows on a USB drive. Unfortunately, this feature is currently only available in the enterprise version of Windows. But don't worry, a powerful Windows To Go Creator software (WinToUSB) has been unveiled. With this software, you can easily create a portable Windows on a USB drive, even you don't have an enterprise version of Windows.
Tutorial to install Windows 10 onto an external hard drive as portable Windows 10 with WinToUSB.
Step 1. Connect the USB drive to the computer, then run WinToUSB.
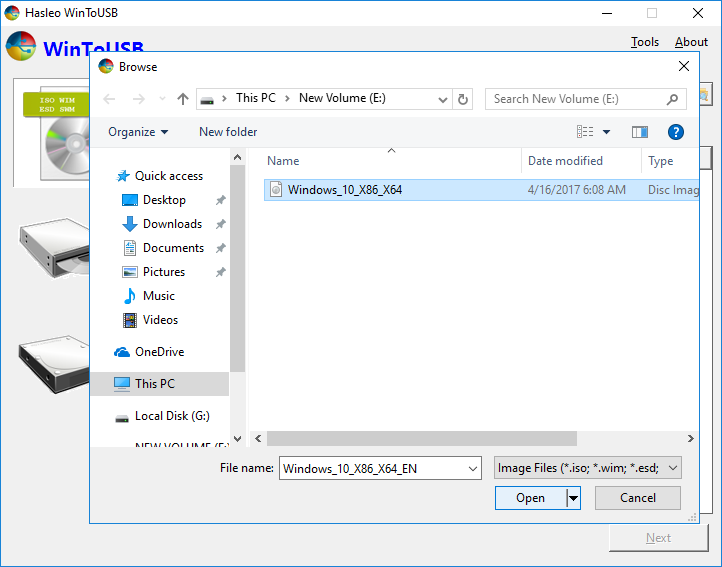
Step 2. Click the ![]() button, then click the
button, then click the ![]() button and select the Windows 10 installation ISO file from the open dialog box.
button and select the Windows 10 installation ISO file from the open dialog box.
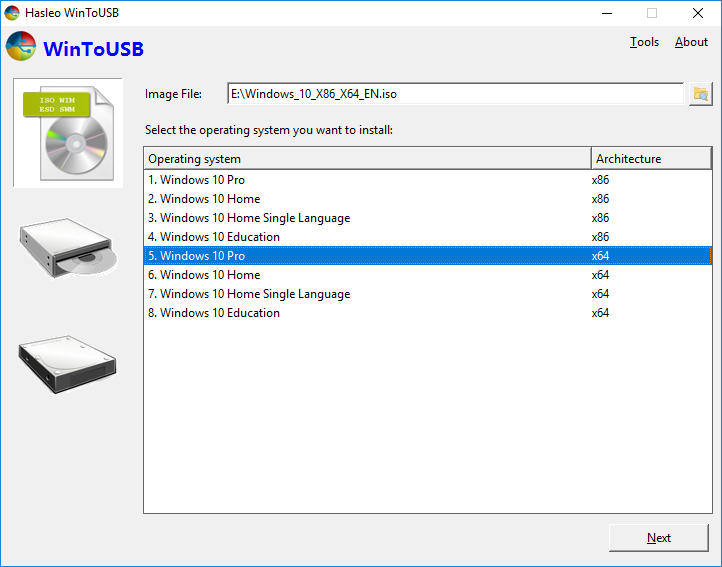
Step 3. WinToUSB scans for and lists installable operating systems in the Windows 10 installation ISO. Please select the edition of Windows you want to install, then click "Next".
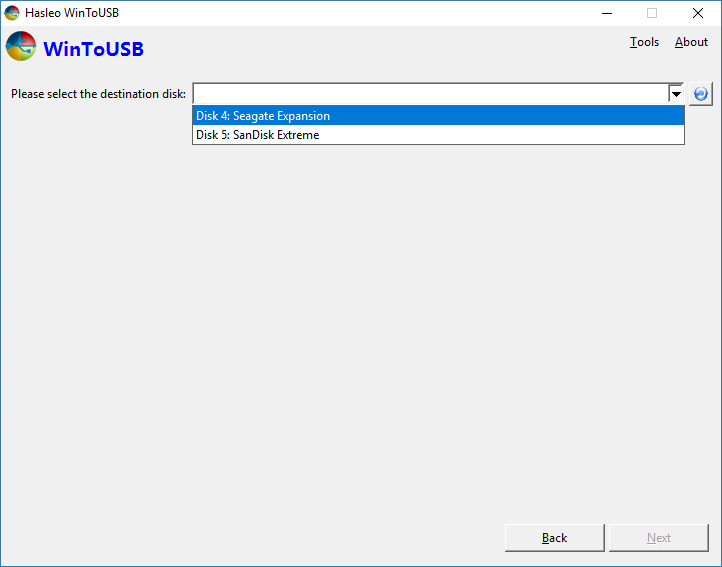
Step 4. Select the destination USB drive in the drop-down list. If the USB drive is not correctly recognized by WinToUSB, you need to click the ![]() button for the program to recognize the USB drive.
button for the program to recognize the USB drive.
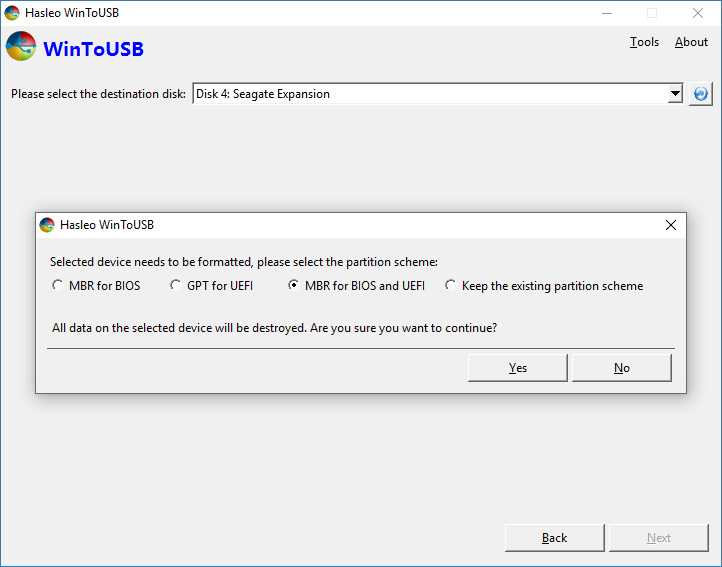
Step 5. A pop-up will appear asking you if you want to format it to continue, select the partition scheme you want to use and click "Yes" to format it. If you choose "Keep the existing partition scheme", you need to manually prepare the partitions on the USB drive before this step, and here is the user guide on how to manually prepare partitions for Windows To Go. Please note that the "Keep the existing partition scheme" option is valid only for an external disk.
Step 6. Select the system partition and boot partition from the partition list, the selected partitions will be marked as red, then click "Next".
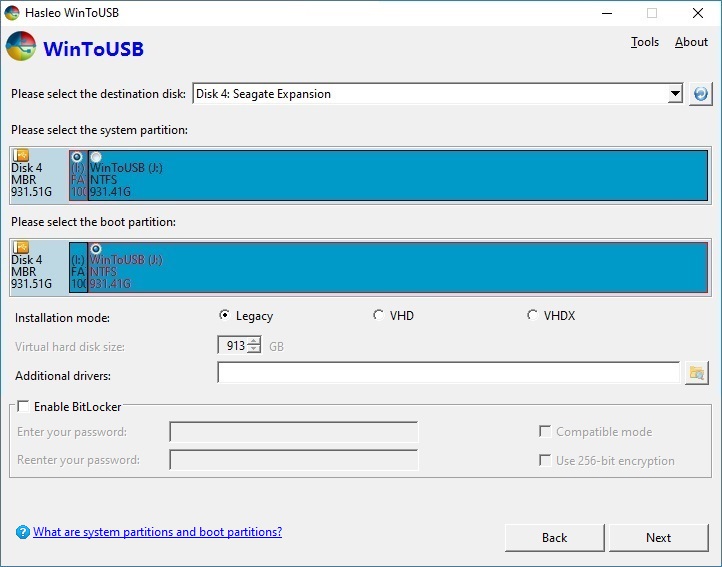
Step 7. After clicking "Next", WinToUSB begins installing Windows 10 to the USB drive.
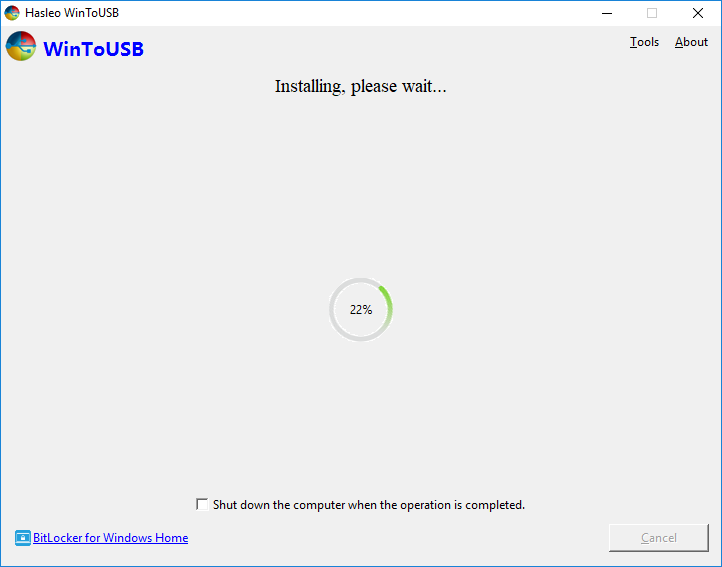
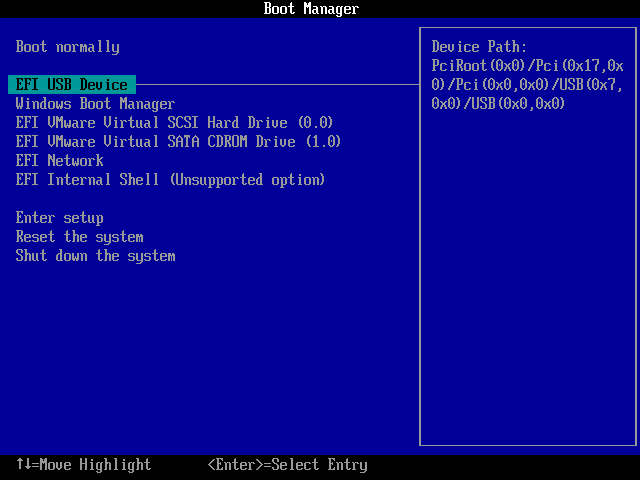
Step 8. It takes some time to install. After installation restart the computer and change BIOS to boot from your USB drive.
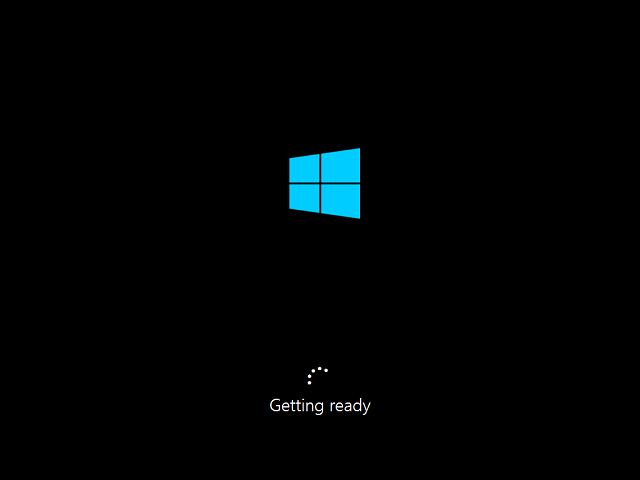
Step 9. Windows 10 normal installation starts up and you have to complete all the installation steps. After that, you can install programs, copy files, etc.
Follow these simple steps, you can install Windows 10 to an external hard drive as portable Windows 10 easily.
Related Guides
- How to install Windows Server 2016/2012/2010/2008 to an external hard drive as portable Windows Server?
- How to create Windows 10 To Go on a USB flash drive with both BIOS and UEFI support?
- How to clone Windows 10 to an external hard drive as portable Windows 10?
- How to create Windows 10 To Go without an enterprise edition of Windows 10?
- How to create Windows 8 To Go without an enterprise edition of Windows 8?
- How to create a Windows 7 To Go USB drive?