20175325 《JAVA程序设计》实验四《Android程序设计》实验报告
一、实验报告封面
课程:Java程序设计 班级:1753班 姓名:石淦铭
学号:20175325
指导教师:娄嘉鹏 实验日期:2019年5月17日
实验序号:实验四
实验名称:Android开发基础
二、实验内容及步骤:
(一)、实验一
1、题目:
- Android Stuidio的安装测试: 参考《Java和Android开发学习指南(第二版)(EPUBIT,Java for Android 2nd)》第二十四章:
- 参考http://www.cnblogs.com/rocedu/p/6371315.html#SECANDROID,安装 Android Stuidio
- 完成Hello World, 要求修改res目录中的内容,Hello World后要显示自己的学号,自己学号前后一名同学的学号,提交代码运行截图和码云Git链接,截图没有学号要扣分
- 学习Android Stuidio调试应用程序
2、解答:
-
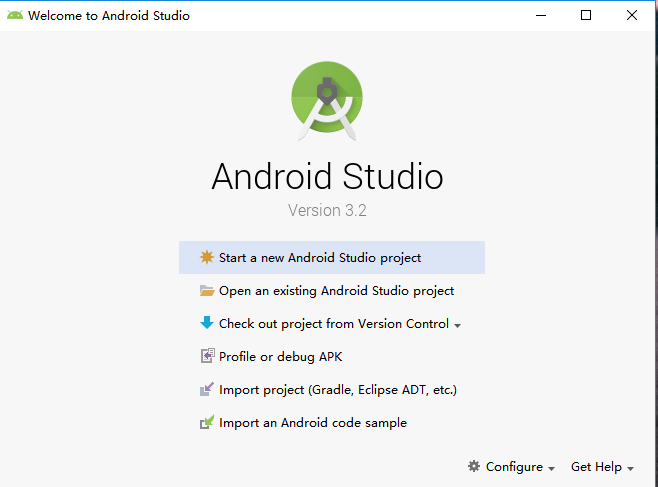
成功安装Android Stuidio
-
代码
<?xml version="1.0" encoding="utf-8"?>
<android.support.constraint.ConstraintLayout xmlns:android="http://schemas.android.com/apk/res/android"
xmlns:app="http://schemas.android.com/apk/res-auto"
xmlns:tools="http://schemas.android.com/tools"
android:layout_width="match_parent"
android:layout_height="match_parent"
tools:context=".MainActivity">
<TextView
android:layout_width="wrap_content"
android:layout_height="wrap_content"
android:layout_marginEnd="80dp"
android:layout_marginRight="80dp"
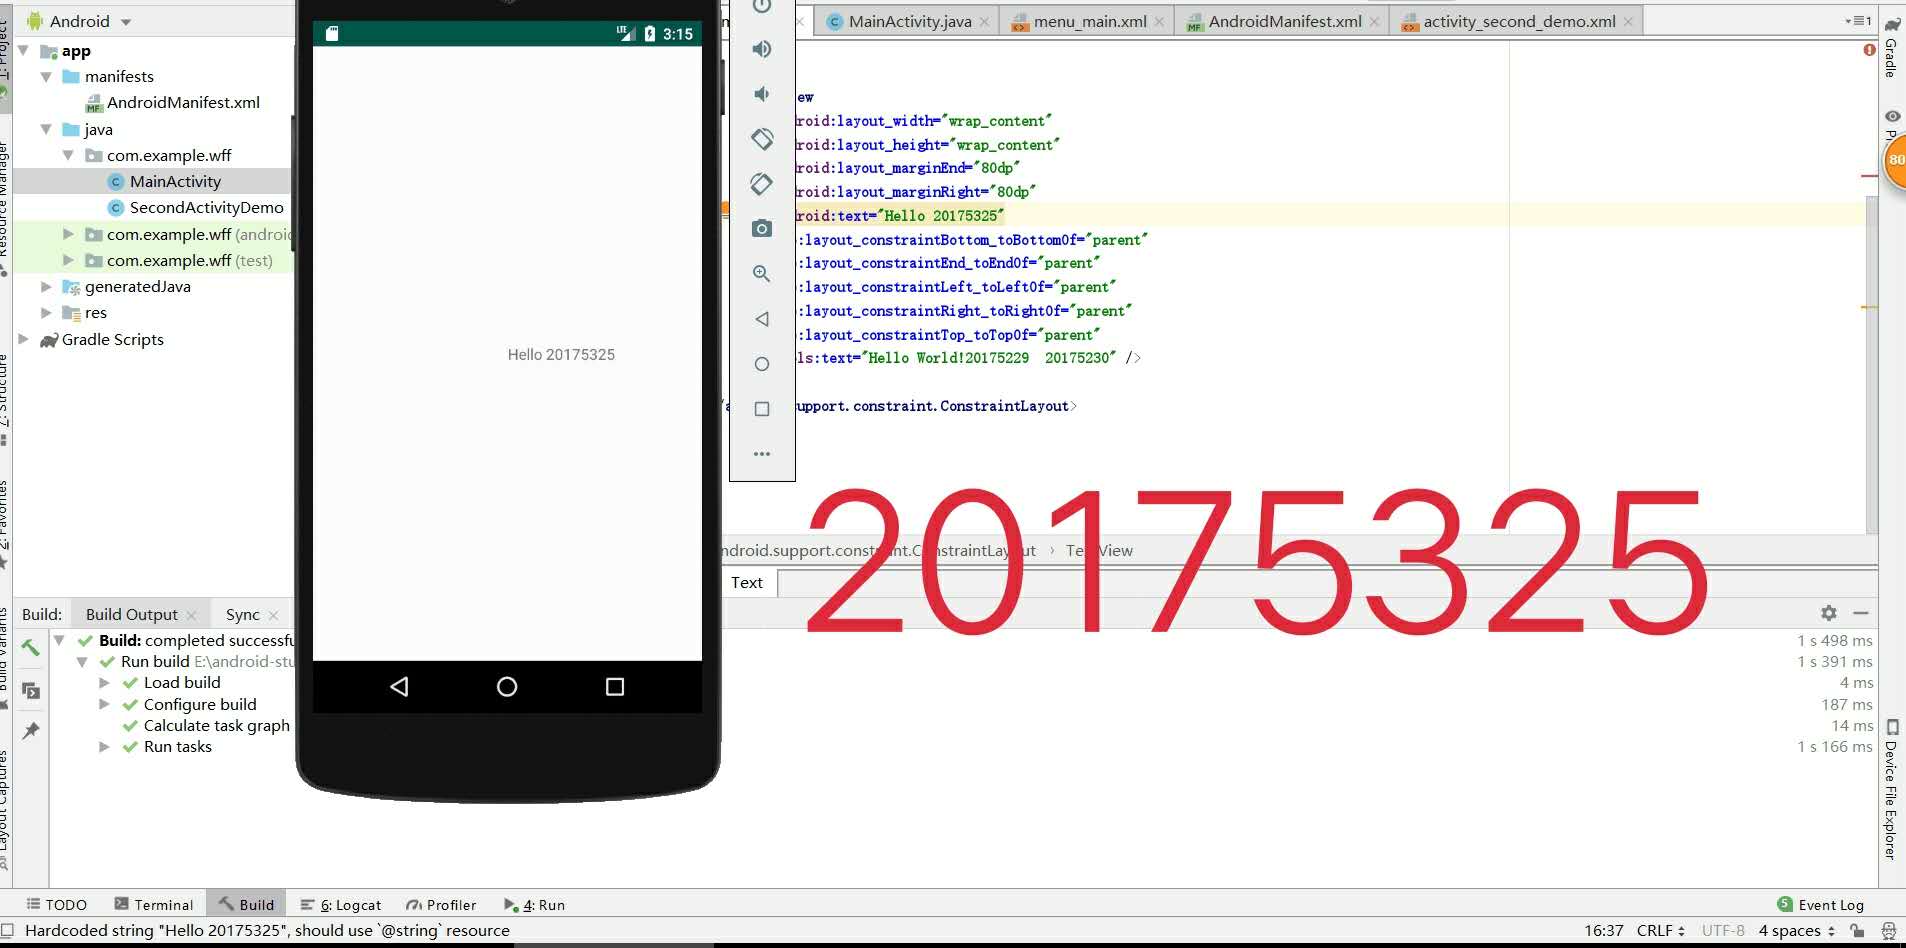
android:text="Hello 20175325"
app:layout_constraintBottom_toBottomOf="parent"
app:layout_constraintLeft_toLeftOf="parent"
app:layout_constraintRight_toRightOf="parent"
app:layout_constraintTop_toTopOf="parent"
</android.support.constraint.ConstraintLayout>
- 实验结果截图:
(二)、实验二
1、题目:
- Activity测试: 参考《Java和Android开发学习指南(第二版)(EPUBIT,Java for Android 2nd)》第二十五章:
- 构建项目,运行教材相关代码
- 创建 ThirdActivity, 在ThirdActivity中显示自己的学号,修改代码让MainActivity启动ThirdActivity
- 提交代码运行截图和码云Git链接,截图要有学号水印,否则会扣分
2、解答:
-
步骤:
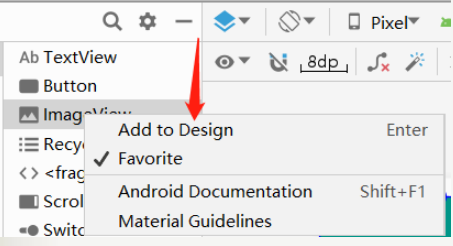
- 选择并创建一个empty activity
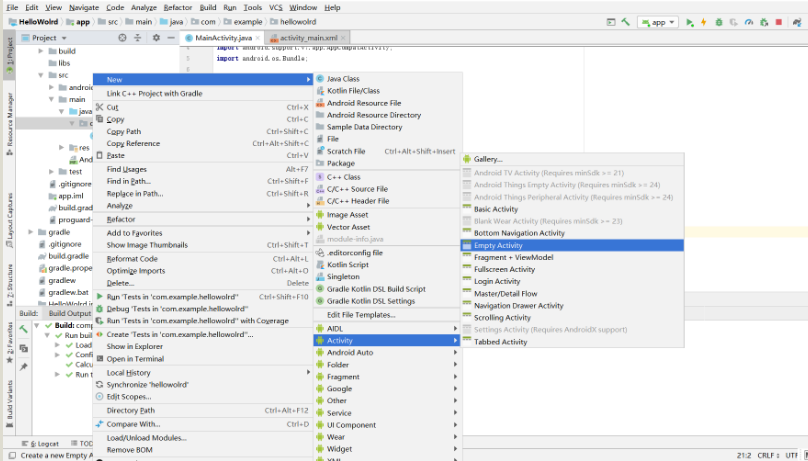
- 选择并创建一个empty activity
-
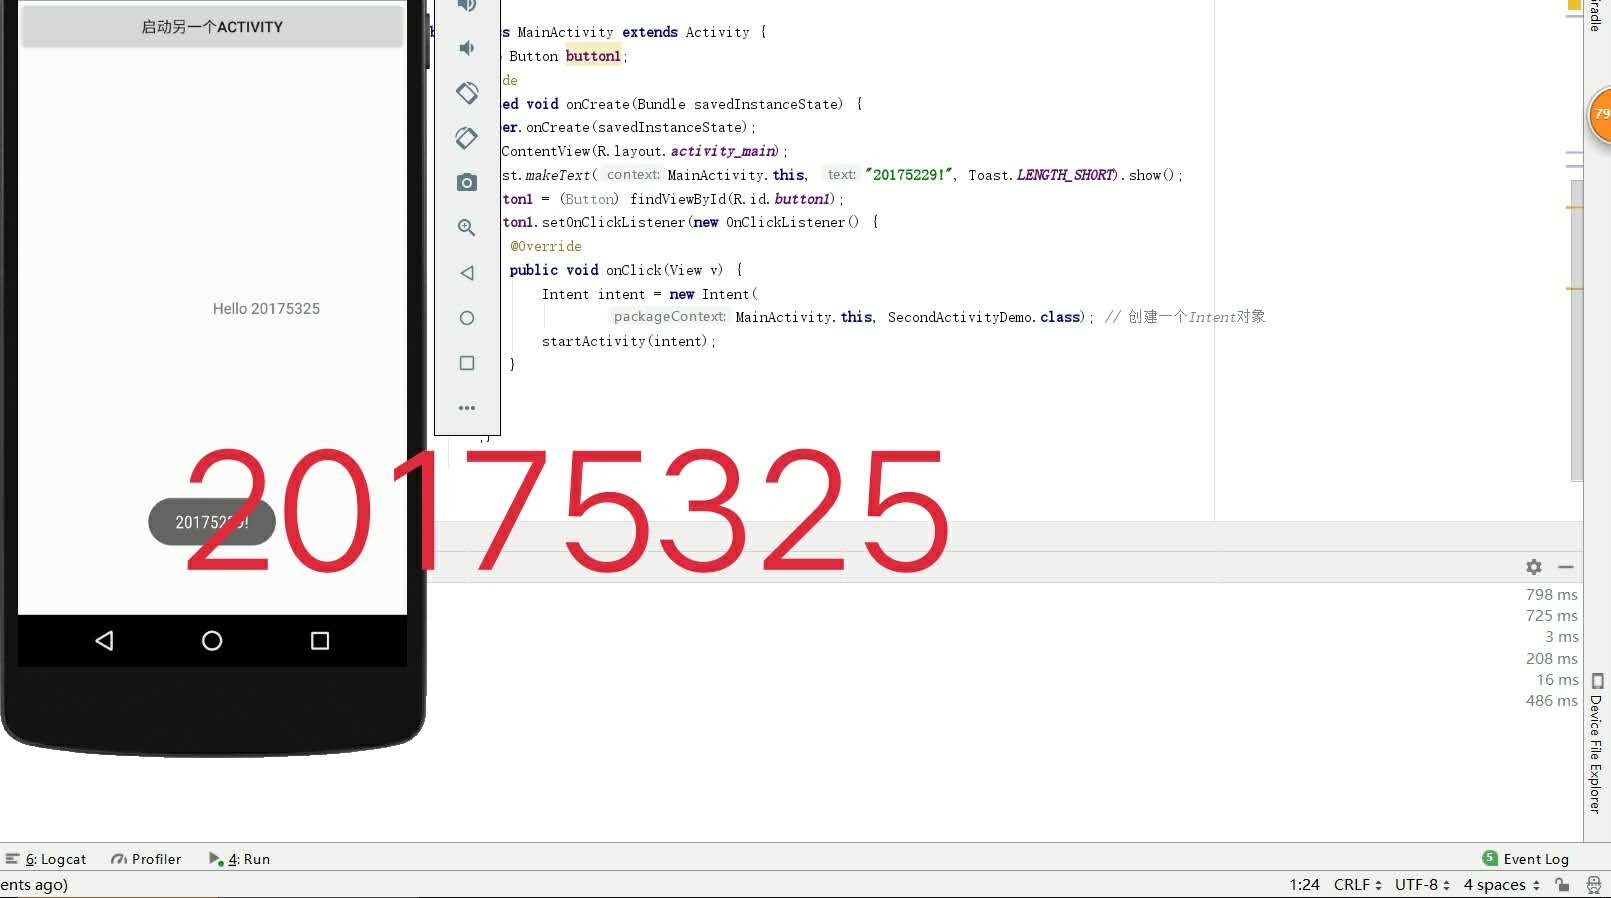
输入代码,并运行,点击按钮后,进入另一个界面
-
修改MainActivity
-
代码
 package com.example.helloworld;
 import android.support.v7.app.AppCompatActivity;
import android.os.Bundle;
 public class SecondActivityDemo extends AppCompatActivity {
     @Override
    protected void onCreate(Bundle savedInstanceState) {
        super.onCreate(savedInstanceState);
        setContentView(R.layout.activity_second_demo);
    }
   }
<?xml version="1.0" encoding="utf-8"?>
<android.support.constraint.ConstraintLayout xmlns:android="http://schemas.android.com/apk/res/android"
    xmlns:tools="http://schemas.android.com/tools"
    android:layout_width="match_parent"
    android:layout_height="match_parent"
    android:orientation="vertical">

    <TextView
        android:id="@+id/textView"
        android:layout_width="172dp"
        android:layout_height="139dp"
        android:text="20175126 Another Activity!"
        tools:layout_editor_absoluteX="153dp"
        tools:layout_editor_absoluteY="311dp"
        tools:ignore="MissingConstraints" />
</android.support.constraint.ConstraintLayout>
- 实验结果截图:

(三)、实验三
1、题目:
- UI测试: 参考《Java和Android开发学习指南(第二版)(EPUBIT,Java for Android 2nd)》第二十六章:
- 构建项目,运行教材相关代码
- 修改代码让Toast消息中显示自己的学号信息
- 提交代码运行截图和码云Git链接,截图要有学号水印,否则会扣分
2、解答:
- 步骤:
- 在MainActivity.java中操作
import android.widget.Toast;引入方法 Toast.makeText(MainActivity.this, "20175325!"Toast.LENGTH_SHORT).show();快速调用
- 在MainActivity.java中操作
- 实验代码:
package com.example.helloworld;

import android.app.Activity;
import android.content.Intent;
import android.os.Bundle;
import android.view.View;
import android.view.View.OnClickListener;
import android.widget.Button;
import android.widget.Toast;

public class MainActivity extends Activity {
    private Button button1;
    @Override
    protected void onCreate(Bundle savedInstanceState) {
        super.onCreate(savedInstanceState);
        setContentView(R.layout.activity_main);
        Toast.makeText(MainActivity.this, "20175126 Another Activity!", Toast.LENGTH_SHORT).show();
        button1 = (Button) findViewById(R.id.button1);
        button1.setOnClickListener(new OnClickListener() {
            @Override
            public void onClick(View v) {
                Intent intent = new Intent(
                        MainActivity.this, SecondActivityDemo.class); // 创建一个Intent对象
                       startActivity(intent);
            }

        })
   ;}
}
- 实验截图:
(四)、实验四
1、题目:
- 布局测试: 参考《Java和Android开发学习指南(第二版)(EPUBIT,Java for Android 2nd)》第二十七章:
- 构建项目,运行教材相关代码
- 修改布局让P290页的界面与教材不同
- 提交代码运行截图和码云Git链接,截图要有学号水印,否则会扣分
2、解答:
-
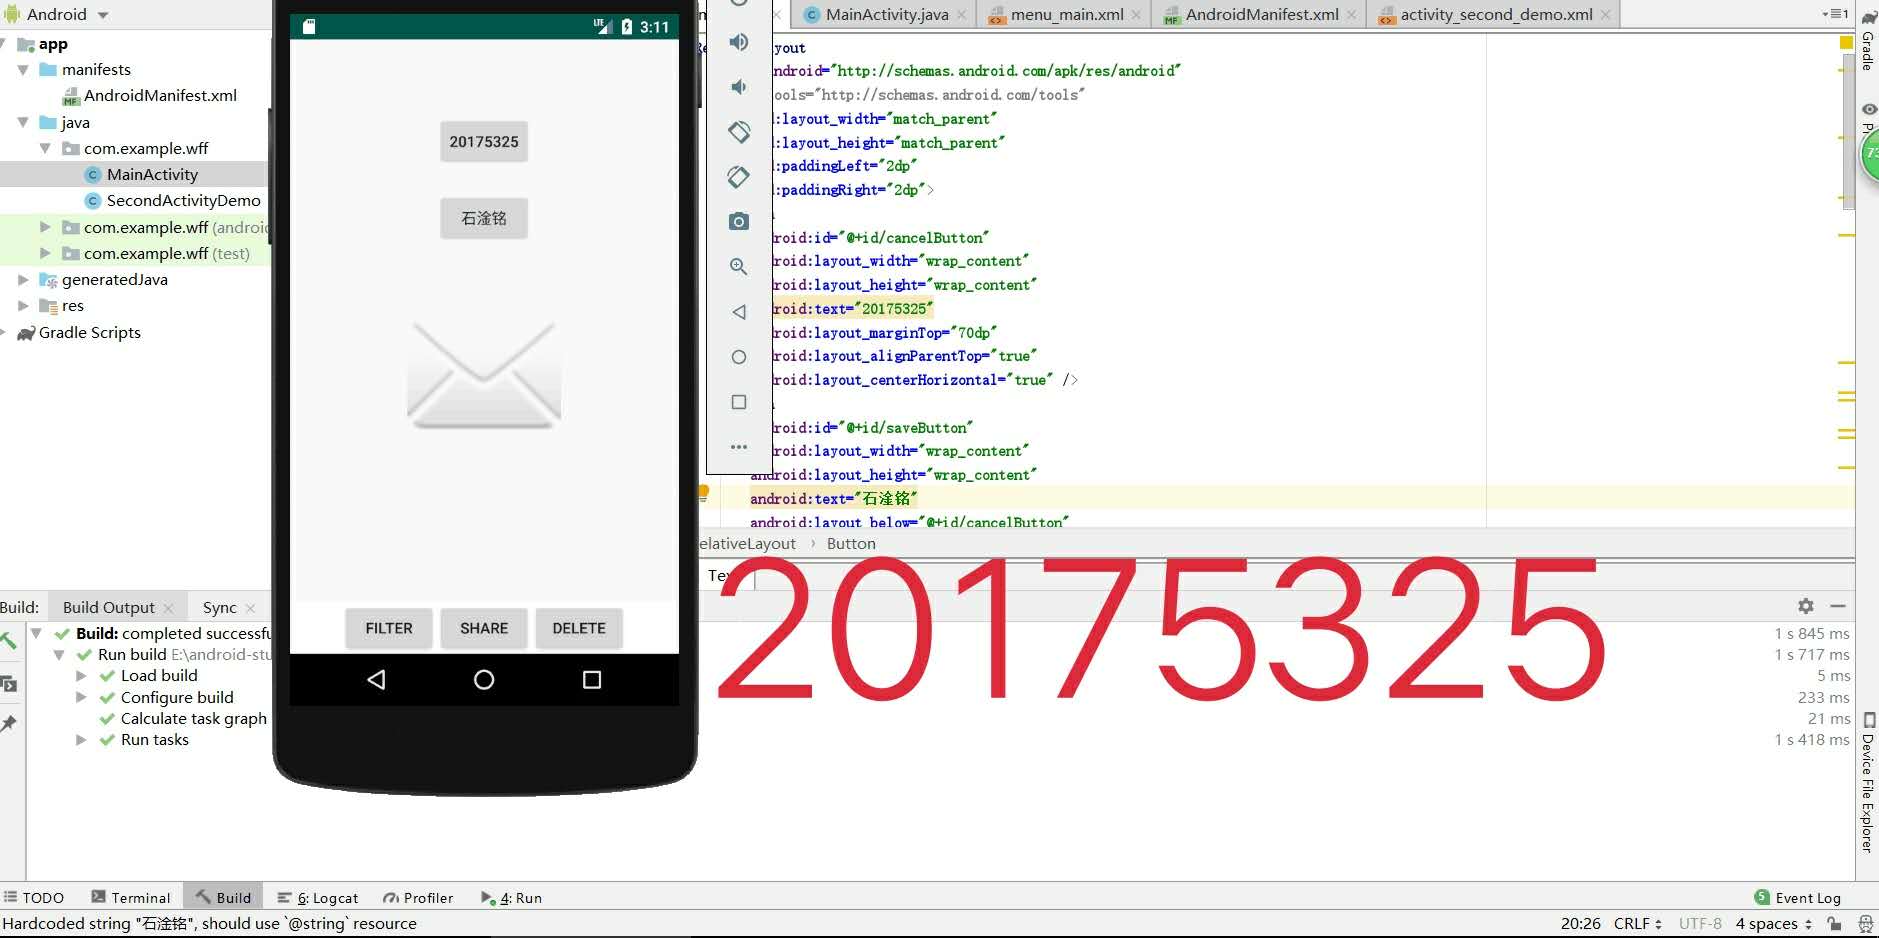
背景修改:
在设计界面直接进行背景的修改:

-
代码
<RelativeLayout
 xmlns:android="http://schemas.android.com/apk/res/android"
 xmlns:tools="http://schemas.android.com/tools"
 android:layout_width="match_parent"
 android:layout_height="match_parent"
 android:paddingLeft="2dp"
 android:paddingRight="2dp">
 <Button
     android:id="@+id/cancelButton"
     android:layout_width="wrap_content"
     android:layout_height="wrap_content"
     android:text="20175325"
     android:layout_marginTop="70dp"
     android:layout_alignParentTop="true"
     android:layout_centerHorizontal="true" />
 <Button
     android:id="@+id/saveButton"
     android:layout_width="wrap_content"
     android:layout_height="wrap_content"
     android:text="石淦铭"
     android:layout_below="@+id/cancelButton"
     android:layout_alignLeft="@+id/cancelButton"
     android:layout_alignStart="@+id/cancelButton"
     android:layout_marginTop="23dp" />
 <ImageView
     android:layout_width="150dp"
     android:layout_height="150dp"
     android:layout_marginTop="45dp"
     android:padding="4dp"
     android:src="@android:drawable/ic_dialog_email"
     android:id="@+id/imageView"
     android:layout_below="@+id/saveButton"
     android:layout_centerHorizontal="true" />
 <LinearLayout
     android:id="@+id/filter_button_container"
     android:layout_width="match_parent"
     android:layout_height="wrap_content"
     android:layout_alignParentBottom="true"
     android:gravity="center|bottom"
     android:background="@android:color/white"
     android:orientation="horizontal" >
     <Button
         android:id="@+id/filterButton"
         android:layout_width="wrap_content"
         android:layout_height="fill_parent"
         android:text="Filter" />
     <Button
         android:id="@+id/shareButton"
         android:layout_width="wrap_content"
         android:layout_height="fill_parent"
         android:text="Share" />
     <Button
         android:id="@+id/deleteButton"
         android:layout_width="wrap_content"
         android:layout_height="fill_parent"
         android:text="Delete" />
 </LinearLayout>
</RelativeLayout>
- 实验结果截图:
(五)、实验五
1、题目:
- 事件处理测试: 参考《Java和Android开发学习指南(第二版)(EPUBIT,Java for Android 2nd)》第二十八章:
- 构建项目,运行教材相关代码
- 提交代码运行截图和码云Git链接,截图要有学号水印,否则会扣分
2、解答:
- Android四种监听方式:
1.实现监听的接口
2.实现匿名内部类
3.使用外部类
4.直接在xml中设置监听
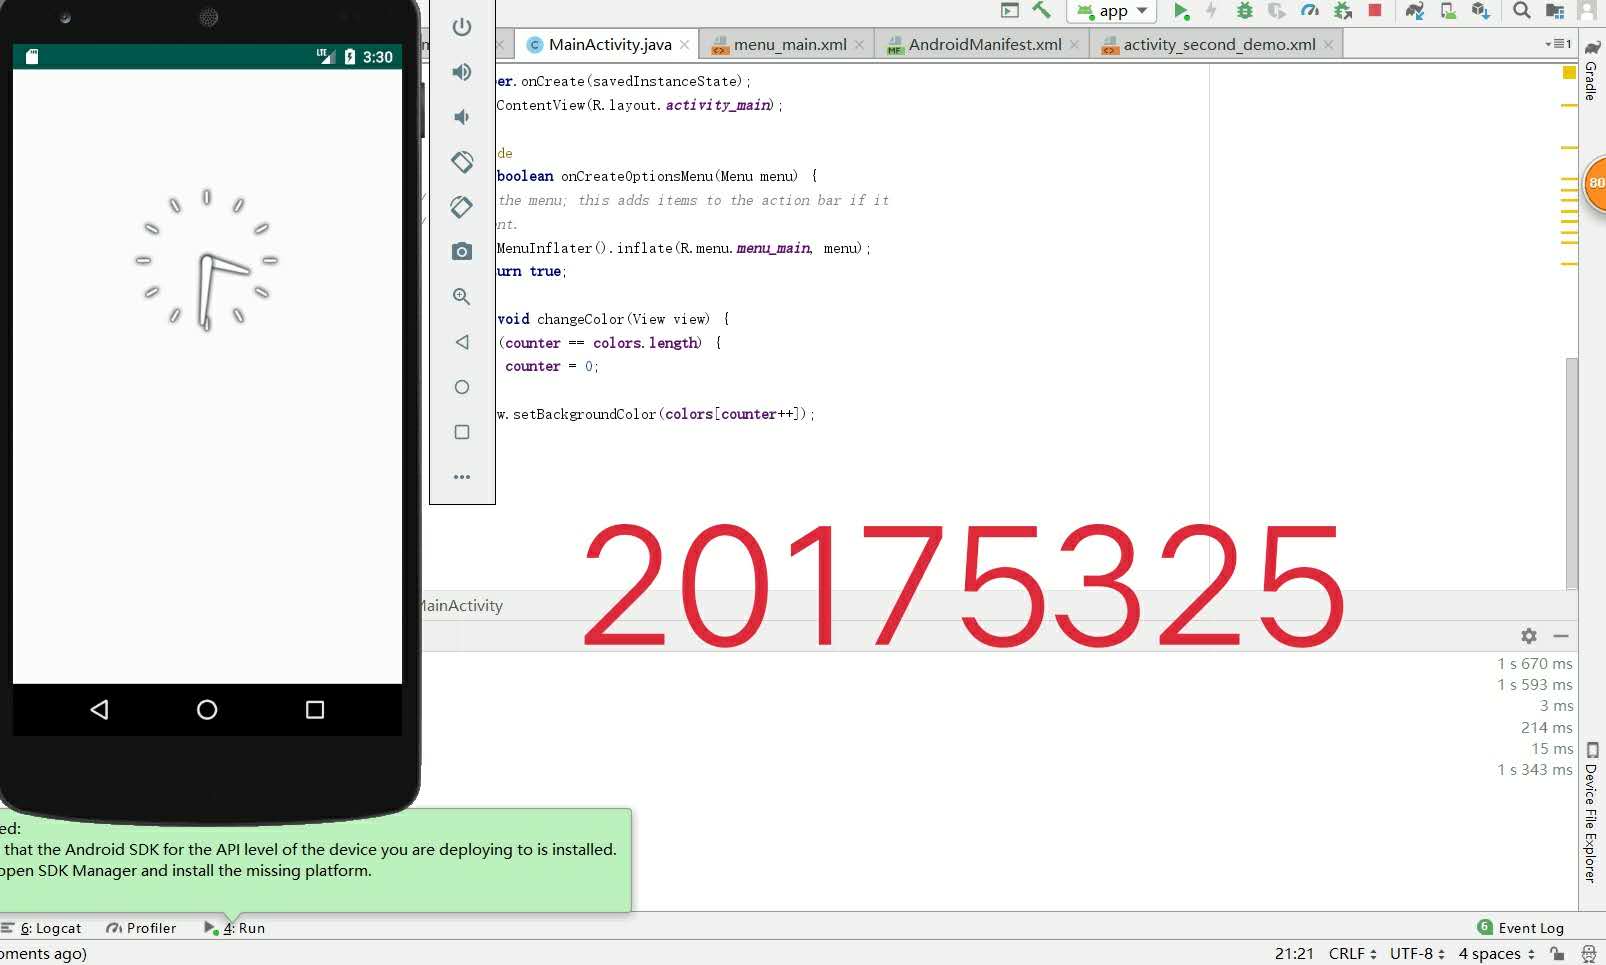
- 实验截图:
三、感想:
在本次实验中,对一些知识和概念并不了解,在实验的过程中遇到了一些问题,我参考了一些博客。通过这次实验,初步接触了开发方面的知识的运用,对Android开发基本功能的运用有所了解。