一,消息提示基本语法。
1,先新建一个Flask工作空间。
2,新建后自动得到一个app.py文件,直接运行可以看到基本效果。然后引入
from flask import flash。使用这个flash时候需要配置秘钥secret_key,flask会通过它对消息进行加密。并引入模板库
render_template。
 3,在“templates”文件夹下新建“index.html”文件,代码如下:
 1 <!DOCTYPE html>
 2 <html lang="en">
 3 <head>
 4     <meta charset="UTF-8">
 5     <title>Title</title>
 6 </head>
 7 <body>
 8 <h1>Hello,Login</h1>
 9
10 <h2>{{ get_flashed_messages()[0] }}</h2>
11 </body>
12 </html>
注:第10行是获取flash的函数,返回的是list,所以在后面加上序号。
app.py代码:
 1 from flask import Flask,flash,render_template
 2
 3 app = Flask(__name__)
 4 app.secret_key = '123'
 5
 6 @app.route('/')
 7 def hello_world():
 8     flash("Hello JiKeXueYuan!")
 9     return render_template("index.html")
10
11 if __name__ == '__main__':
12     app.run()
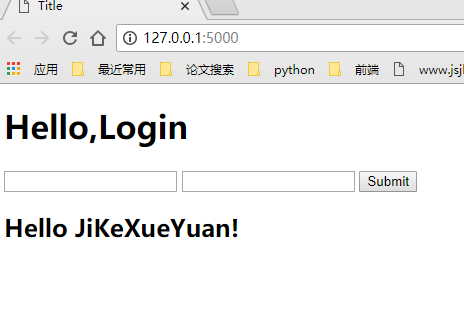
结果:

可以看到,接受的"Hello JiKeXueYuan!"已经显示到网页上了。这句话就是提示语句,比如你填写表单时你忘记填一个东西他会提示你就用这个方法做。
二,表单提示实例
app.py
 1 from flask import Flask,flash,render_template,request
 2
 3 app = Flask(__name__)
 4 app.secret_key = '123'
 5
 6 @app.route('/')
 7 def hello_world():
 8     flash("Hello JiKeXueYuan!")
 9     return render_template("index.html")
10
11 @app.route("/login",methods=['POST'])
12 def login():
13     form = request.form
14     username = form.get('username')
15     password = form.get('password')
16
17     if not username:
18         flash("Please input username!")
19         return render_template("index.html")
20     if not password:
21         flash("Please input password!")
22     if username == "jkxy" and password=="123":
23         flash("Login success!")
24         return render_template("index.html")
25     else:
26         flash("Username or Password is wrong!")
27         return render_template("index.html")
28 if __name__ == '__main__':
29     app.run()
注意:这里要用一个request用于13行的表单数据的请求。
注意:index和app里的传递方法都是POST,要一致才行。而且注意app里的写法是“methods=['POST']”
index.html
 1 <!DOCTYPE html>
 2 <html lang="en">
 3 <head>
 4     <meta charset="UTF-8">
 5     <title>Title</title>
 6 </head>
 7 <body>
 8 <h1>Hello,Login</h1>
 9 <form action="/login" method="post">
10     {#action方法注意,POST#}
11     <input type="text" name="username">
12     <input type="password" name="password">
13     <input type="submit" value="Submit">
14 </form>
15 <h2>{{ get_flashed_messages()[0] }}</h2>
16 </body>
17 </html>
结果:
1,不填表单直接提交:
2,只填写用户名:
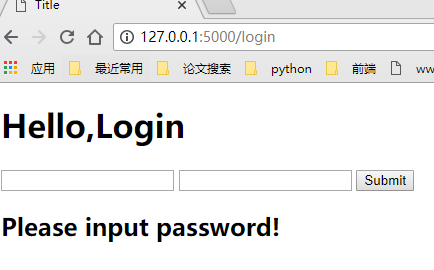
大家有没注意到1中“Hello JiKeXueYuan!”这句话直接出现在1图中,但是在输入框中输入文字后,本来显示这句话的位置变成了提示语句。
因为这些语句都在app.py中第9行的模板是index(此时URL页面显示在根目录),而在index中还有表单语句,在表单中输入内容后跳转到login。
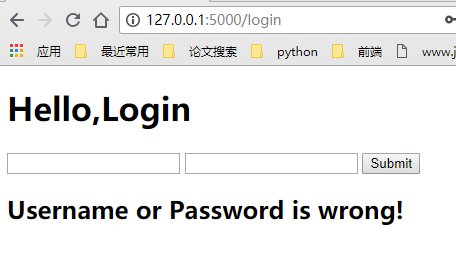
3,都填错了:
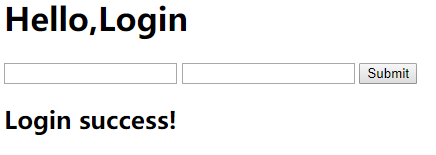
4,都填对了(我们在代码中内置了用户名和密码:jkxy,123):
注意点:
当没有加入根目录是时候:

则会出现以下情况:
