1.0 搞了很多天,eclipse只能开发Android6.0以前的版本,可能是因为谷歌不再针对eclipse更新了,在虚拟机Android6.0以上版本都无法构建,所以转到Android Studio这里来。
2.0 Android Studio也弄很很久很久,都怪Google被封,导致gradle在自动适配时没法连上Google相关的网,折腾了超级久,怎么都不行,后来——没错,我翻墙了(说实话,现在想免费翻墙真难)。
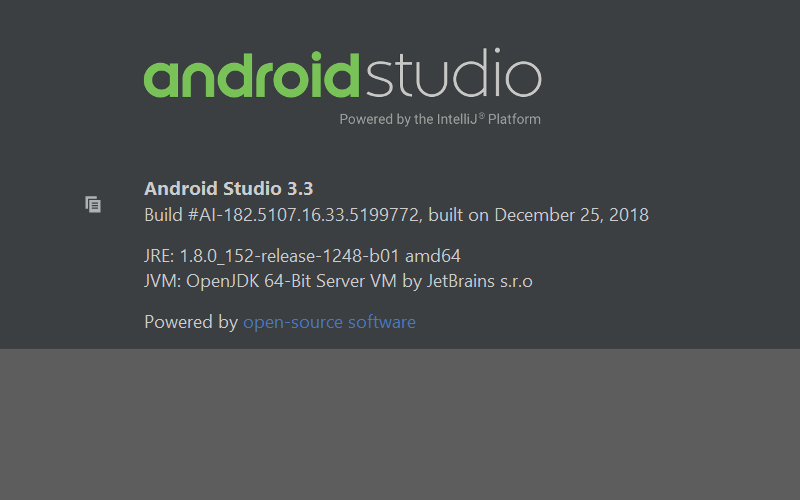
3.0 我装好了两个Android Studio版本,一个是 绿色图标 的稳定版,不出什么问题的话,直接拿稳定版开发:
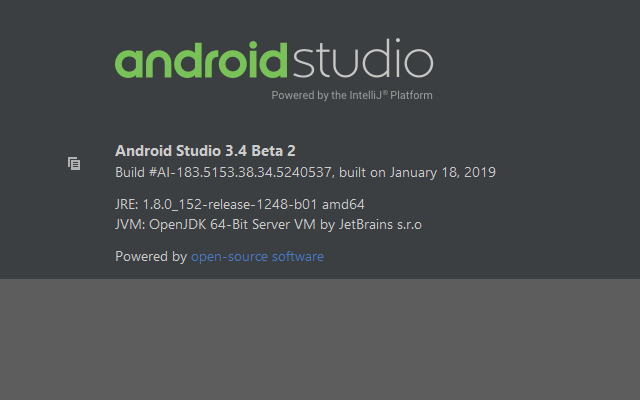
一个是 黄色图标 的最新预览版(测试版):
3.0 由于之前学过,所-以很多基础性的东西都不想写了,想入门的可以参考:
《第一行代码——Android》 郭霖著. --第二版 北京:人民邮电出版社,2016.12

4.0 现在的情况是,Android studio能在正常运行,新建helloworld项目,可以在虚拟机上顺利跑起来,因为的我的手机是Android9.0系统(华为荣耀手机),所以虚拟机也建的Android9.0系统。
首先Android开发有个概念,就是活动(activity),可理解为一个活动 == 一个可视化界面。
5.0 修改应用名称和图标
在Project格式的目录下,helloworld/app/src/main/res/values/string.xml中,里面的helloworld就是应用名称。
在代码中通过R.string.app_name可以获得该字符串的引用。
在xml中通过@string/app_name可以获得该字符串的引用。
其中的string换成drawable表示引用图片资源,换成mipmap表示引用应用图标,layout表示引用布局文件。
打开helloworld/app/src/main/AndroidMainfest.xml,
<application
        android:allowBackup="true"
<!--应用图标通过android:icon属性指定,应用名称通过android:label属性指定-->
          android:icon="@mipmap/ic_launcher"
        android:label="@string/app_name"
        android:roundIcon="@mipmap/ic_launcher_round"
        android:supportsRtl="true"
        android:theme="@style/AppTheme">
        <activity android:name=".MainActivity">
            <intent-filter>
                <action android:name="android.intent.action.MAIN" />

                <category android:name="android.intent.category.LAUNCHER" />
            </intent-filter>
        </activity>
    </application>
由此可以明白怎么修改应用的图标和名称。
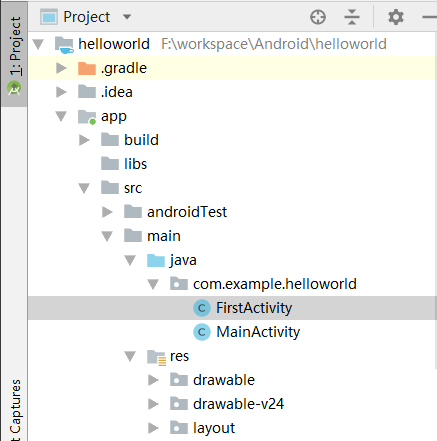
6.0 在com.example.helloworld目录下右击→new→activity→Empty activity,活动名称命名为FirstActivity,不要勾选“Generate Layout File”和“Launcher Activity”。
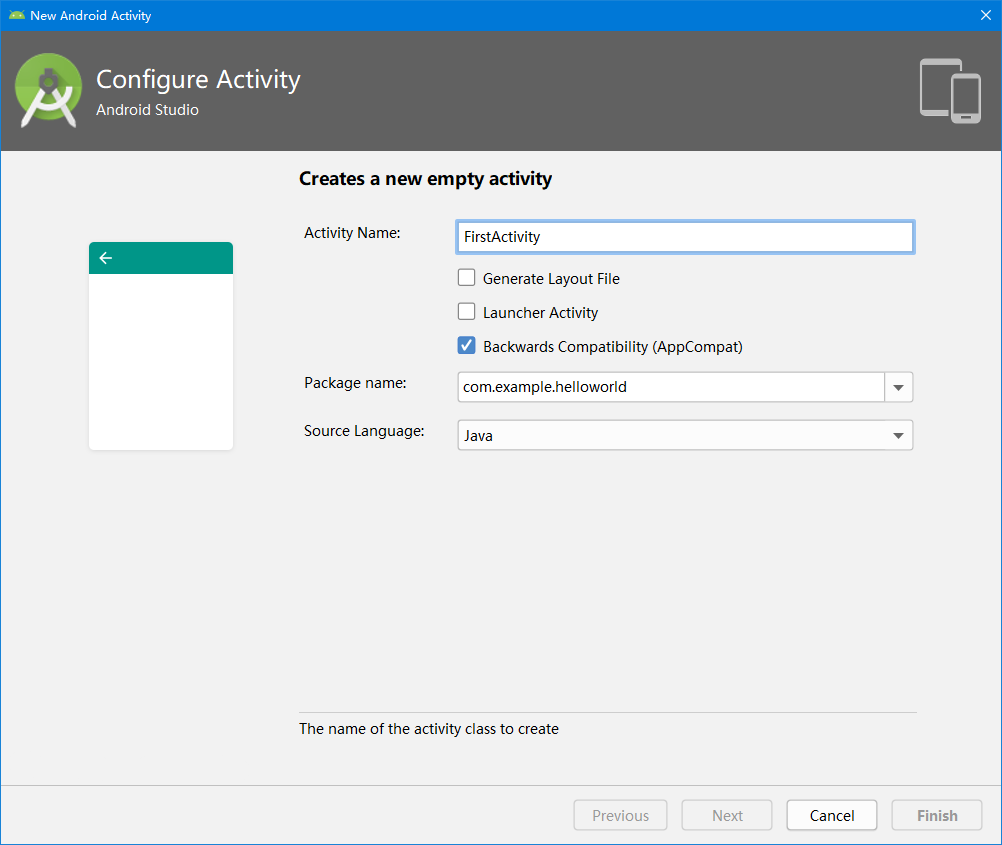
7.0 勾选“Generate Layout File”会自动为FirstActivity创建一个对应布局文件,勾选“Launcher Activity”会表示自动将FirstActivity设置为主活动。勾选Backwards Compatibility表示会为项目启用向下兼容模式,这个选项要勾上。
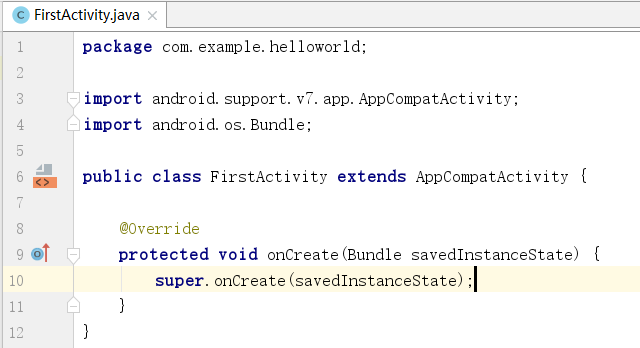
8.0 任何活动都要重写Activity中的onCreate()方法,每个我们新建activity都会自动生成好:
9.0 Android程序讲究逻辑与视图分离,最好每一个活动对应一个布局,布局就是用来显示界面内容的。下面手动创建一个布局。
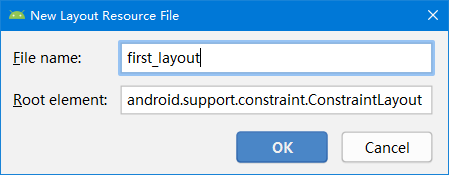
右击app/src/main/res目录→New→Directory,会弹出一个新建目录创后,这里创建一个名为layout的目录(我的已经有了),然后对着layout目录右键→New→Layout resource file,又会翻出一个新建布局资源文件的窗口,将布局文件命名为first_layout,根元素默认选择为LinearLayout(在新的性能中,默认使用ConstraintLayout,一种更好的布局):
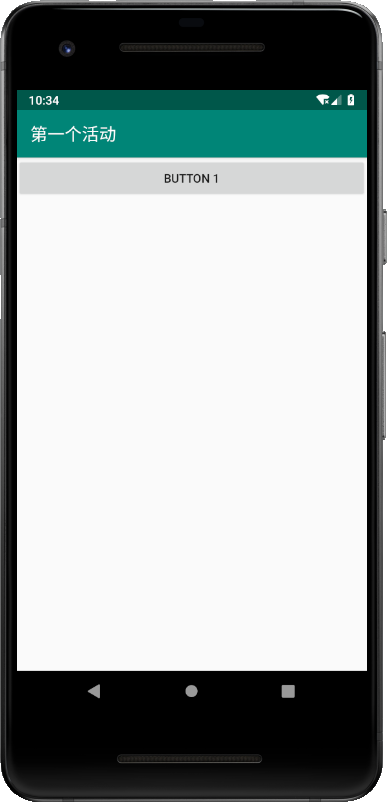
10.0 添加button组件:
<?xml version="1.0" encoding="utf-8"?>
<android.support.constraint.ConstraintLayout
    xmlns:android="http://schemas.android.com/apk/res/android"
    android:layout_width="match_parent"
    android:layout_height="match_parent">

    <Button
        android:id="@+id/button_1"
        android:layout_width="match_parent"
        android:layout_height="wrap_content"
        android:text="Button 1"
        />
</android.support.constraint.ConstraintLayout>
11.0 其中button会标红线,原因是没有规范好布局,缺少约束,会使空间置顶排列。
然后在FirstActivity中添加
“
setContentView(R.layout.first_layout);
”:
package com.example.helloworld;

import android.support.v7.app.AppCompatActivity;
import android.os.Bundle;

public class FirstActivity extends AppCompatActivity {

    @Override
    protected void onCreate(Bundle savedInstanceState) {
        super.onCreate(savedInstanceState);
        setContentView(R.layout.first_layout);
    }
}
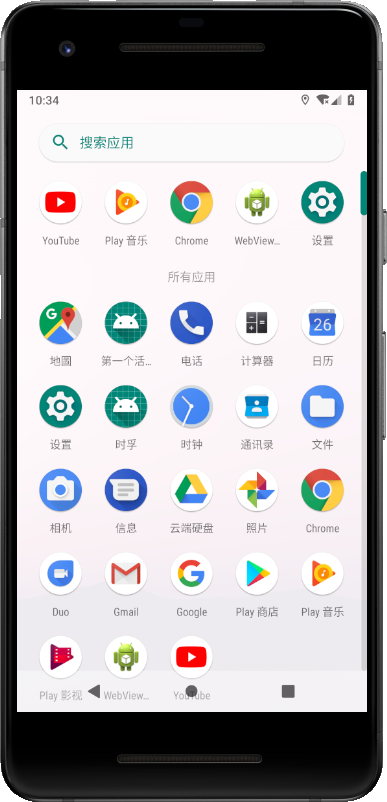
12.0 在AndroidManifest.xml中已经自动生成name为“FirstActivity”的activity标签,里面增加如下代码:
 <activity android:name=".FirstActivity"
            android:label="第一个活动">
            <intent-filter>
                <action android:name="android.intent.action.MAIN" />
                <category android:name="android.intent.category.LAUNCHER" />
            </intent-filter>
        </activity>
运行:
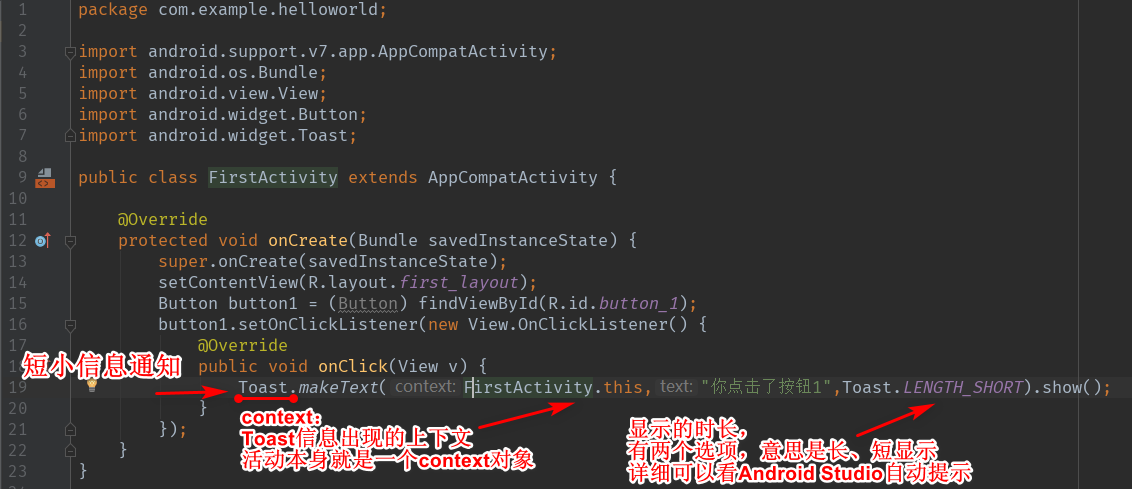
13.0 在FirstActivity增加如下代码:
Button button1 = (Button) findViewById(R.id.button_1);
        button1.setOnClickListener(new View.OnClickListener() {
            @Override
            public void onClick(View v) {
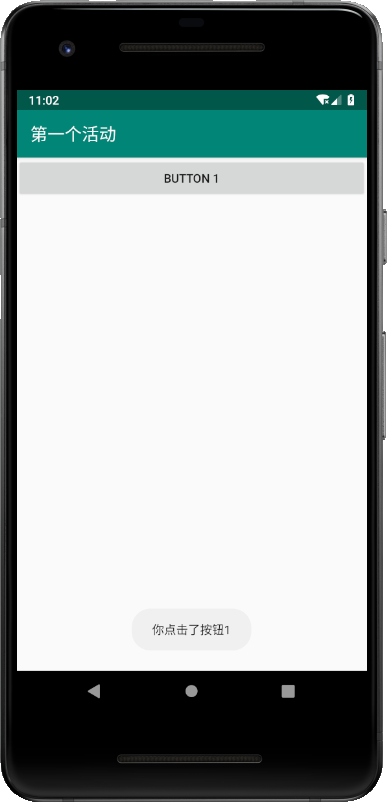
                Toast.makeText(FirstActivity.this,"你点击了按钮1",Toast.LENGTH_SHORT).show();
            }
        });
运行:
END