docker搭建gitlab
创建容器可以直接使用正确映射方法启动容器章节,避免掉坑
创建宿主机挂载目录
由于是docker镜像运行, 所以我们需要把gitlab的
配置, 数据, 日志存到容器外面, 即将其挂载到宿主机。先准备三个目录:
[root@localhost ~]# cd /srv
[root@localhost srv]# mkdir gitlab
[root@localhost srv]# cd gitlab
[root@localhost gitlab]# ls
[root@localhost gitlab]# mkdir config logs data
[root@localhost gitlab]# ls
config  data  logs
拉取镜像
[root@localhost gitlab]# docker pull gitlab/gitlab-ce
Using default tag: latest
latest: Pulling from gitlab/gitlab-ce
16ec32c2132b: Pull complete
a3ffc39dc4a2: Pull complete
fb4084b9c931: Pull complete
19d626b4945e: Pull complete
f9bb9f2afcb2: Pull complete
bb4963790296: Pull complete
da7df64f6f8a: Pull complete
cfa12a8835f4: Pull complete
Digest: sha256:515ff158992ac63b55b0a5f658db14428dd82403dd8b228ff82678723062fc79
Status: Downloaded newer image for gitlab/gitlab-ce:latest
docker.io/gitlab/gitlab-ce:latest
创建容器--参考下面正确的映射方法启动容器章节
本方法不适合CI流程
docker run --detach --publish 443:443 --
publish 9001:80 --publish 8022:22 --
hostname 虚拟机的Ip --name mygitlab --
restart always -v
/srv/gitlab/config:/etc/gitlab -v
/srv/gitlab/logs:/var/log/gitlab -v
/srv/gitlab/data:/var/opt/gitlab -v
/etc/localtime:/etc/localtime:ro --
privileged=true gitlab/gitlab-ce


docker run -di --publish 443:443 --publish 9001:80 --publish 8022:22 --hostname 192.168.222.128 --name mygitlab
--restart always -v
/srv/gitlab/config:/etc/gitlab -v
/srv/gitlab/logs:/var/log/gitlab -v
/srv/gitlab/data:/var/opt/gitlab -v
/etc/localtime:/etc/localtime:ro --privileged=true gitlab/gitlab-ce
[root@localhost gitlab]# docker run -di --publish 443:443 --publish 9001:80 --publish 8022:22 --hostname 192.168.222.128 --name mygitlab
> --restart always -v
> /srv/gitlab/config:/etc/gitlab -v
> /srv/gitlab/logs:/var/log/gitlab -v
> /srv/gitlab/data:/var/opt/gitlab -v
> /etc/localtime:/etc/localtime:ro --privileged=true gitlab/gitlab-ce
00f2fda383598aabd32271dd797a16c63909452d790755fa5c54b91f28d48474


[root@localhost gitlab]# docker ps
CONTAINER ID   IMAGE                  COMMAND                  CREATED          STATUS                             PORTS                                                                                                                 NAMES
00f2fda38359   gitlab/gitlab-ce       "/assets/wrapper"        54 seconds ago   Up 52 seconds (health: starting)   0.0.0.0:443->443/tcp, :::443->443/tcp, 0.0.0.0:8022->22/tcp, :::8022->22/tcp, 0.0.0.0:9001->80/tcp, :::9001->80/tcp   mygitlab
访问gitlab
输入IP和端口直接访问
获取默认密码
使用默认密码登录
gitlab-ce-14初装以后,把密码放在了一个临时文件中了
/etc/gitlab/initial_root_password
这个文件将在首次执行reconfigure后24小时自动删除
我做了挂载映射
[root@localhost ~]# cd /srv/gitlab/config

[root@localhost config]# cat initial_root_password
#WARNING: This value is valid only in the following conditions
#1. If provided manually (either via `GITLAB_ROOT_PASSWORD` environment variable or via `gitlab_rails['initial_root_password']` setting in `gitlab.rb`, it was provided before database was seeded for the first time (usually, the first reconfigure run).
#2. Password hasn't been changed manually, either via UI or via command line.
#If the password shown here doesn't work, you must reset the admin password following https://docs.gitlab.com/ee/security/reset_user_password.html#reset-your-root-password.

Password: PG11oMOtejZK8HUIlWv140dc3VN+JBpLE1xE6LFga1I=
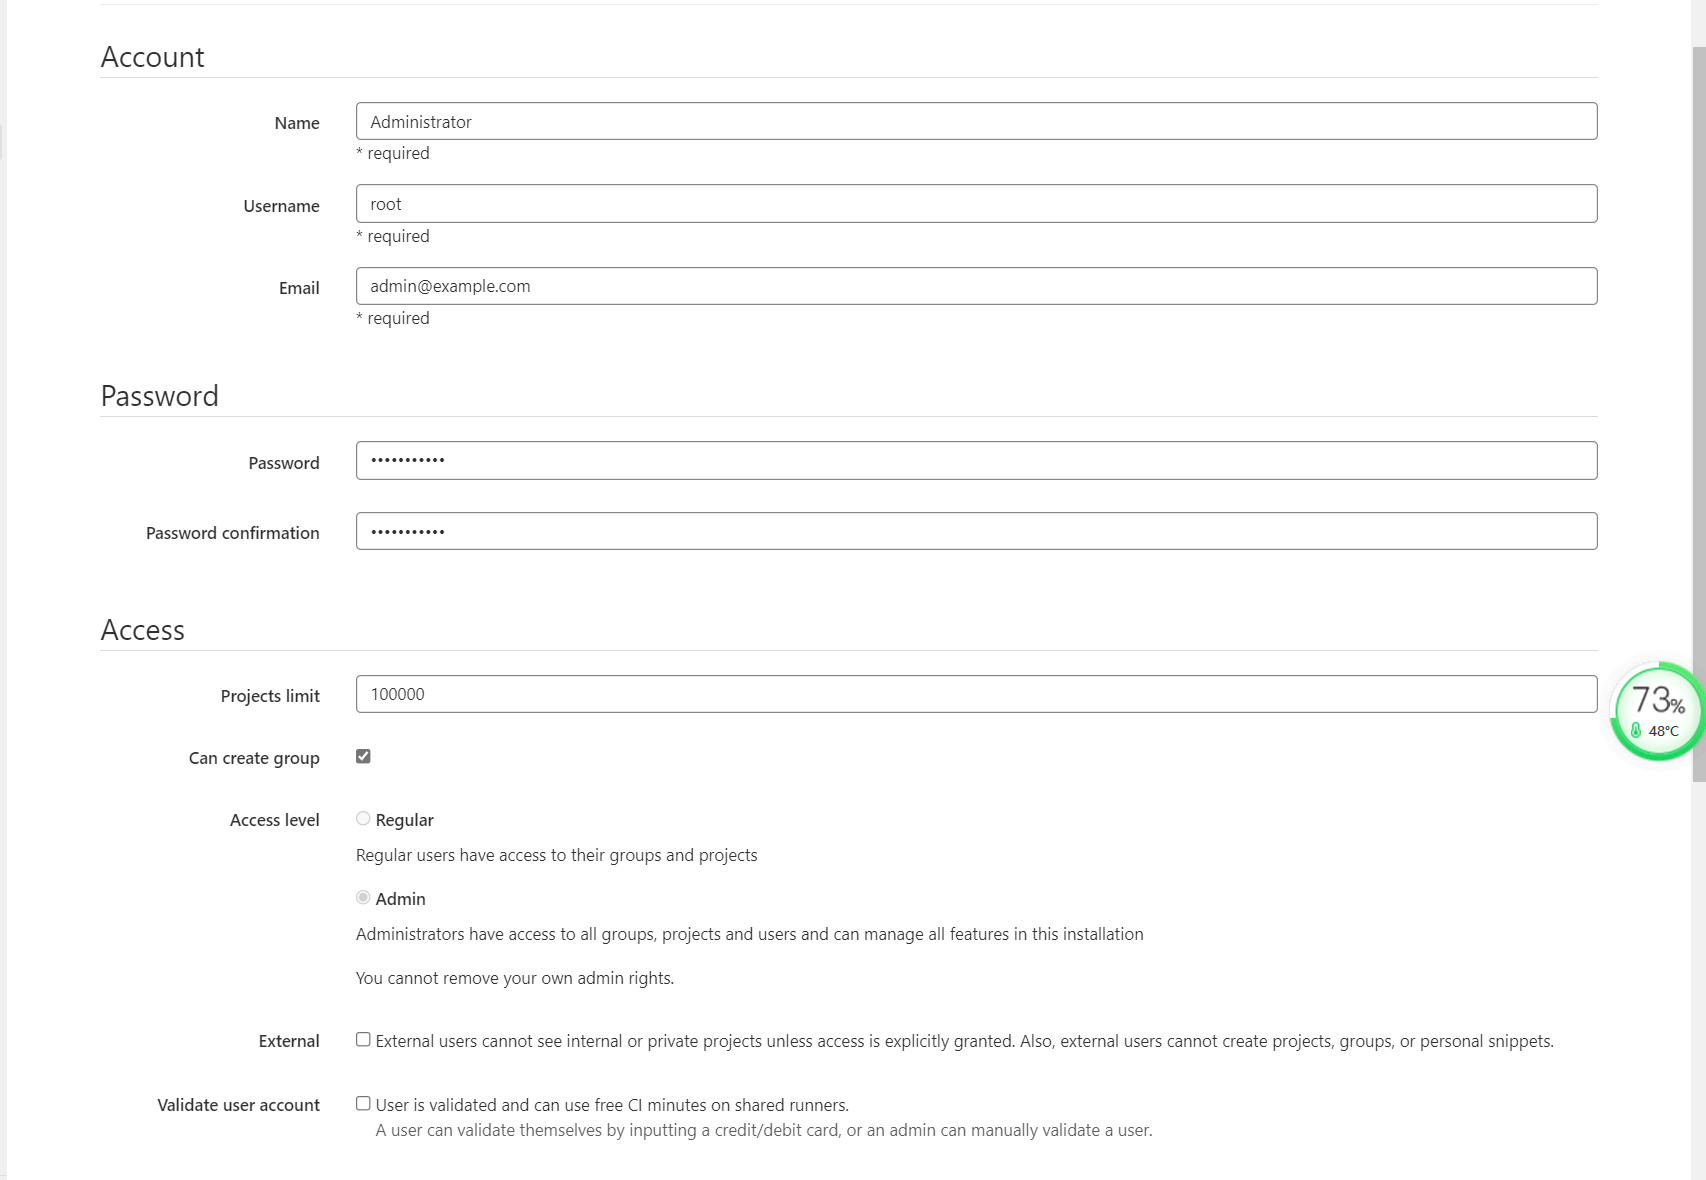
修改密码
输入密码,点击change
重新使用新密码登录
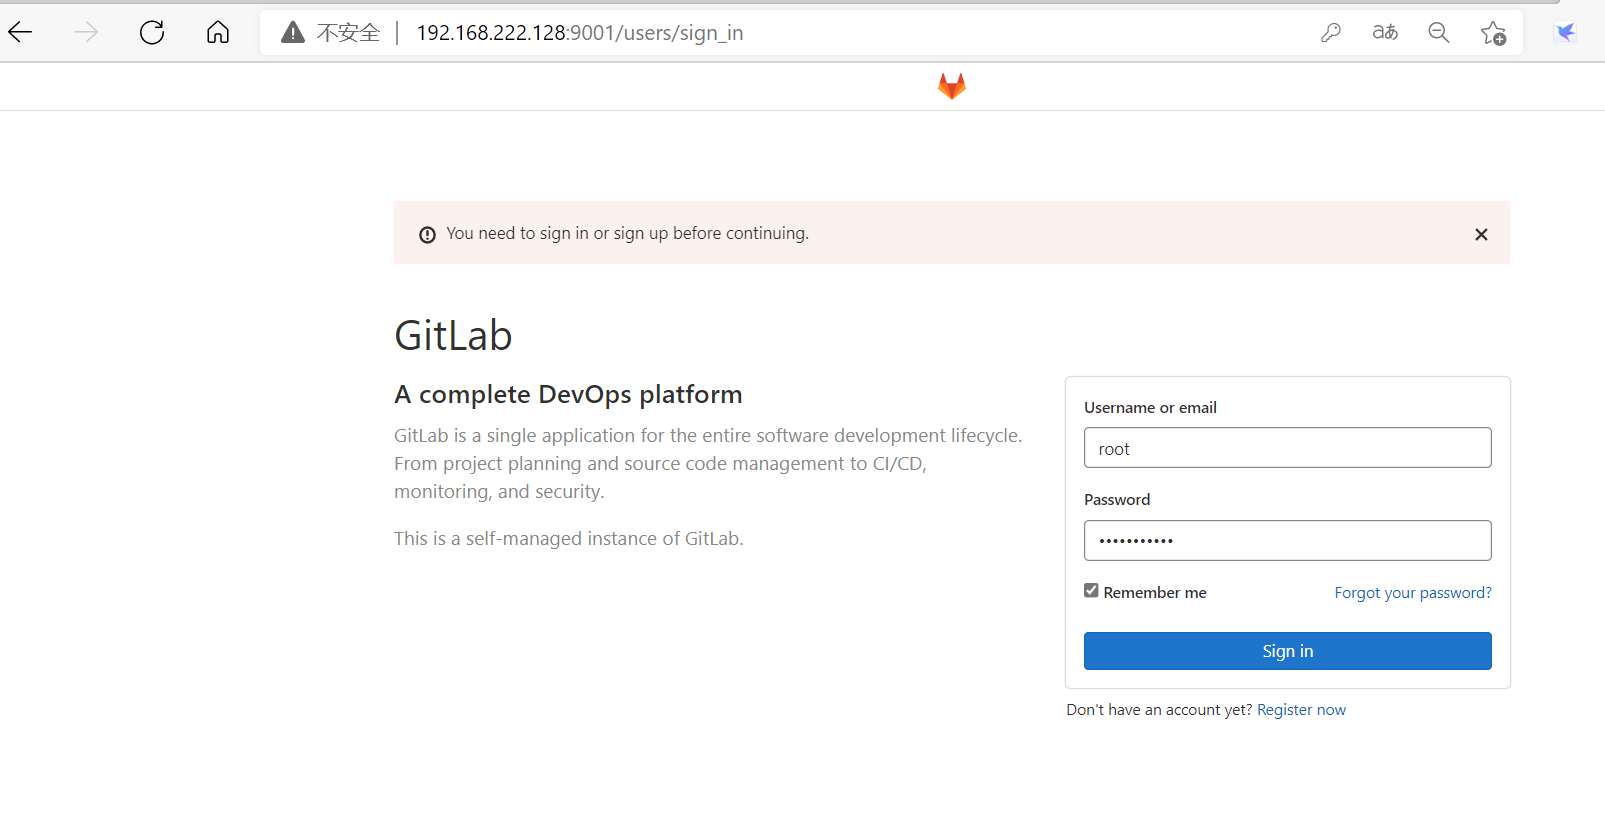
登录成功
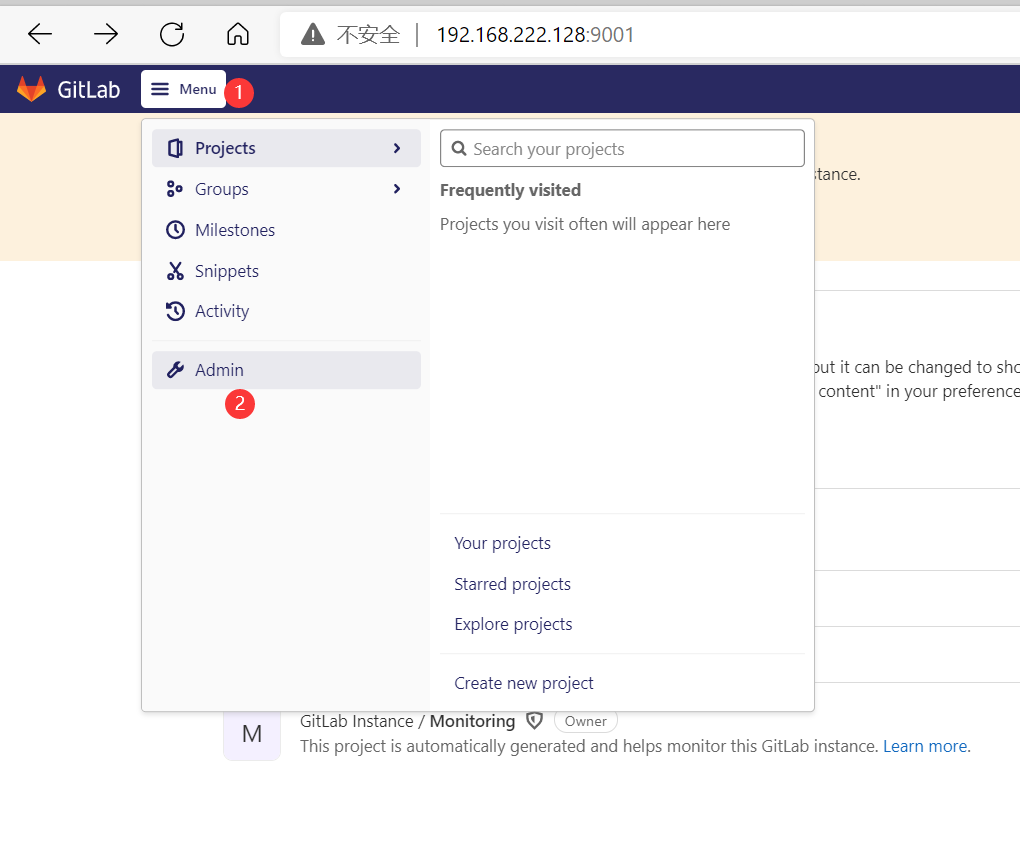
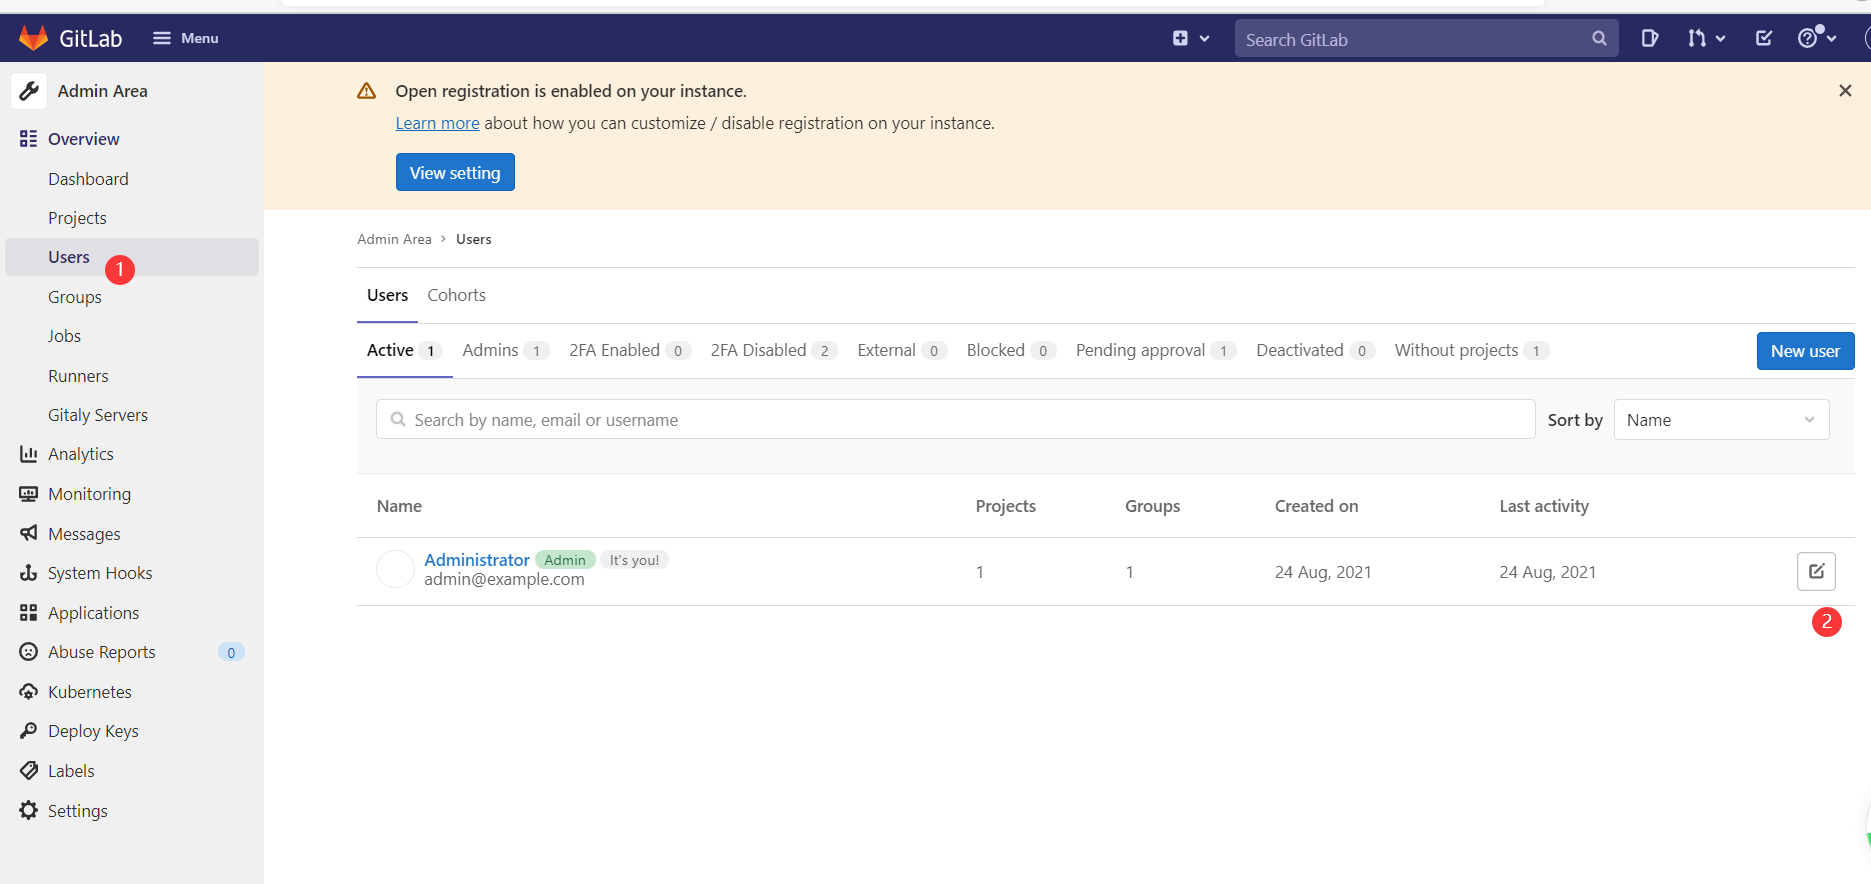
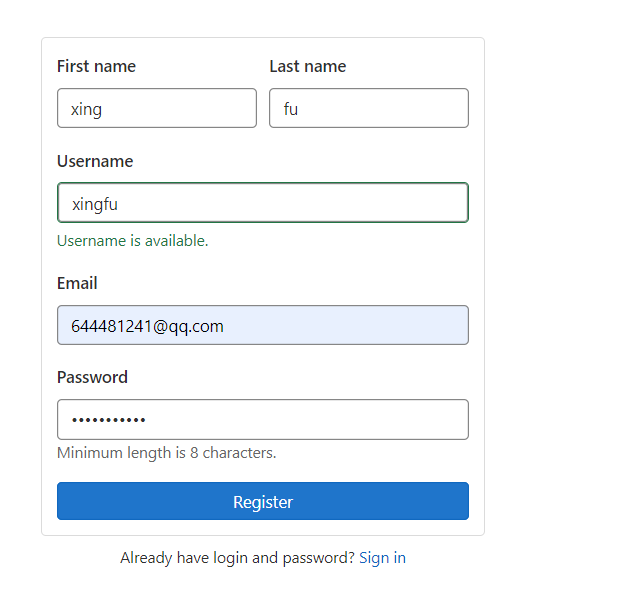
注册新用户
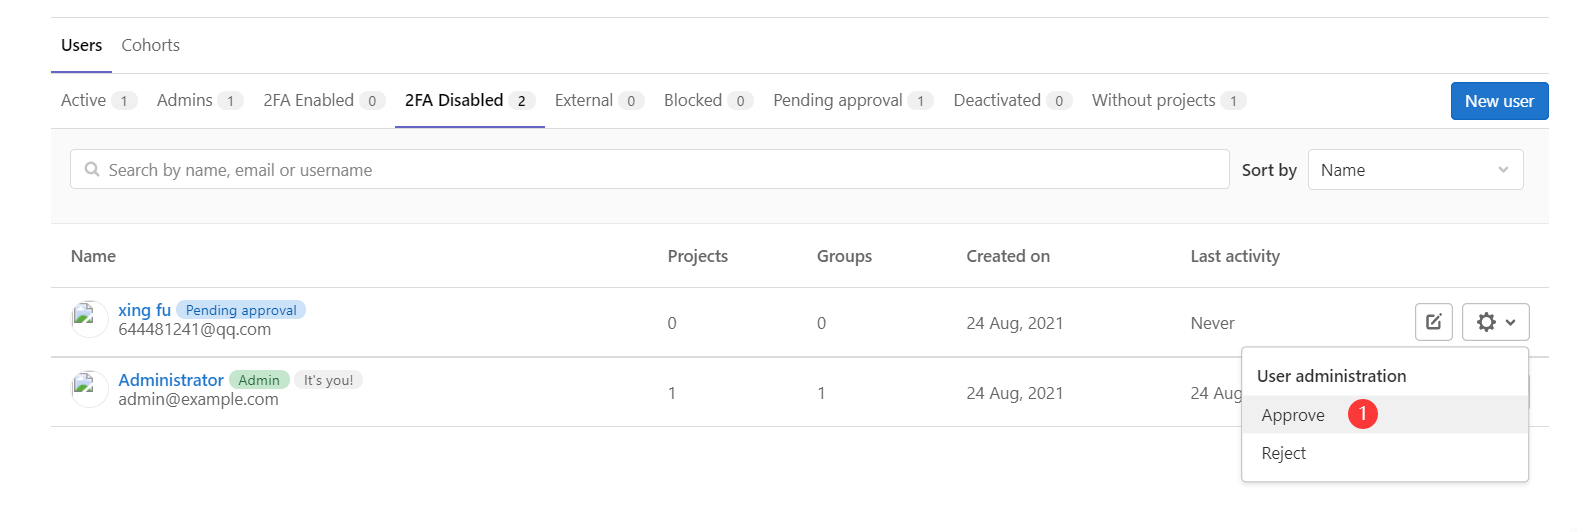
You have signed up successfully. However, we could not sign you in because your account is awaiting approval from your GitLab administrator.
新用户登录报错解决:
使用root登录,进行审批通过就可以

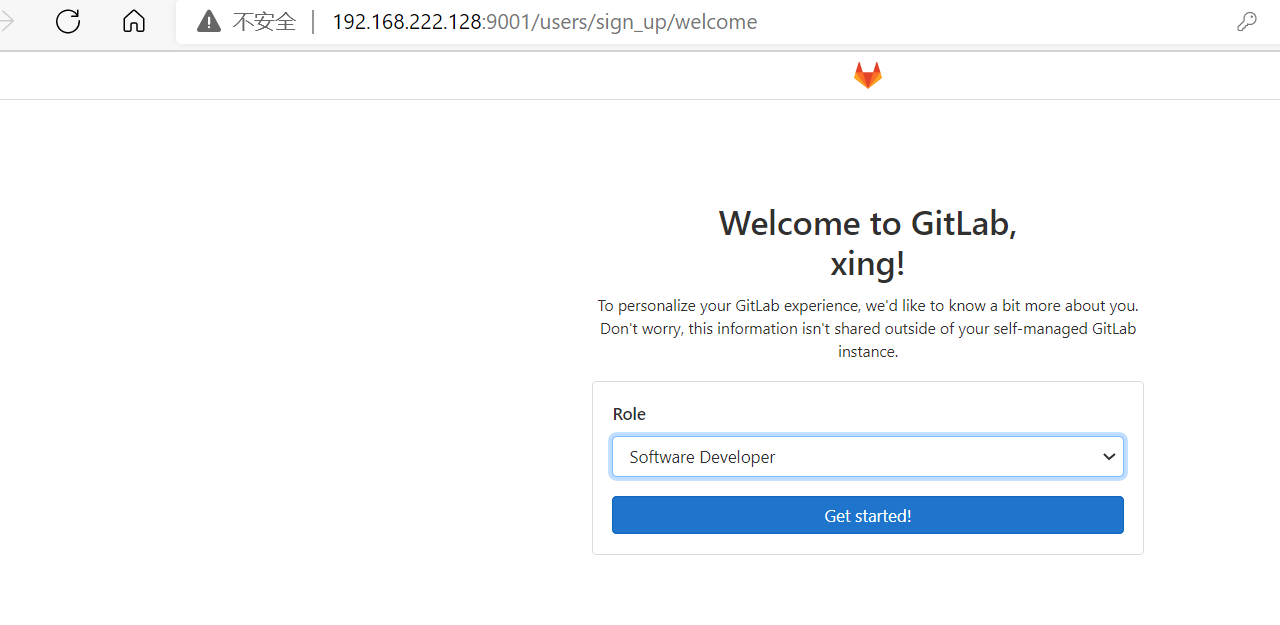
再次使用新用户登录成功
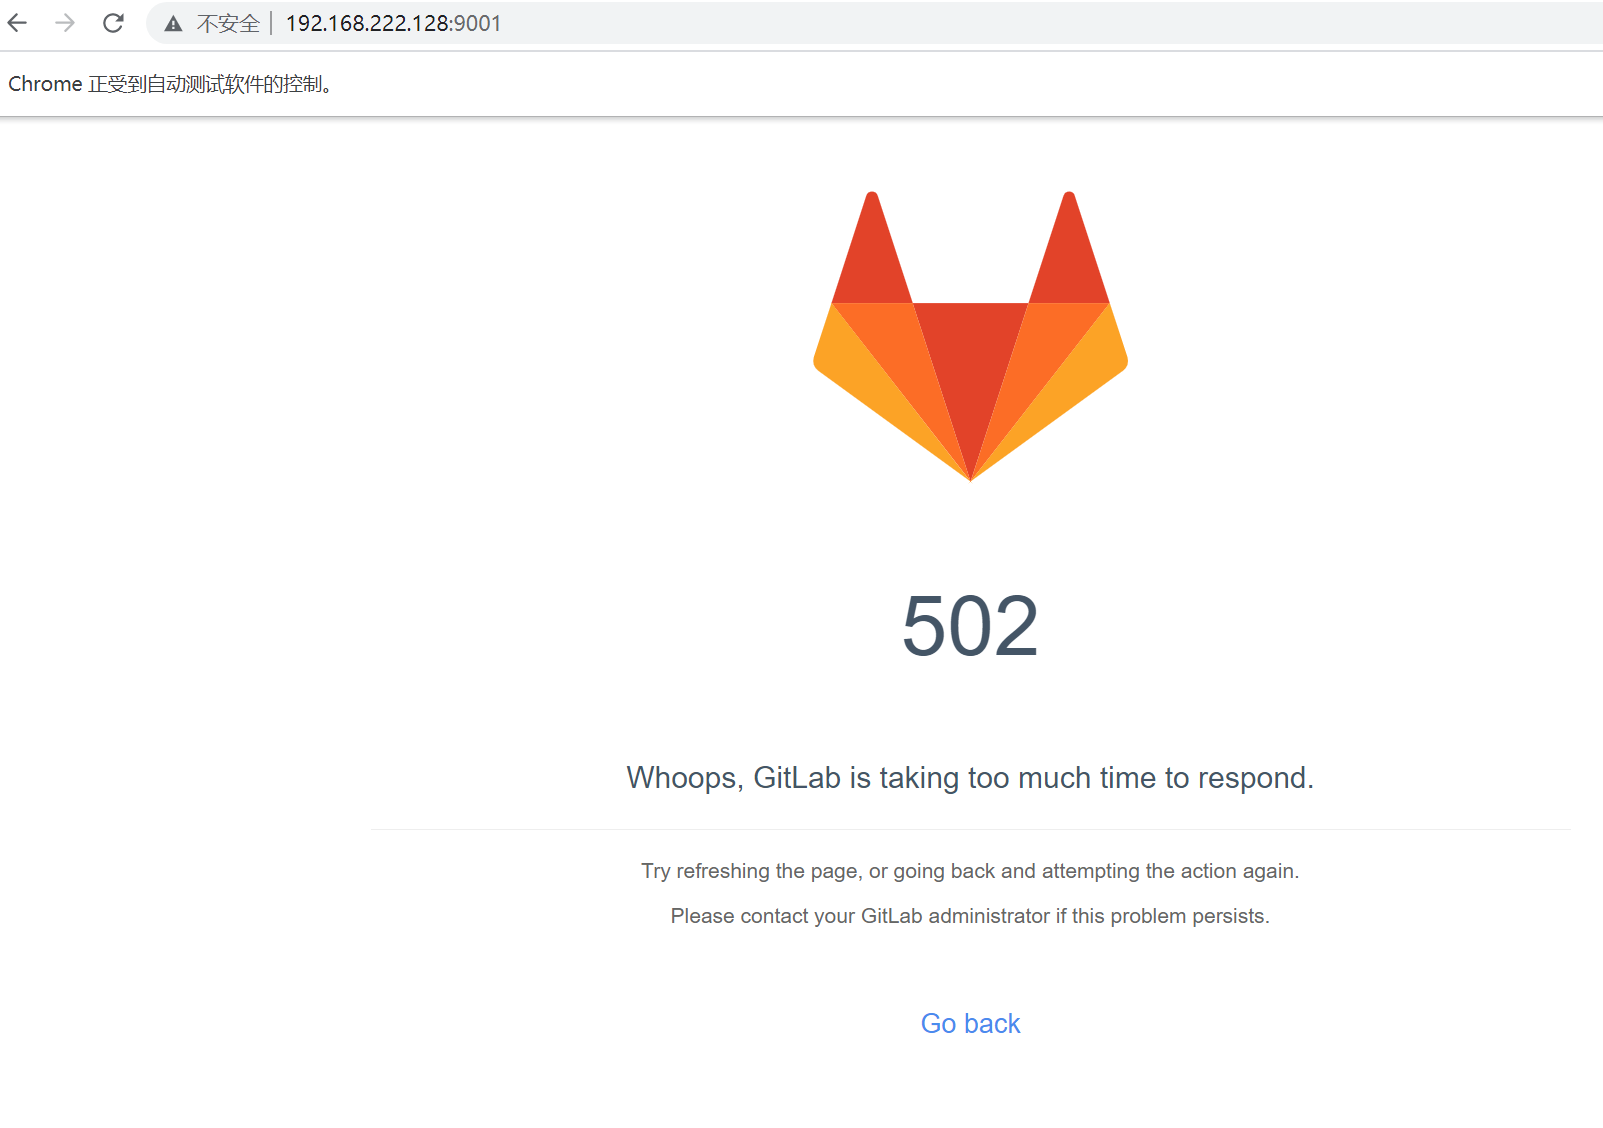
502解决方案:
502
Whoops, GitLab is taking too much time to respond.
Try refreshing the page, or going back and attempting the action again.
Please contact your GitLab administrator if this problem persists.
Go back
docker exec 77(容器id) gitlab-ctl reconfigure#容器里启动服务
防火墙根据情况来选择
systemctl stop firewalld#关闭防火墙
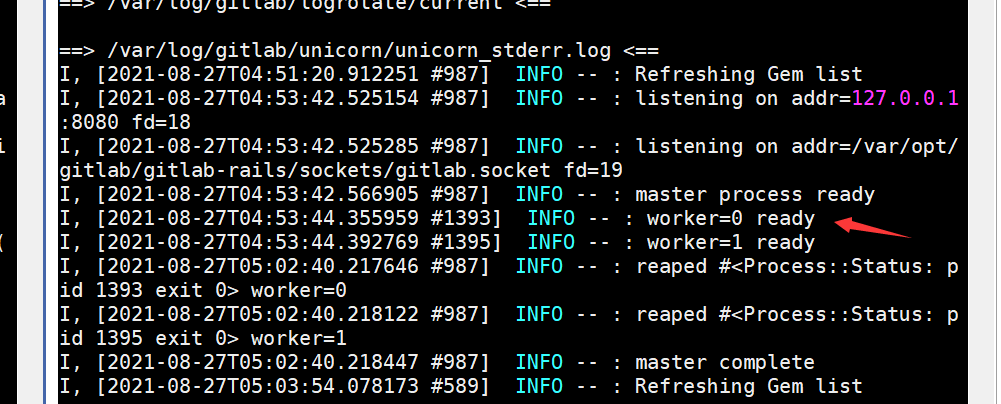
方法2:可以使用docker logs gitlab -f查看日志,等待容器启动完成,直接刷新页面来解决
7.如果页面访问出现502,修改下权限
docker exec -it gitlab update-permissions
[root@localhost config]# grep -v ^# ./gitlab.rb | grep -v ^$
external_url 'http://192.168.222.128:9001'
gitlab_rails['gitlab_ssh_host'] = '192.168.222.128'
gitlab_rails['gitlab_shell_ssh_port'] = 8022
[root@localhost config]#
正确的映射方法启动容器
镜像根据自己需要来拉取:twang2218/gitlab-ce-zh
docker run -di --publish 443:443 --publish 9001:9001 --publish 8022:22 --hostname 192.168.222.128:9001 --name gitlab
-e 'GITLAB_PORT=9001'
-e 'GITLAB_SSH_PORT=8022'
--restart always -v
/srv/gitlab/config:/etc/gitlab -v
/srv/gitlab/logs:/var/log/gitlab -v
/srv/gitlab/data:/var/opt/gitlab -v
/etc/localtime:/etc/localtime:ro --privileged=true twang2218/gitlab-ce-zh
// 修改如下语句
external_url 'http://192.168.222.128:9001'
//https需要下面这句--nginx根据需要来设置,本人不设置
nginx['redirect_http_to_https_port'] = 82
nginx['listen_port'] = 82
//配置8022端口
gitlab_rails['gitlab_shell_ssh_port'] = 8022
————————————————
版权声明:本文为CSDN博主「NOTHIX」的原创文章,遵循CC 4.0 BY-SA版权协议,转载请附上原文出处链接及本声明。
原文链接:https://blog.csdn.net/shan165310175/article/details/92797199
下面的方法本人用来配置环境变量不起作用:
启动gitlab
docker run --name='gitlab' -d
-v /home/username/opt/gitlab/data:/home/git/data
-p 10022:22 -p 10080:80
-e 'GITLAB_PORT=10080'
-e 'GITLAB_SSH_PORT=10022'
--link postgresql:postgresql
-e 'GITLAB_EMAIL=admin@kuitao8.com'
-e 'GITLAB_BACKUPS=daily'
-e 'GITLAB_HOST=git.kuitao8.com'
-e 'GITLAB_SIGNUP=true'
-e 'GITLAB_GRAVATAR_ENABLED=false'
sameersbn/gitlab:7.11.2