Vue 2.0 typescript 写法传值方式:
随着 typescript 越来越受到前端框架的关注,最近使用 vue + typescript 做了一个项目。发现写法与 vue + js 完全不一样。但是原理相同。接下来给大家介绍 Vue 开发中常用的传值方式。
Vue 常用的三种传值方式有:
- 父传子
- 子传父
- 非父子传值
引用官网的一句话:父子组件的关系可以总结为 prop 向下传递,事件向上传递。父组件通过 prop 给子组件下发数据,子组件通过事件给父组件发送消息,如下图所示:

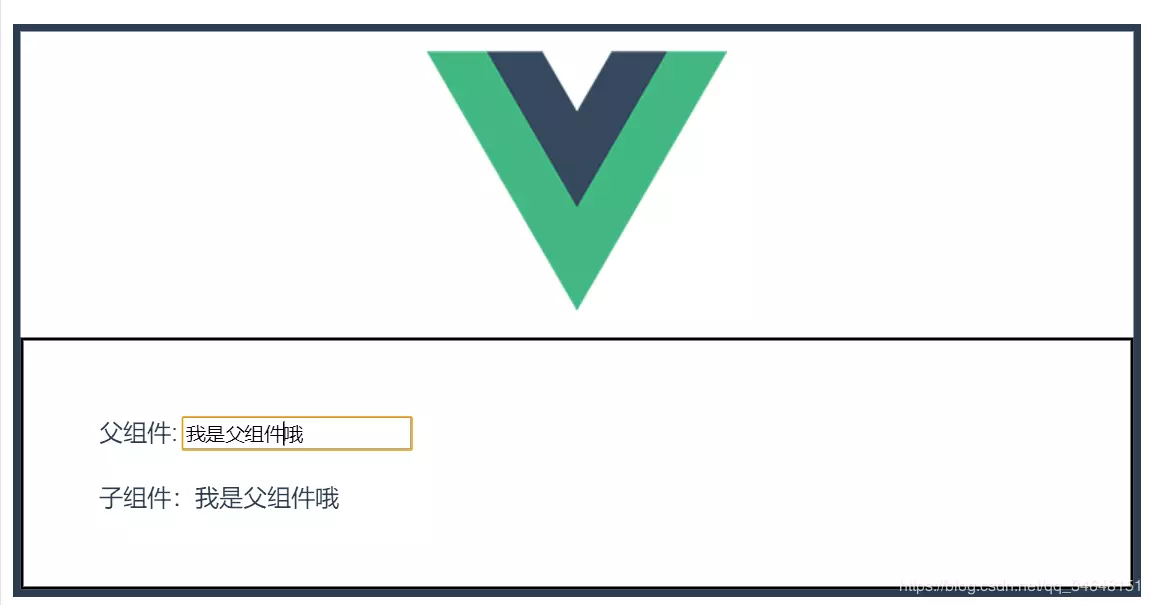
1. 父组件向子组件进行传值
// 父组件
    <template>
        <div class="index">
            <div>父组件: <input type="text" v-model="value"></div>
            <!-- 引入子组件 -->
            <About :value="value"/>
        </div>
    </template>
    <script lang="tsx" type="text/tsx">
        import {Component, Prop, Vue} from "vue-property-decorator";
        import About from "@/views/About.vue";

        @Component({ // 引入子组件
            components: {
                About
            }
        })
        export default class HelloWorld extends Vue {
            value: string = "我是父组件哦";
            created() {
            }
        }
    </script>
    <!-- Add "scoped" attribute to limit CSS to this component only -->
    <style scoped lang="scss"></style>
子组件
// 子组件
<template>
  <div class="about">
    子组件:<span>{{value}}</span>
  </div>
</template>
<script lang="tsx" type="text/tsx">
    import {Component, Prop, Vue} from "vue-property-decorator";
    @Component
    export default class About extends Vue {
        // 接受父组件的值
        @Prop({
            type: String, // 父组件传递给子组件的数据类型
            required: false, // 是否必填
            default: ' ' // 默认值, 如果传入的是 Object,则要 default: ()=>({}) 参数为函数
        })  value !: string;

        created() {}
    }
</script>
2. 子组件向父组件传值

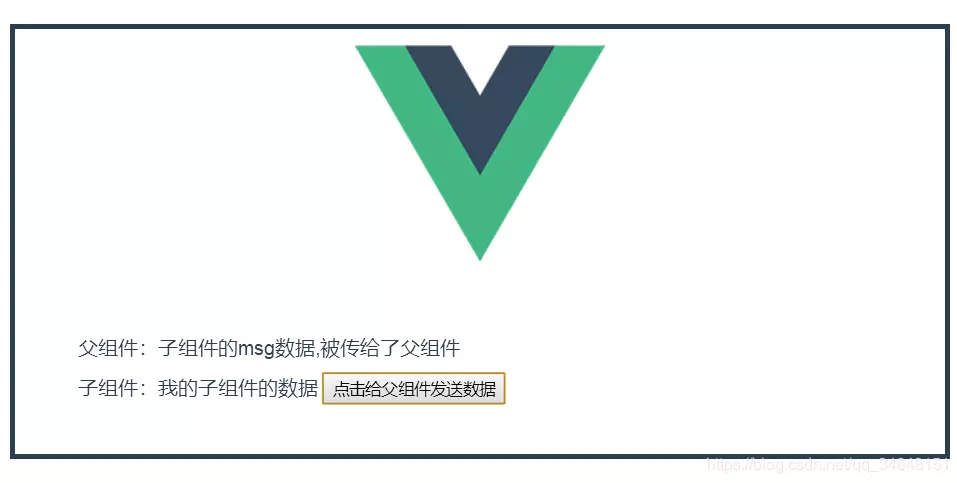
. // 父组件 <template> <div class="index"> <div>父组件:{{msg}}</div> <!--bindSend 为子组件 @Emit('bingSend') 里面绑定的事件--> <About @bindSend="propMsg"/> </div> </template> <script lang="tsx" type="text/tsx"> import {Component, Vue} from "vue-property-decorator"; import About from "@/views/About.vue"; @Component({ components: { About } }) export default class HelloWorld extends Vue { msg: string = ''; created() {}; // 接收子组件发送数据是 触发的事件 propMsg(msg: string){ this.msg = msg; } } </script> <!-- Add "scoped" attribute to limit CSS to this component only --> <style scoped lang="scss"></style>
子组件
// 子组件
    <template>
      <div class="about">
        子组件:我的子组件的数据 <button @click="propMsg">点击给父组件发送数据</button>
      </div>
    </template>

    <script lang="tsx" type="text/tsx">
        import {Component, Emit, Vue} from "vue-property-decorator";
        @Component
        export default class About extends Vue {
            msg: string = '子组件的msg数据';
            // bindSend 为父组件引用子组件上 绑定的事件名称
            @Emit('bindSend') send(msg: string){}; // send 处理给父组件传值的逻辑
            created() {}
            // 通过触发这个事件来处理发送的内容数据的逻辑,然后执行 @Emit() 定义的 sen(msg: string){} 事件
            propMsg(){
                this.msg = '子组件的msg数据,被传给了父组件';
                this.send(this.msg)
            }

        }
    </script>
3. 兄弟组件向传值
这里我们实现的思路是: (1)其中一个兄弟组件向父组件发送数据; (2)然后父组件再向另一个兄弟组件传值;
作者:平凡相恋
链接:https://juejin.im/post/5c55156f6fb9a049ef270541
来源:掘金
著作权归作者所有。商业转载请联系作者获得授权,非商业转载请注明出处。