centos系统
一、使用 kickstart 半自动化安装CentOS系统
首先确认已经安装了system-config-kickstart包,如果没有安装就yum install system-config-kickstart安装下
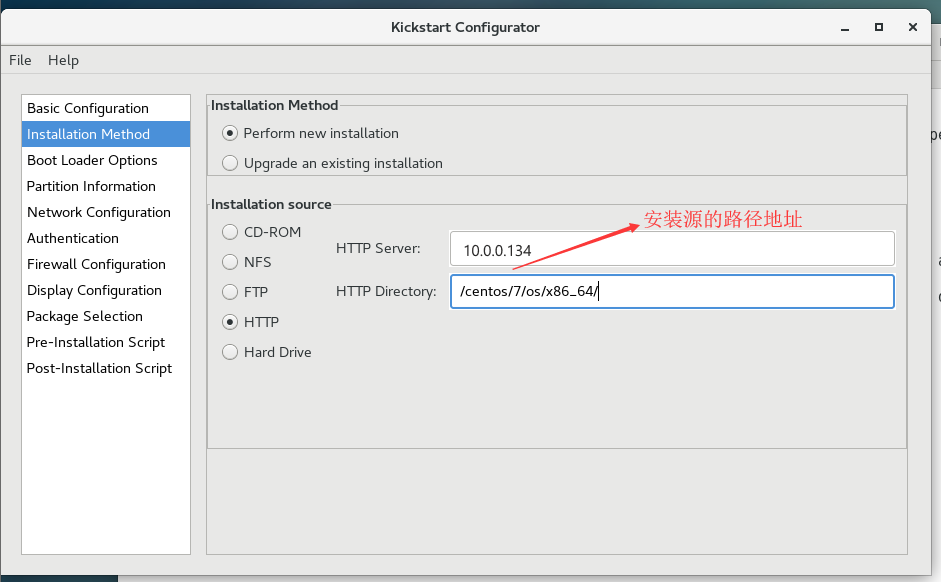
1、首先我们先找一台主机当服务器,把相应的文件放在里面。如我们在一台机器上开启http服务,把光盘挂起等等,设置如下
yum install -y httpd
#安装http服务包,如果已经安装了无需安装
systemctl start httpd
#开启http服务,可以用ss -nul看下是不是开启了,默认80端口
systemctl enable --now httpd
#开机自启动
#安装http服务包,如果已经安装了无需安装
systemctl start httpd
#开启http服务,可以用ss -nul看下是不是开启了,默认80端口
systemctl enable --now httpd
#开机自启动
cd /var/www/html/
mkdir -pv centos/6/os/x86_64/
mkdir -pv centos/7/os/x86_64/
mkdir -pv centos/8/os/x86_64/
mount /dev/sr0 centos/6/os/x86_64/
mount /dev/sr1 centos/7/os/x86_64/
mount /dev/sr2 centos/8/os/x86_64/
现在直接开网页就能看见,如果开不开网页,清除下防火墙信息
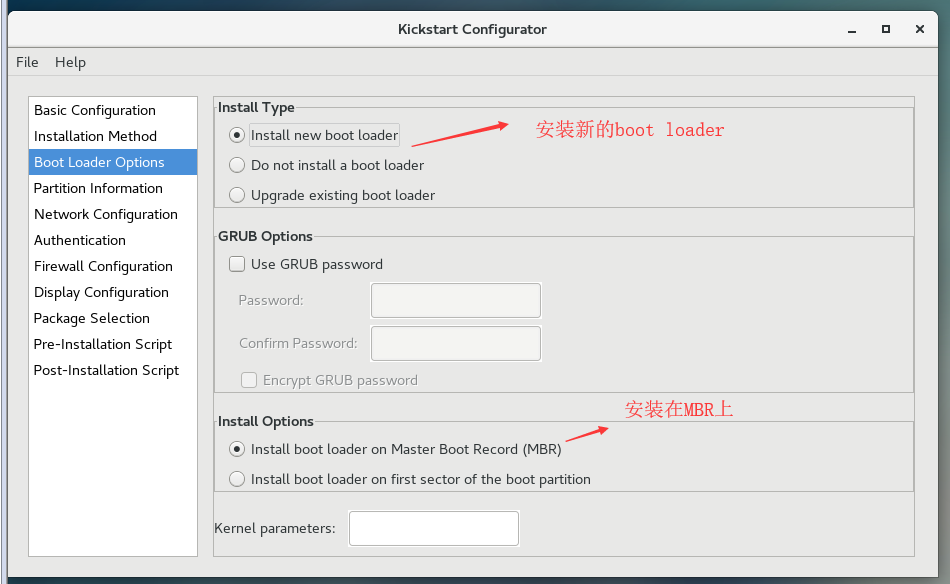
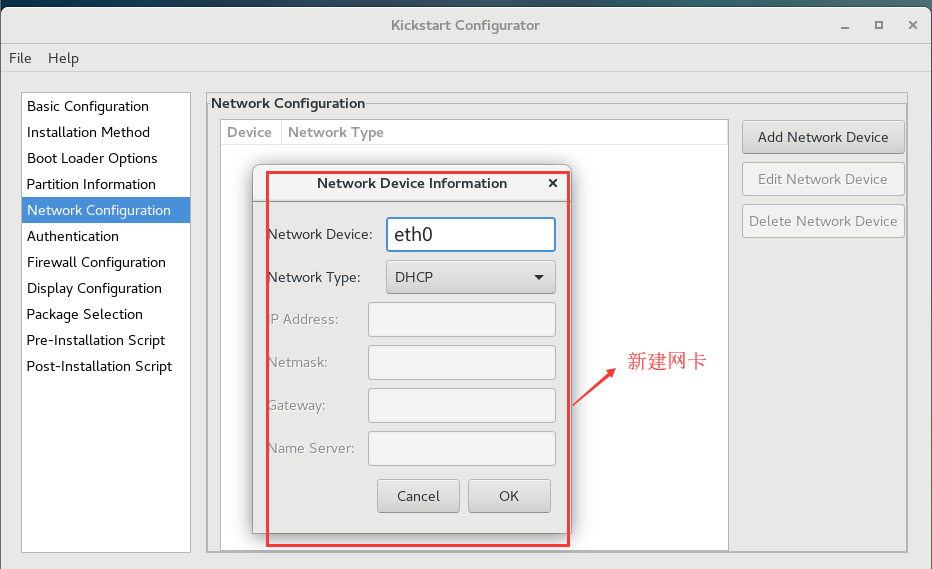
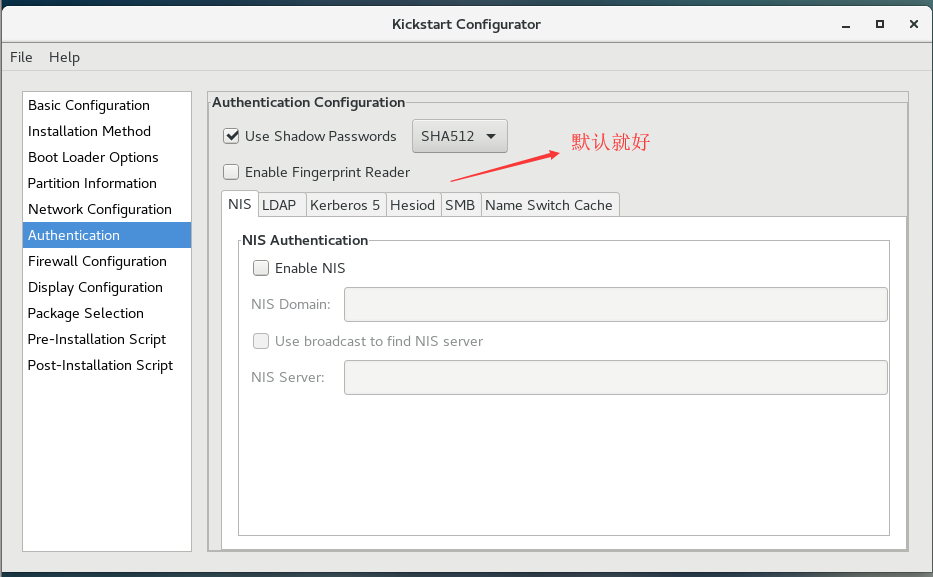
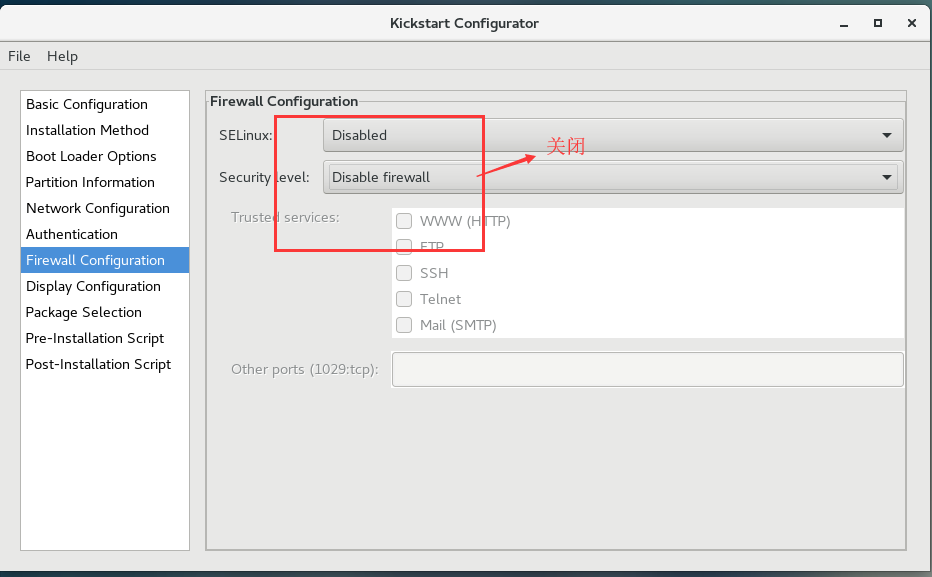
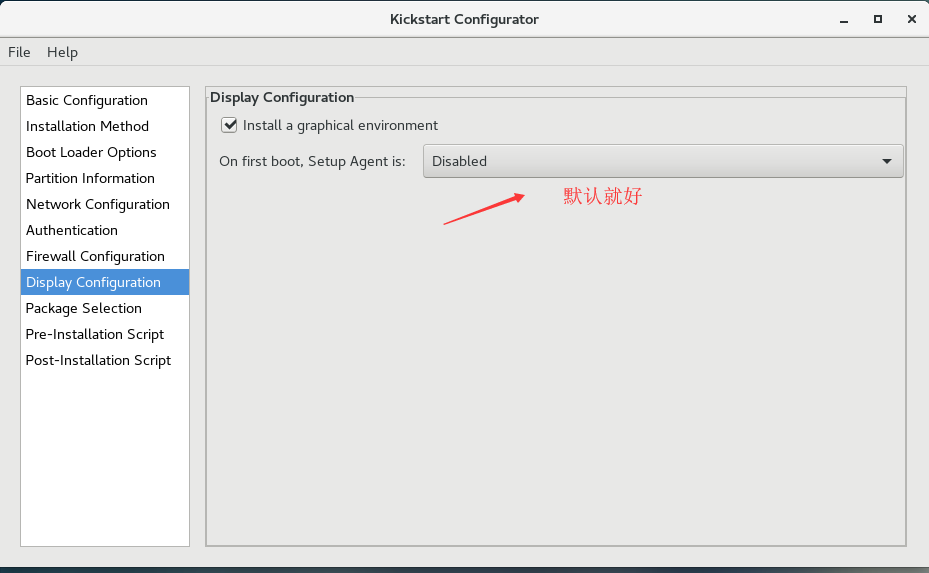
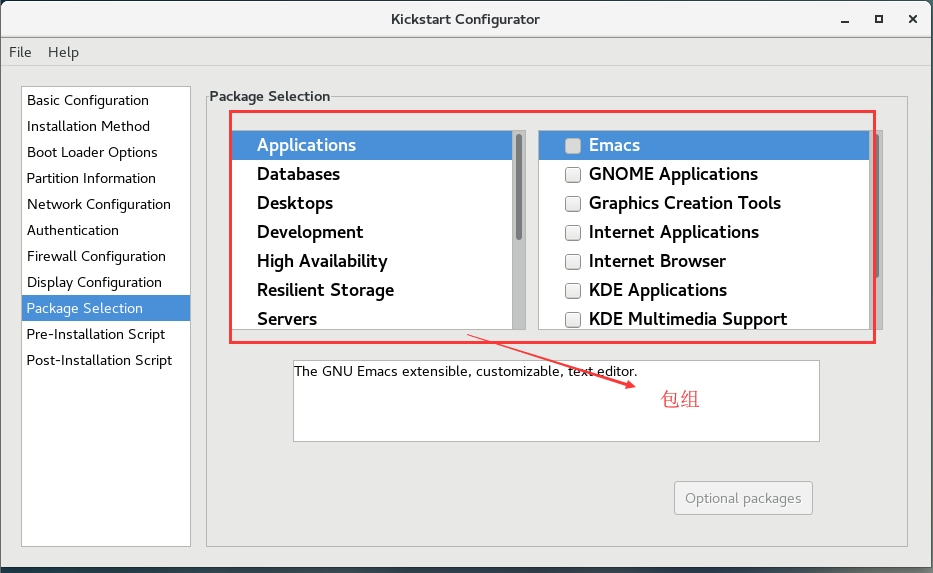
2、利用system-config-kickstart来生成.cfg文件,也就是说部署文件,看一下如图设置介绍。
没有图形界面就可以用 Xmanager - Passive软件打开图形界面
执行命令export DISPLAY=客户端IP:0.0


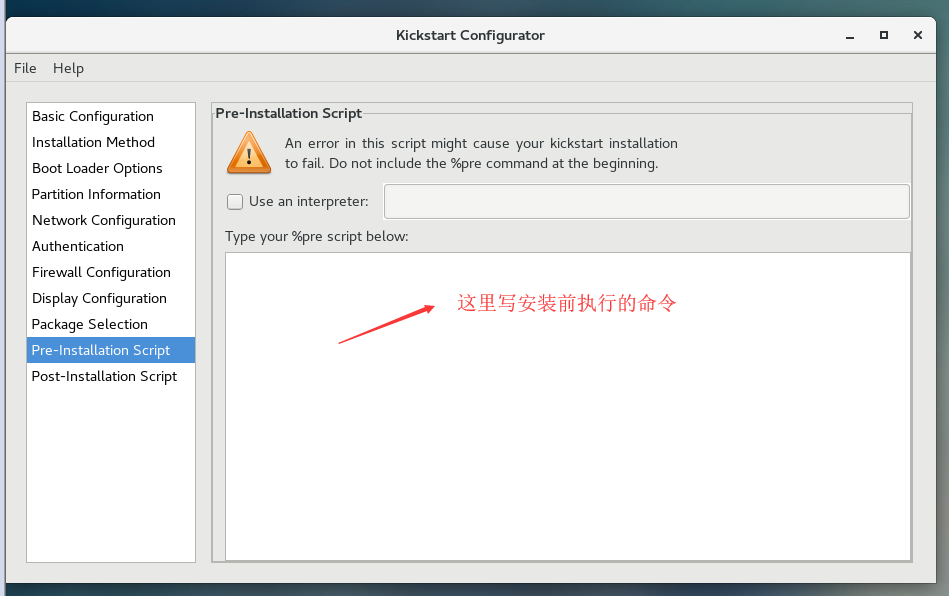

安装后脚本 需要啥就加啥
useradd wang
echo 123456 | passwd --stdin wang &> /dev/null
mkdir /etc/yum.repos.d/bak
mv /etc/yum.repos.d/* /etc/yum.repos.d/bak
cat > /etc/yum.repos.d/base.repo <<EOF
[base]
name=base
baseurl=file:///misc/cd
gpgcheck=0
EOF
设置完毕保存退出。
3、修改上面保存的ks.cfg文件,增加你需要的信息,如我们可以让他系统安装成功,我这边就可与用key验证链接。

备注:要想实现key验证链接,步骤
1)生成钥匙
ssh-keygen
2)把公钥信息导入ks.cfg文件
cat .ssh/id_rsa.pub >> ks.cfg
#
#
3)编辑ks.cfg文件

4、OK信息部署完毕下面我们来安装系统(光盘启动系统)

按ESC键输入
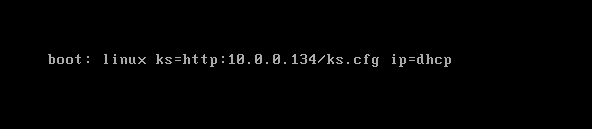
回车
二、实现pxe安装双系统centos6、centos7
准备一台主机作为网络环境内的dhcp服务器、tftp服务器、http服务器,在此主机上配置PXE环境,为网络中的其它主机提供自动化系统安装服务。
关闭防火墙
systemctl disable firewalld.service
关闭SELINUX
sed -i 's/SELINUX=enforcing/SELINUX=disabled/' /etc/selinux/config
yum install -y dhcp tftp-server httpd syslinux

systemctl enable --now httpd
建立文件夹 制作yum源
mkdir -pv /var/www/html/centos/{6,7} rmount /dev/sr0 /var/www/html/centos/6/ mount /dev/sr1 /var/www/html/centos/7/ ls /var/www/html/centos/{6,7}1234
mkdir /var/www/html/ksdir/
cp -p /root/anaconda7-ks.cfg /var/www/html/ksdir/ks7-1.cfg
cp -p /root/anaconda6-ks.cfg /var/www/html/ksdir/ks6-1.cfg
ls /var/www/html/ksdir/
chmod +r /var/www/html/ksdir/*.cfg
vim /var/www/html/ksdir/ks7-1.cfg
ignoredisk --only-use=sda #此行必须指定
zerombr
text
reboot
clearpart --all --initlabel
selinux --disabled                  #禁用SELinux
firewall --disabled                 #禁用firewalld
url --url=http://10.0.0.134/centos/7/
keyboard --vckeymap=us --xlayouts='us'
lang en_US.UTF-8
bootloader --append="net.ifnames=0" --location=mbr --boot-drive=sda #此行必须指定
network --bootproto=dhcp --device=eth0 --ipv6=auto --activate
network --hostname=centos8.magedu.org
rootpw --iscrypted
$6$j9YhzDUnQVnxaAk8$qv7rkMcPAEbV5yvwsP666DXWYadd3jYjkA9fpxAo9qYotjGGBUclCGoP1TRv
gHBpqgc5n0RypMsPTQnVDcpO01
firstboot --enable
skipx
services --disabled="chronyd"
timezone Asia/Shanghai --isUtc --nontp
user --name=wang --
password=6oUfb/02CWfLb5l8f$sgEZeR7c7DpqfpmFDH6huSmDbW1XQNR4qKl2EPns.gOXqlnAIgv9p
TogtFVaDtEpMOC.SWXKYqxfVtd9MCwxb1 --iscrypted --gecos="wang"

#autopart --type=lvm
#part / --fstype xfs --size 1 --grow --ondisk sda 可以实现根自动使用所有剩余空间
part / --fstype="xfs" --ondisk=sda --size=102400
part /data --fstype="xfs" --ondisk=sda --size=51200
part swap --fstype="swap" --ondisk=sda --size=2048
part /boot --fstype="ext4" --ondisk=sda --size=1024
%packages
@^minimal-environment
kexec-tools
vim
curl
wget
tree
%end
%addon com_redhat_kdump --enable --reserve-mb='auto'
%end
%anaconda
pwpolicy root --minlen=6 --minquality=1 --notstrict --nochanges --notempty
pwpolicy user --minlen=6 --minquality=1 --notstrict --nochanges --emptyok
pwpolicy luks --minlen=6 --minquality=1 --notstrict --nochanges --notempty
%end
%post
useradd mage
echo magedu | passwd --stdin mage &> /dev/null
%end
制作centos6的应答文件
root&Centos7: ~#vim /var/www/html/ksdir/ks6-1.cfg
# Kickstart file automatically generated by anaconda.

#version=DEVEL
install
#cdrom
url --url=http://10.0.0.134/centos/6
text
reboot
zerombr
lang en_US.UTF-8
keyboard us
network --onboot yes --device eth0 --bootproto dhcp --noipv6
rootpw  --iscrypted $6$fo5PVsYpQzE2RC..$vZ2FT3sHNJBR2aopg8uzWWM2.59BykYcelOD7rBryYUuYpeNKpqAneREqaaO4x3btGdBJGbc4vHvjwaGLBGVG1
firewall --service=ssh
authconfig --enableshadow --passalgo=sha512
selinux --enforcing
timezone --utc Asia/Shanghai
bootloader --location=mbr --driveorder=sda --append="crashkernel=auto rhgb quiet"
# The following is the partition information you requested
# Note that any partitions you deleted are not expressed
# here so unless you clear all partitions first, this is
# not guaranteed to work
#clearpart --none
clearpart --all
part /boot --fstype=ext4 --size=1000
part / --fstype=ext4 --size=50000
part /app --fstype=ext4 --size=50000
part swap --size=2000

#repo --name="CentOS"  --baseurl=cdrom:sr0 --cost=100

%packages
@core
@server-policy
@workstation-policy
%end
检查应答文件
yum install system-config-kickstart -y

ksvalidator /var/www/html/ksdir/ks6-1.cfg

ksvalidator /var/www/html/ksdir/ks671.cfg
systemctl enable --now tftp
ss -nul | grep 69
配置 DHCP
[root&Centos7]: ~#cp /usr/share/doc/dhcp*/dhcpd.conf.example /etc/dhcp/dhcpd.conf
#制作配置文件
[root&Centos7]: ~#vim /etc/dhcp/dhcpd.conf
#编辑配置文件
# DHCP server to understand the network topology.
subnet 10.0.0.0 netmask 255.255.255.0 {  #设置地址段
    range 10.0.0.100 10.0.0.200;     #设置地址池
    option routers 10.0.0.2;    #设置网关
    next-server 10.0.0.134;      #提供引导文件的服务器ip ,用于网络安装操作系统时
    filename "pxelinux.0";    #指明引导文件名称
}
[root&Centos7]: ~#systemctl enable dhcpd
#将dhcp服务设置为开机自启动
[root&Centos7]: ~#systemctl start dhcpd
#启动dhcp服务
[root&Centos7]: ~#ss -nul|grep 67
#检查确认dhcp服务已经启动
root&Centos7: ~#mkdir /var/lib/tftpboot/pxelinux.cfg/
root&Centos7: ~#mkdir /var/lib/tftpboot/centos{6,7}
root&Centos7: ~#cp /usr/share/syslinux/{pxelinux.0,menu.c32} /var/lib/tftpboot/
root&Centos7: ~#cp /var/www/html/centos/7/isolinux/{initrd.img,vmlinuz}  /var/lib/tftpboot/centos7
root&Centos7: ~#cp /var/www/html/centos/6/isolinux/{initrd.img,vmlinuz}  /var/lib/tftpboot/centos6
root&Centos7: ~#cp /misc/cd/isolinux/isolinux.cfg /var/lib/tftpboot/pxelinux.cfg/default
root&Centos7: ~#tree /var/lib/tftpboot/
/var/lib/tftpboot/
├── centos6
│   ├── initrd.img
│   └── vmlinuz
├── centos7
│   ├── initrd.img    #伪文件系统文件
│   └── vmlinuz     #内核文件
├── menu.c32    #纯文本菜单
├── pxelinux.0  #引导文件,相当于grub。
└── pxelinux.cfg
    └── default       #启动菜单文件
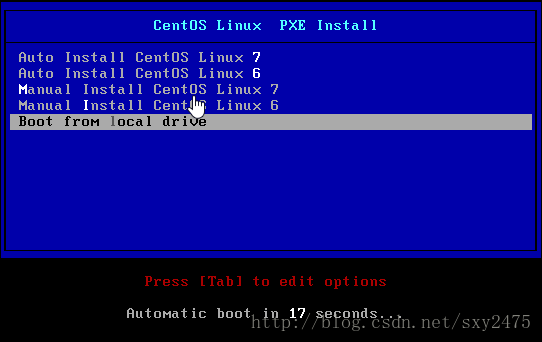
root&Centos7: ~#vim /var/lib/tftpboot/pxelinux.cfg/default
default menu.c32
timeout 600
menu title CentOS Linux  PXE Install

label centos7     #自动安装centos7
      menu label Auto Install CentOS Linux ^7
      kernel centos7/vmlinuz
      append initrd=centos7/initrd.img ks=http://192.168.10.43/ksdir/ks7-1.cfg  #应答文件所在路径

label centos6      #自动安装centos6
      menu label Auto Install CentOS Linux ^6
      kernel centos6/vmlinuz
      append initrd=centos6/initrd.img ks=http://192.168.10.43/ksdir/ks6-1.cfg

label manual7     #手动安装centos7
      menu label ^Manual Install CentOS Linux 7
      kernel centos7/vmlinuz
      append initrd=centos7/initrd.img inst.repo=http://192.168.10.43/centos/7

label manual6      #手动安装centos6
      menu label Manual ^Install CentOS Linux 6
      kernel centos6/vmlinuz
      append initrd=centos6/initrd.img inst.repo=http://192.168.10.43/centos/6

label local     #本地硬盘启动
     menu default    #默认启动项
     menu label Boot from ^local drive
     localboot 0xffff
    menu end
虚拟机安装centos7的时候大一点 1G以上