图形绘制
OpenCV提供了直线,矩形,圆,椭圆的绘制函数,下面介绍用法
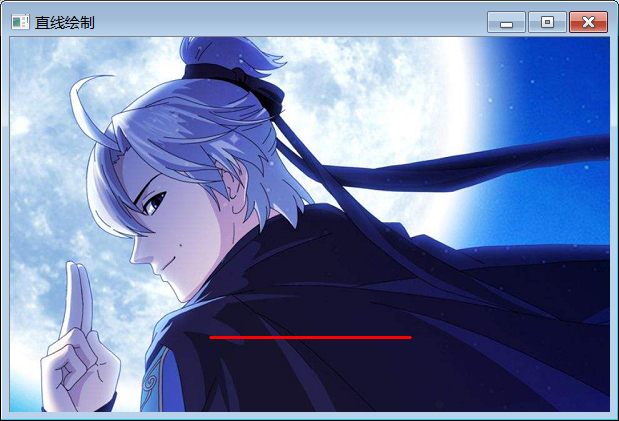
直线绘制:line()
函数原型:
void line(InputOutputArray img, Point pt1, Point pt2, const Scalar& color,
              int thickness = 1, int lineType = LINE_8, int shift = 0);
参数声明:
- InputOutputArray img:输出图像
- Point pt1:线段的第一个点
- Point pt2:线段的第二个点
- const Scalar& color:直线颜色
- int thickness = 1:直线粗细程度
- int lineType = LINE_8:直线类型
- int shift = 0:点坐标的小数点位数
代码:
 1 #include <opencv2/opencv.hpp>
 2 #include <iostream>
 3
 4 using namespace std;
 5 using namespace cv;
 6
 7 int main(int argc, char** argv) {
 8
 9     Mat srcImage = imread("D:/shenjianxin.png");
10     if (!srcImage.data) {
11         cout << "could not load image" << endl;
12         return -1;
13     }
14
15     Point p1 = Point(200, 300);
16     Point p2 = Point(400, 300);
17     Scalar color = Scalar(0, 0, 255);
18     line(srcImage, p1, p2, color, 2, 8, 0);
19     imshow("直线绘制", srcImage);
20
21     waitKey(0);
22     return 0;
23 }
效果图:
矩形绘制:rectangle()
函数原型:
void rectangle(CV_IN_OUT Mat& img, Rect rec,
               const Scalar& color, int thickness = 1,
               int lineType = LINE_8, int shift = 0);
函数声明:
- CV_IN_OUT Mat& img:输出图像
- Rect rec: 矩形的位置和长宽
- const Scalar& color:矩形颜色
- int thickness = 1:线宽
- int lineType = LINE_8:直线类型
- shit:点坐标的小数点位数
代码:
 1 #include <opencv2/opencv.hpp>
 2 #include <iostream>
 3
 4 using namespace std;
 5 using namespace cv;
 6
 7 int main(int argc, char** argv) {
 8
 9     Mat srcImage = imread("D:/shenjianxin.png");
10     if (!srcImage.data) {
11         cout << "could not load image" << endl;
12         return -1;
13     }
14
15     Rect rect = Rect(200, 100, 200, 200);
16     Scalar color = Scalar(255, 0, 0);
17     rectangle(srcImage, rect, color, 2, LINE_8);
18     imshow("矩形绘制", srcImage);
19
20     waitKey(0);
21     return 0;
22 }
效果图:

圆形绘制:circle()
函数原型:
void circle(InputOutputArray img, Point center, int radius,
                const Scalar& color, int thickness = 1,
                int lineType = LINE_8, int shift = 0);
函数声明:
- img 图像
- center 圆心
- radius 半径
- color 颜色
- thickness 线宽
- linetype 线型
- shift 坐标点的小数点位数
代码:
 1 #include <opencv2/opencv.hpp>
 2 #include <iostream>
 3
 4 using namespace std;
 5 using namespace cv;
 6
 7 int main(int argc, char** argv) {
 8
 9     Mat srcImage = imread("D:/shenjianxin.png");
10     if (!srcImage.data) {
11         cout << "could not load image" << endl;
12         return -1;
13     }
14
15     Scalar color = Scalar(0, 0, 255);
16     Point center = Point(srcImage.cols / 2, srcImage.rows / 2);
17     circle(srcImage, center, 99, color, 2, 8);
18     imshow("圆形绘制", srcImage);
19
20     waitKey(0);
21     return 0;
22 }
效果图:

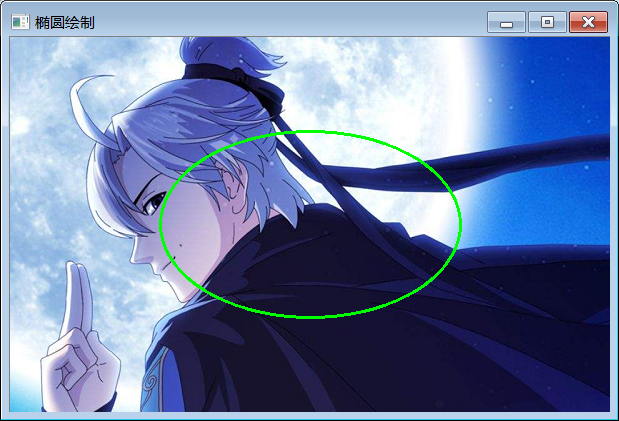
椭圆绘制:ellipse()
函数原型:
 void ellipse(InputOutputArray img, Point center, Size axes,
                        double angle, double startAngle, double endAngle,
                        const Scalar& color, int thickness = 1,
                        int lineType = LINE_8, int shift = 0);
函数声明:
- img 图像
- center 椭圆原心
- axes 椭圆x轴长度的一半,y轴长度的一半
- angle 椭圆旋转角度
- startAngle 起始角度
- endAngle 终止角度
- color 椭圆颜色
- thickness 线宽
- linetype 线型
- shift 坐标小数点位数
代码:
 1 #include <opencv2/opencv.hpp>
 2 #include <iostream>
 3
 4 using namespace std;
 5 using namespace cv;
 6
 7 int main(int argc, char** argv) {
 8
 9     Mat srcImage = imread("D:/shenjianxin.png");
10     if (!srcImage.data) {
11         cout << "could not load image" << endl;
12         return -1;
13     }
14
15     Scalar color = Scalar(0, 255, 0);
16     ellipse(srcImage, Point(srcImage.cols / 2, srcImage.rows / 2), Size(srcImage.cols / 4, srcImage.rows / 4), 0, 0, 360, color, 2, LINE_8);
17     imshow("椭圆绘制", srcImage);
18
19     waitKey(0);
20     return 0;
21 }
效果图: