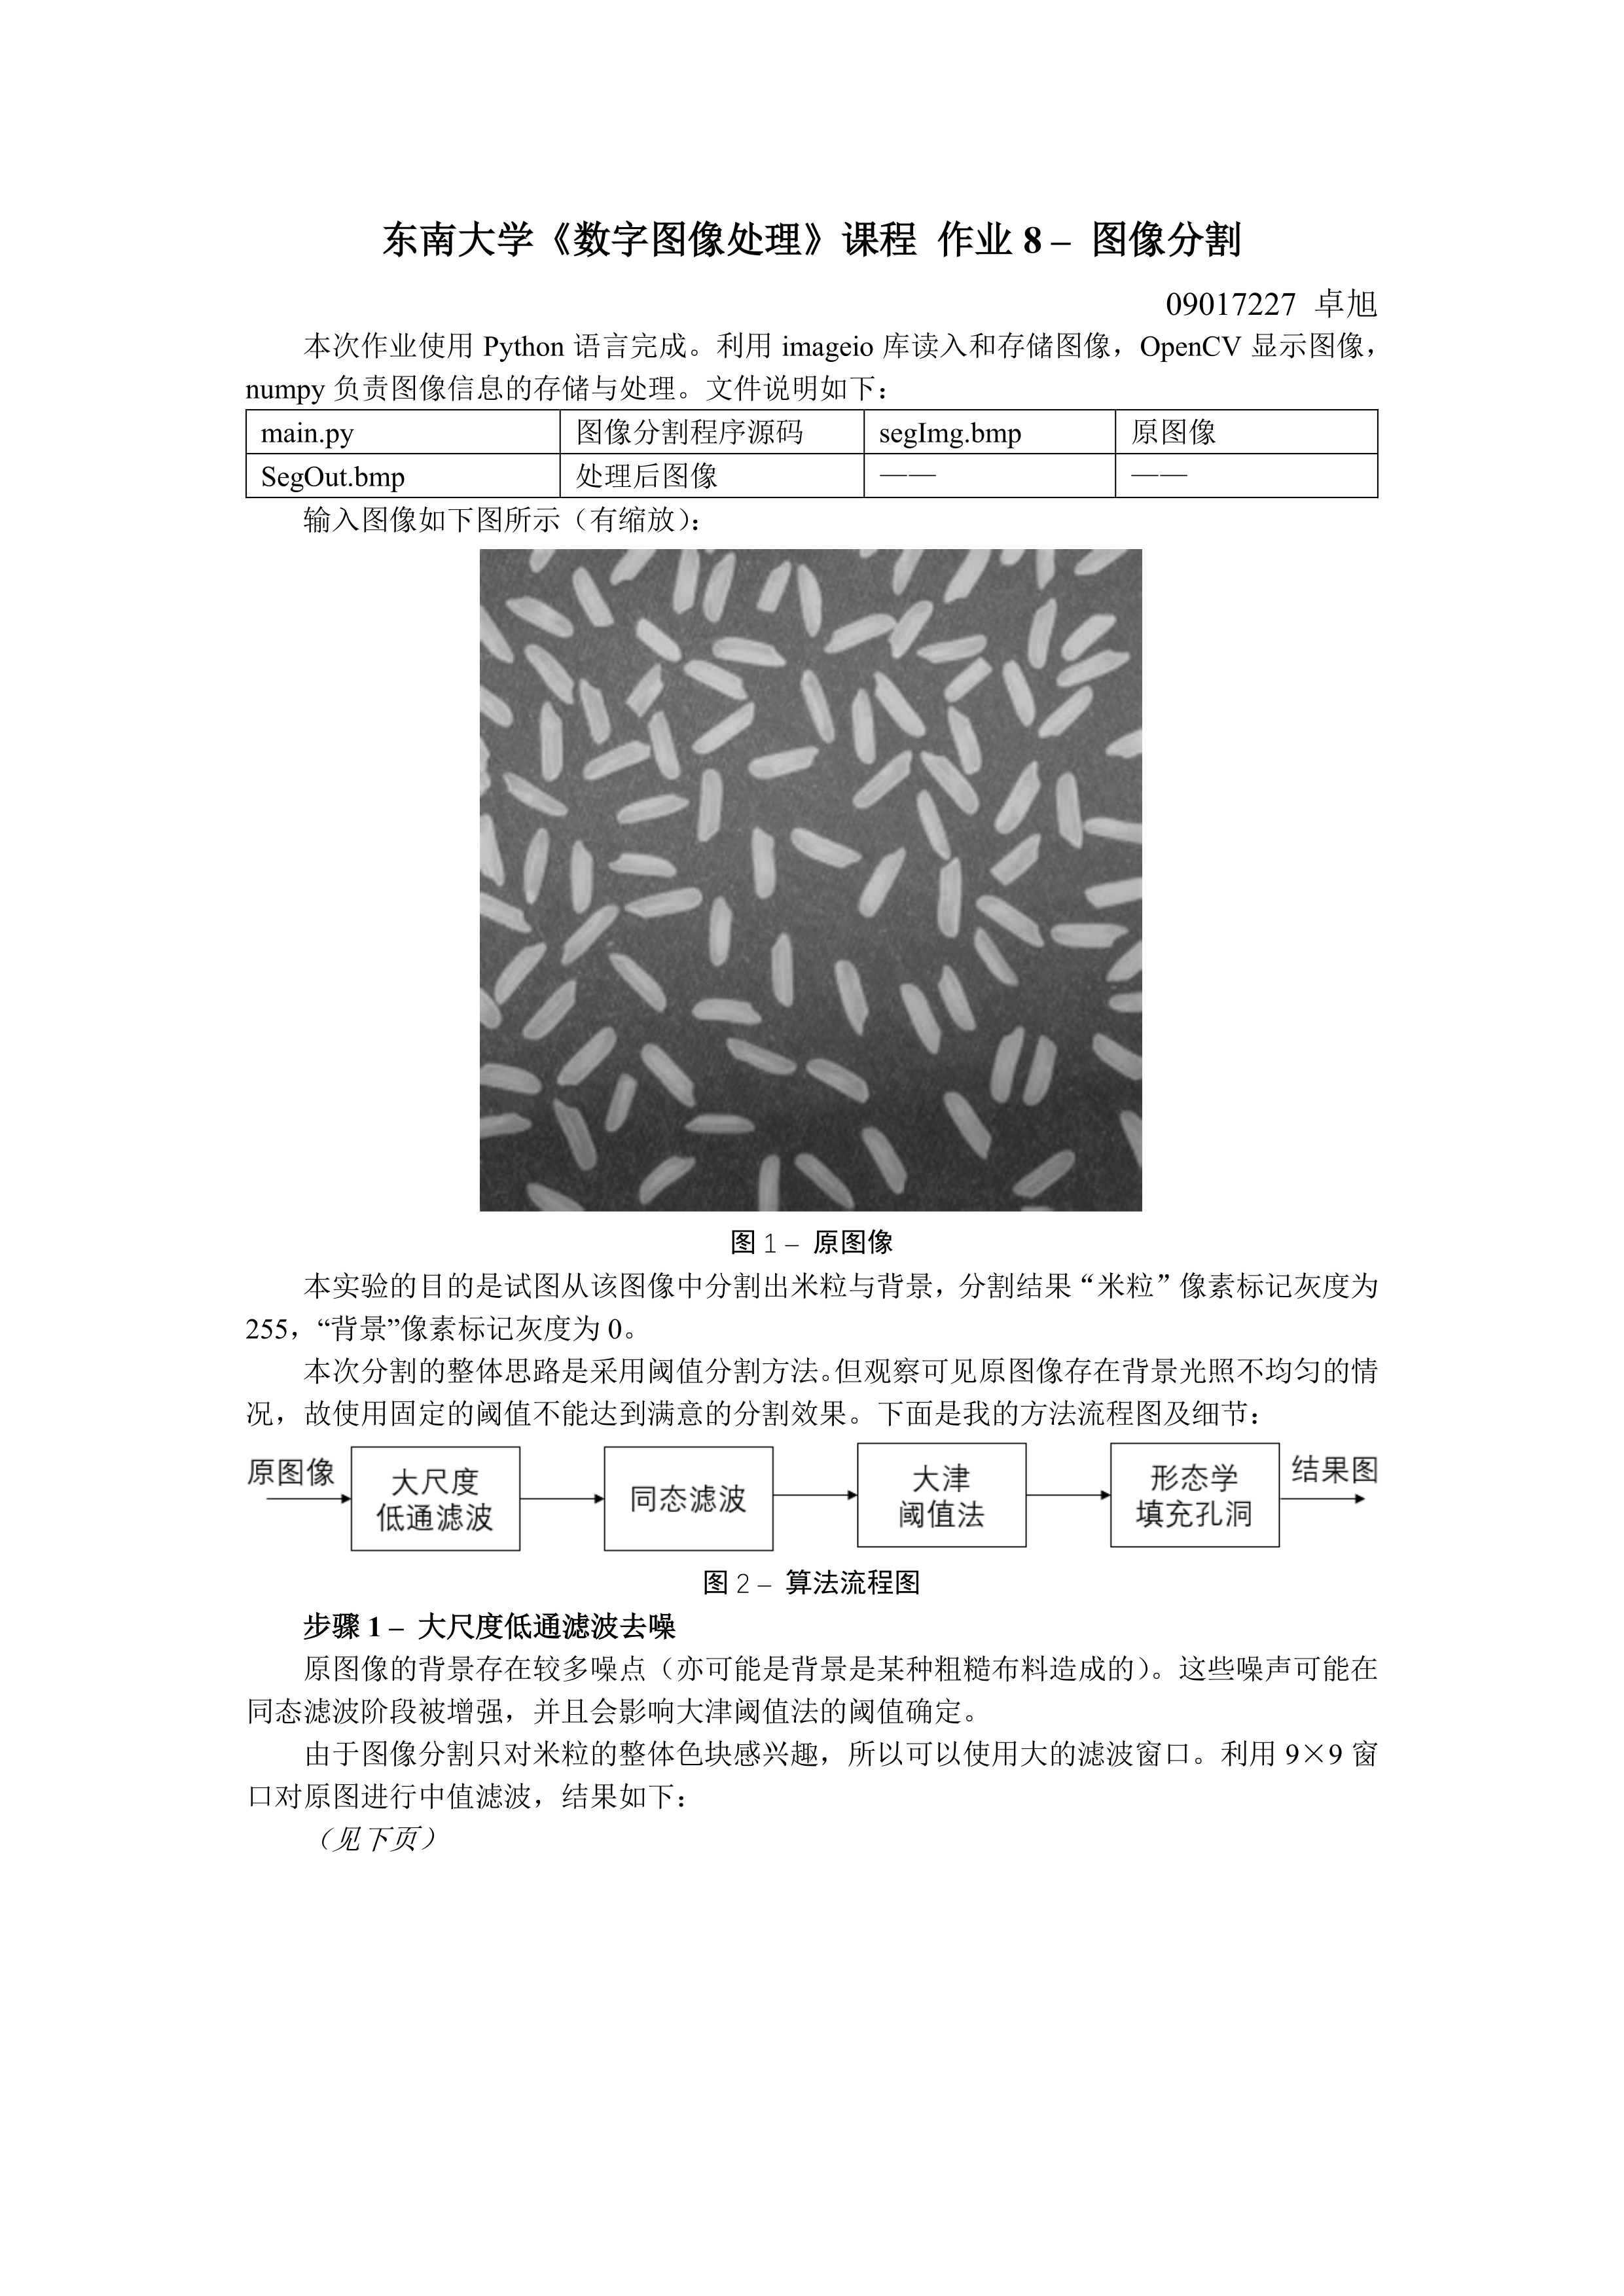
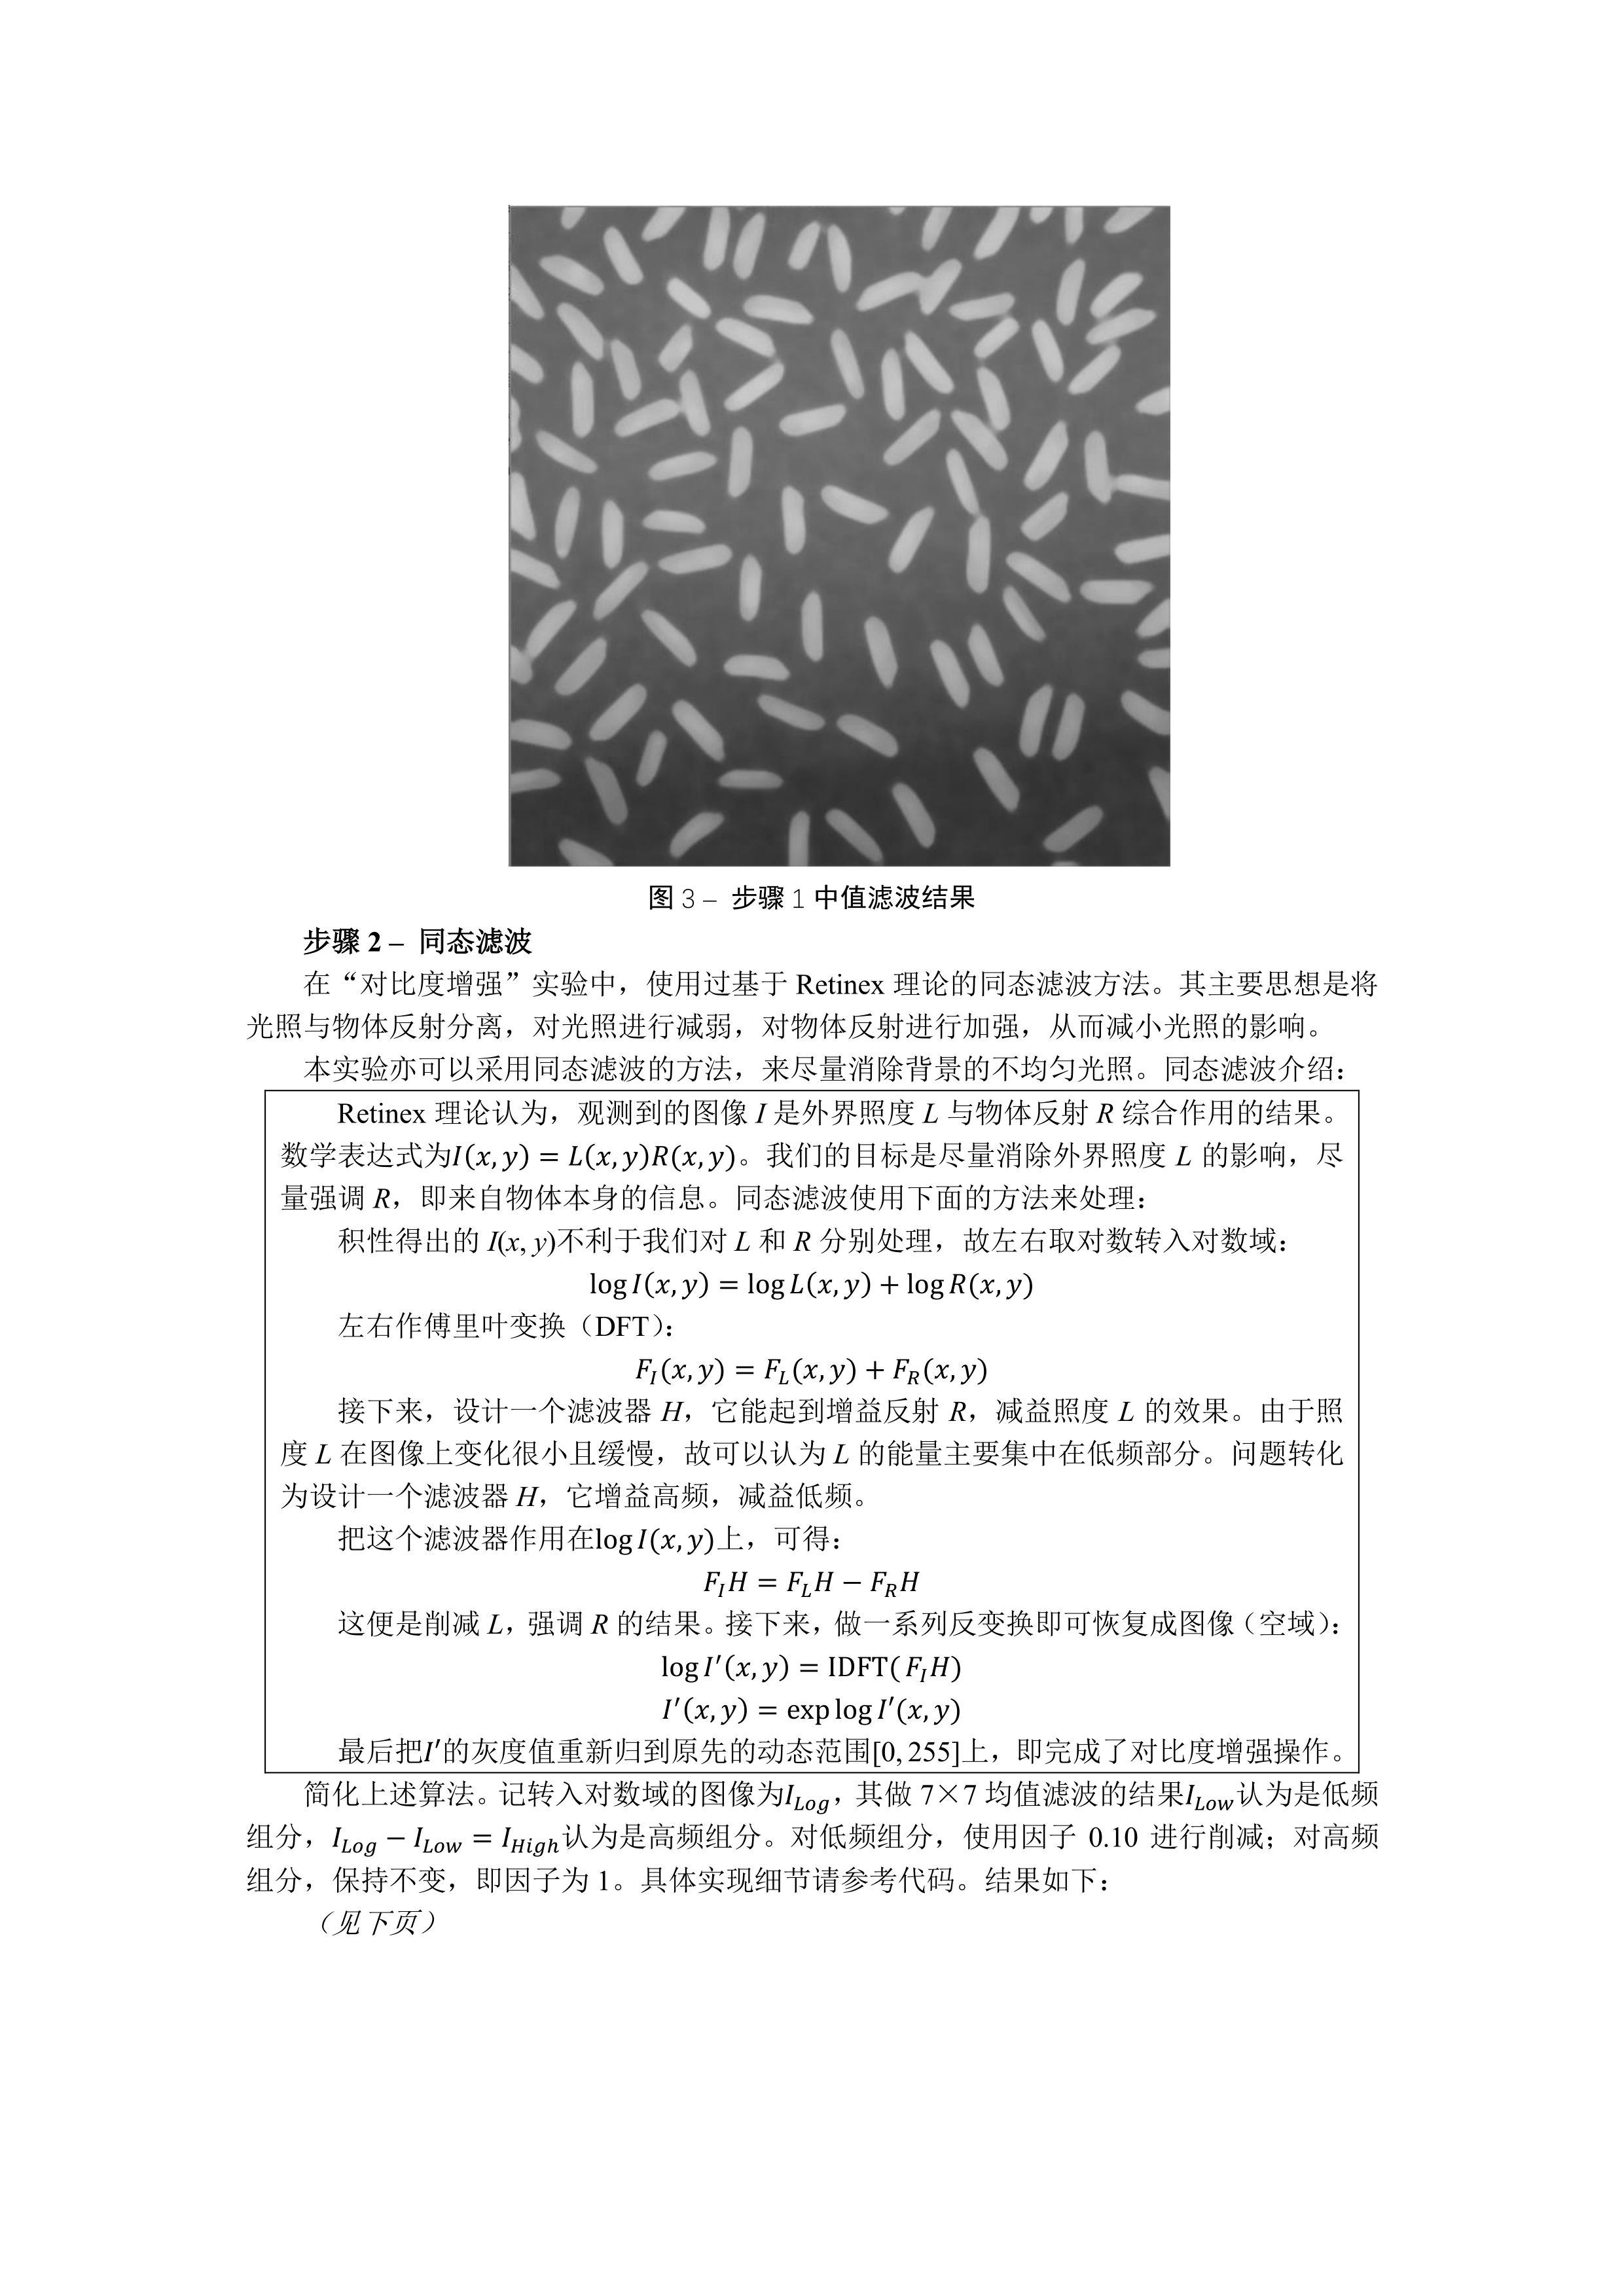
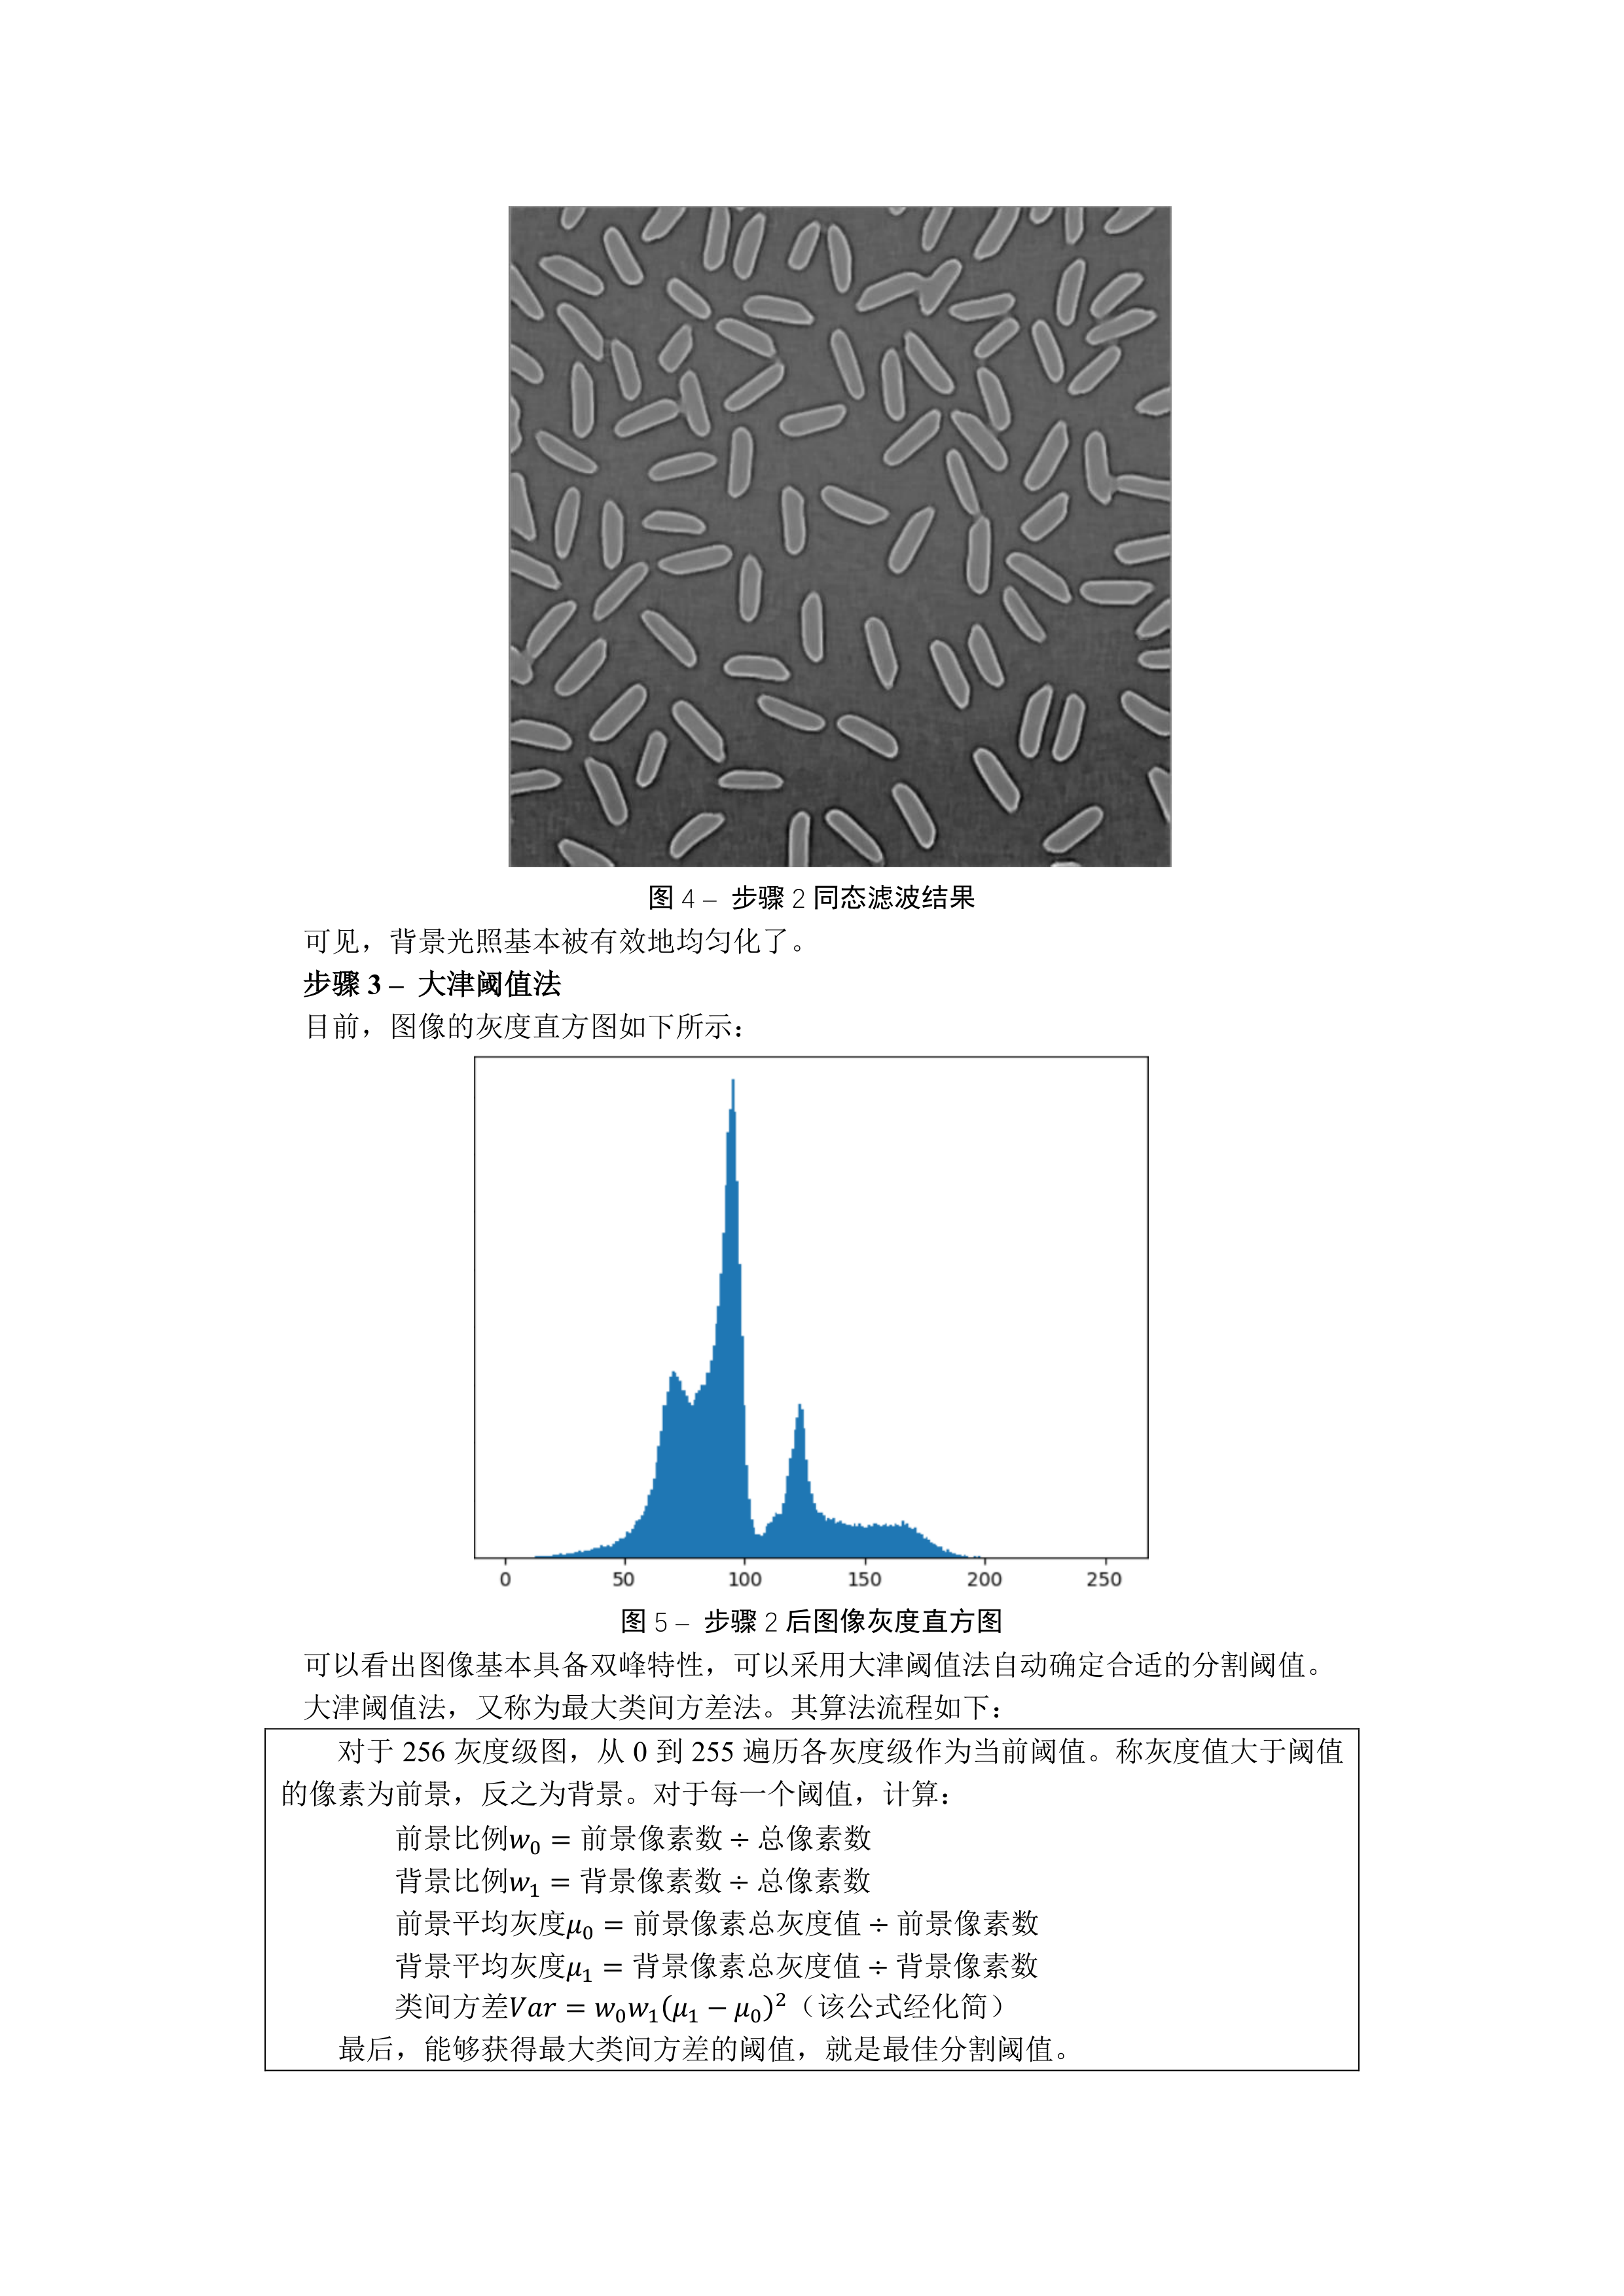
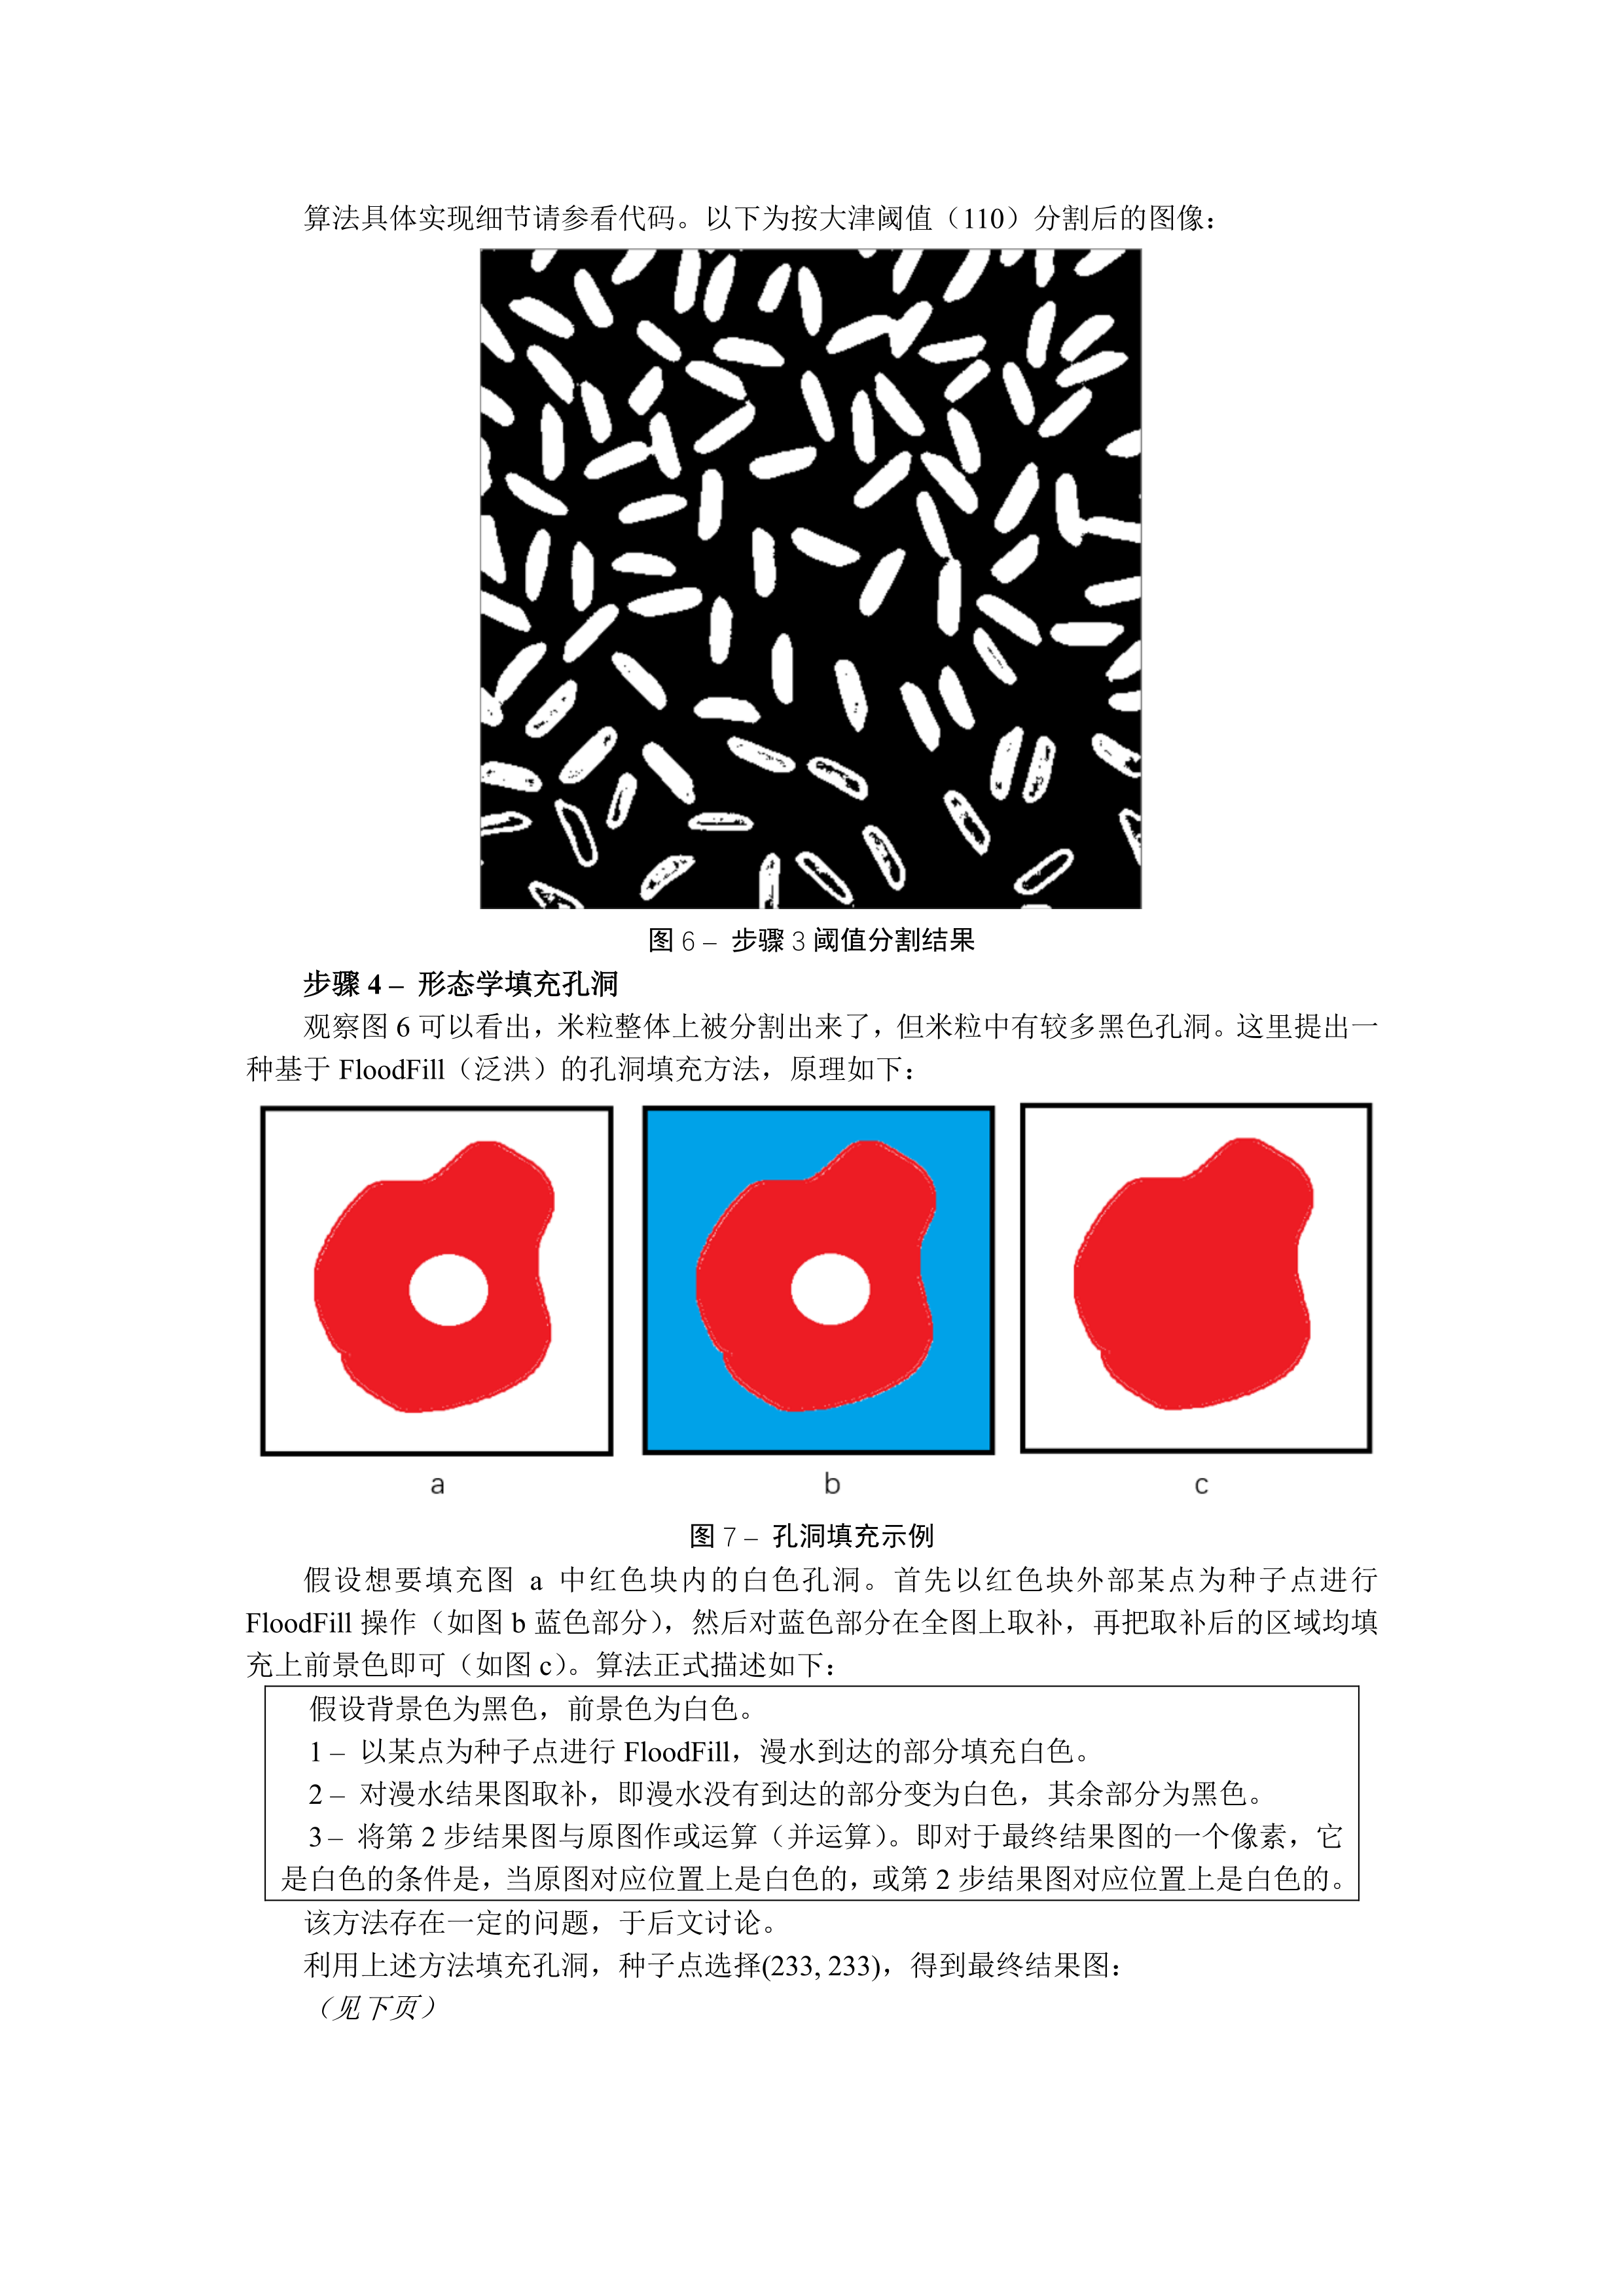
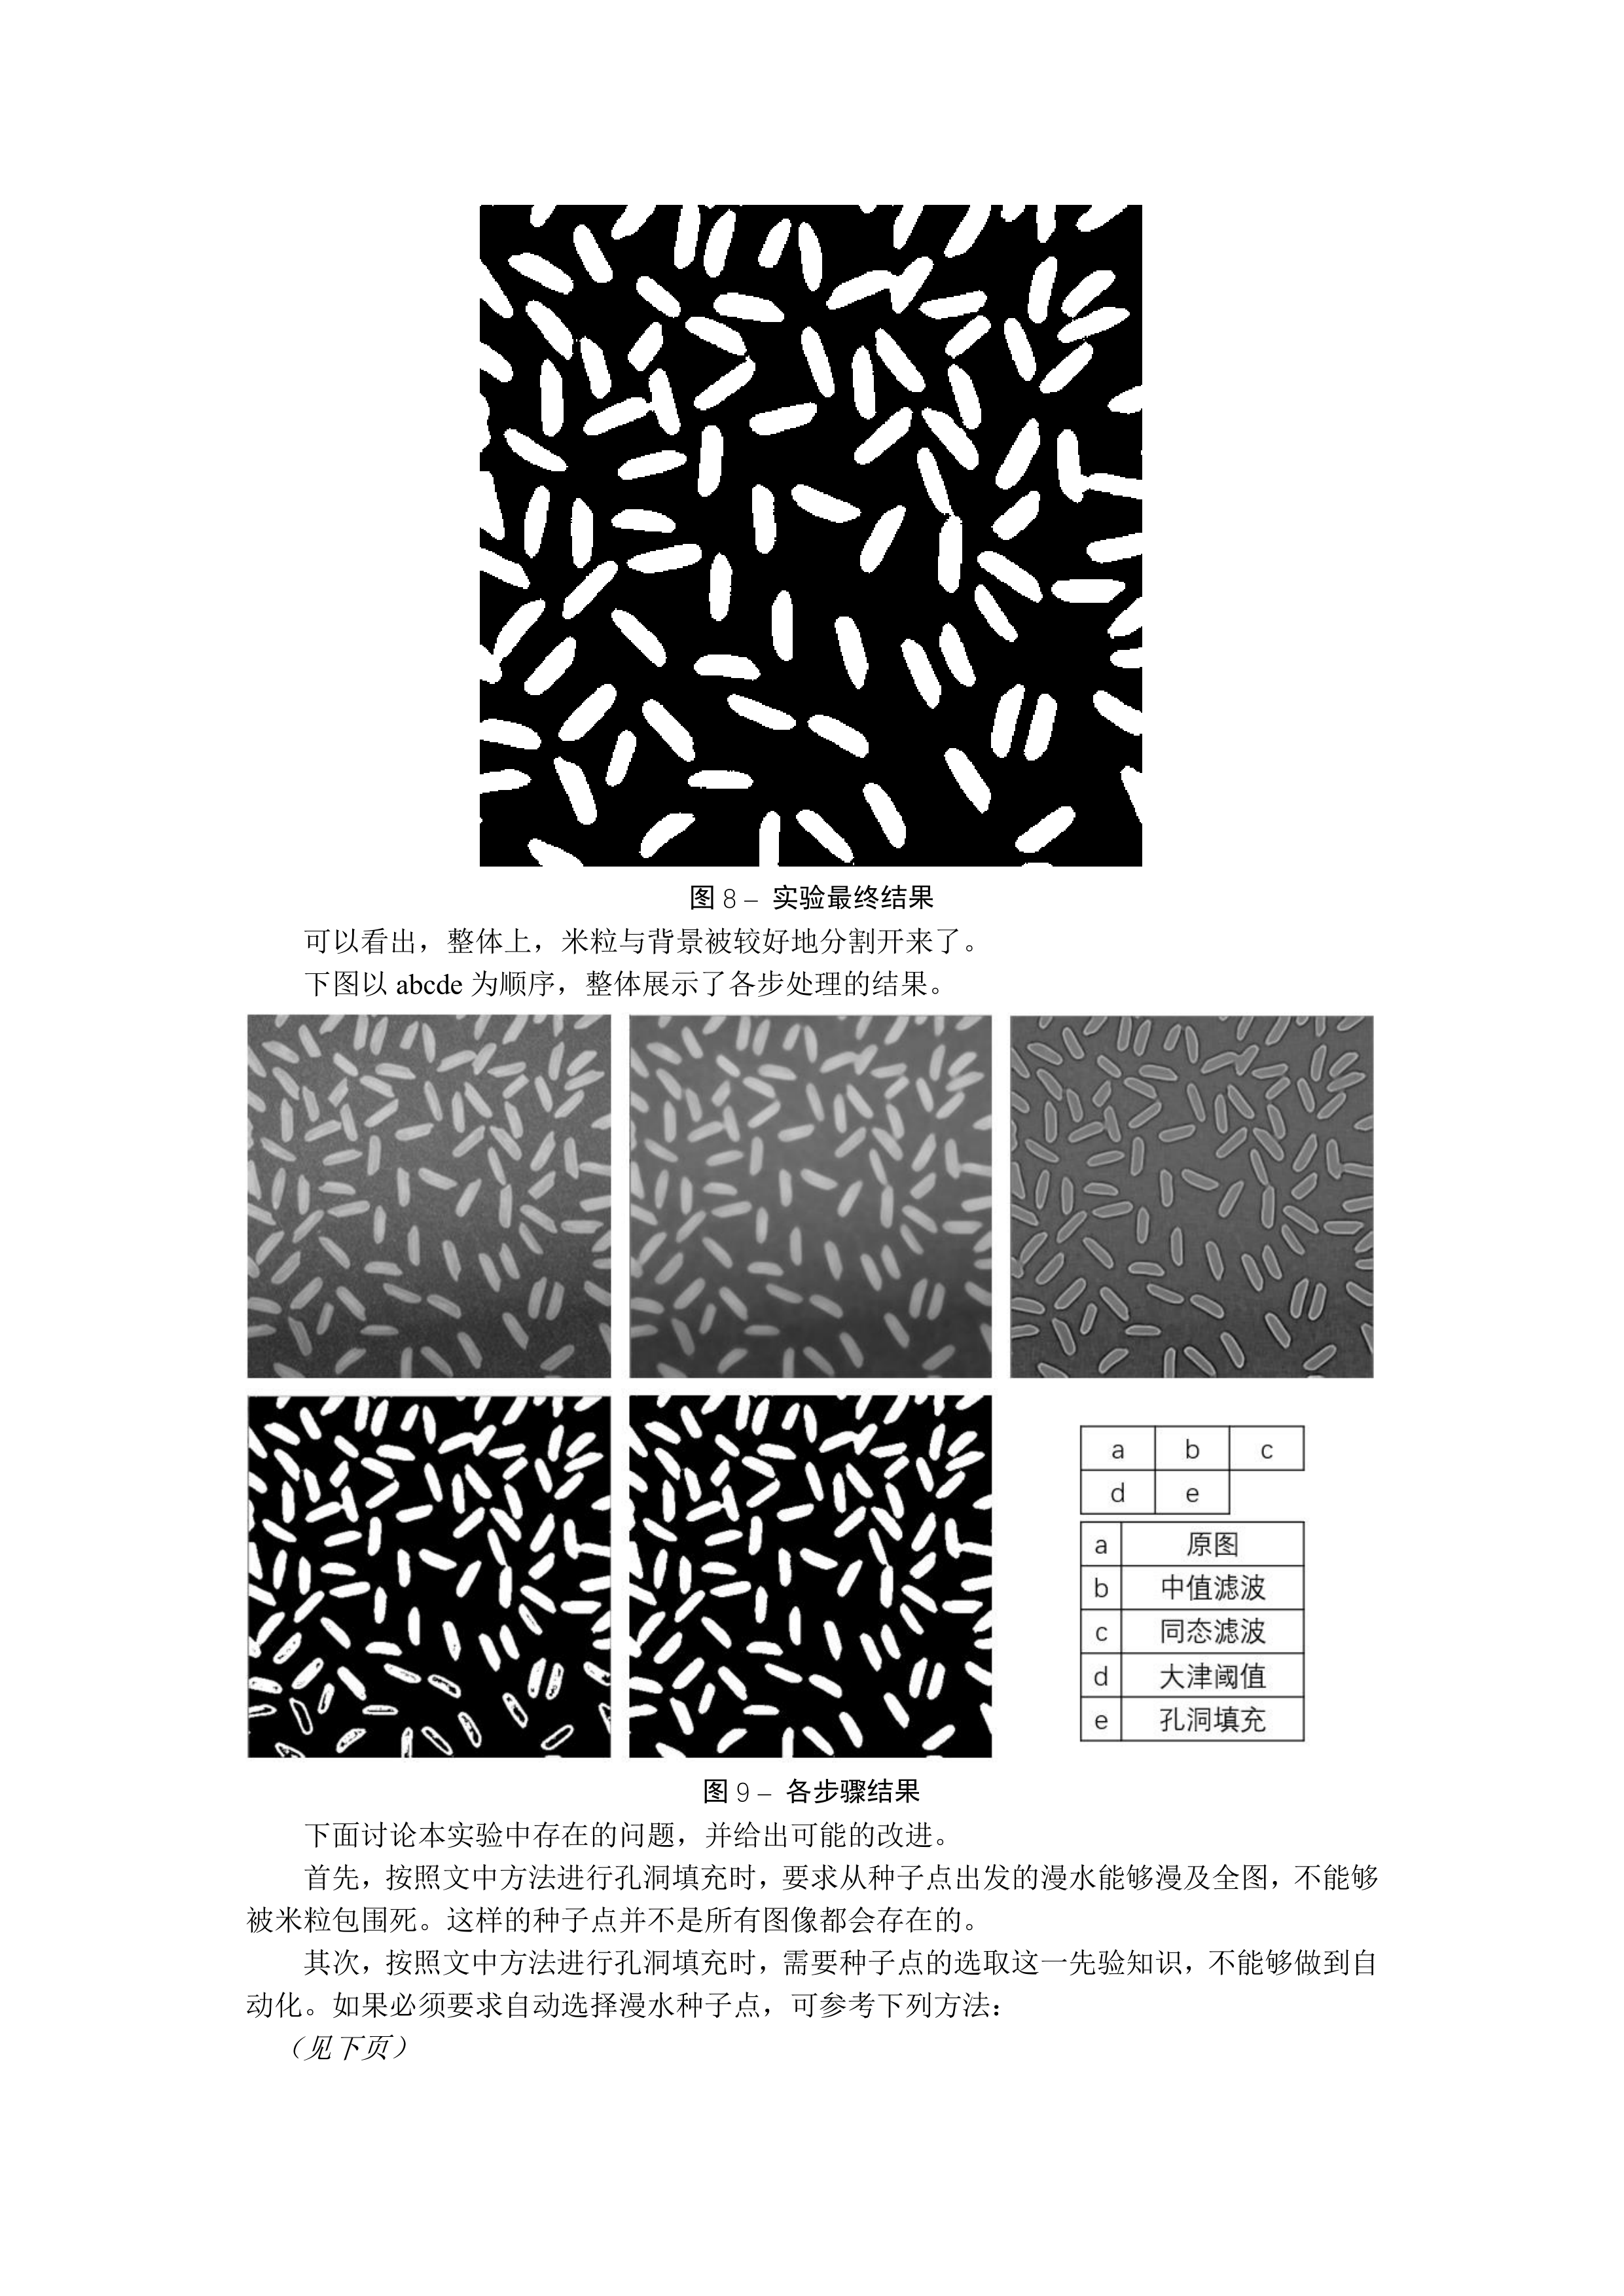
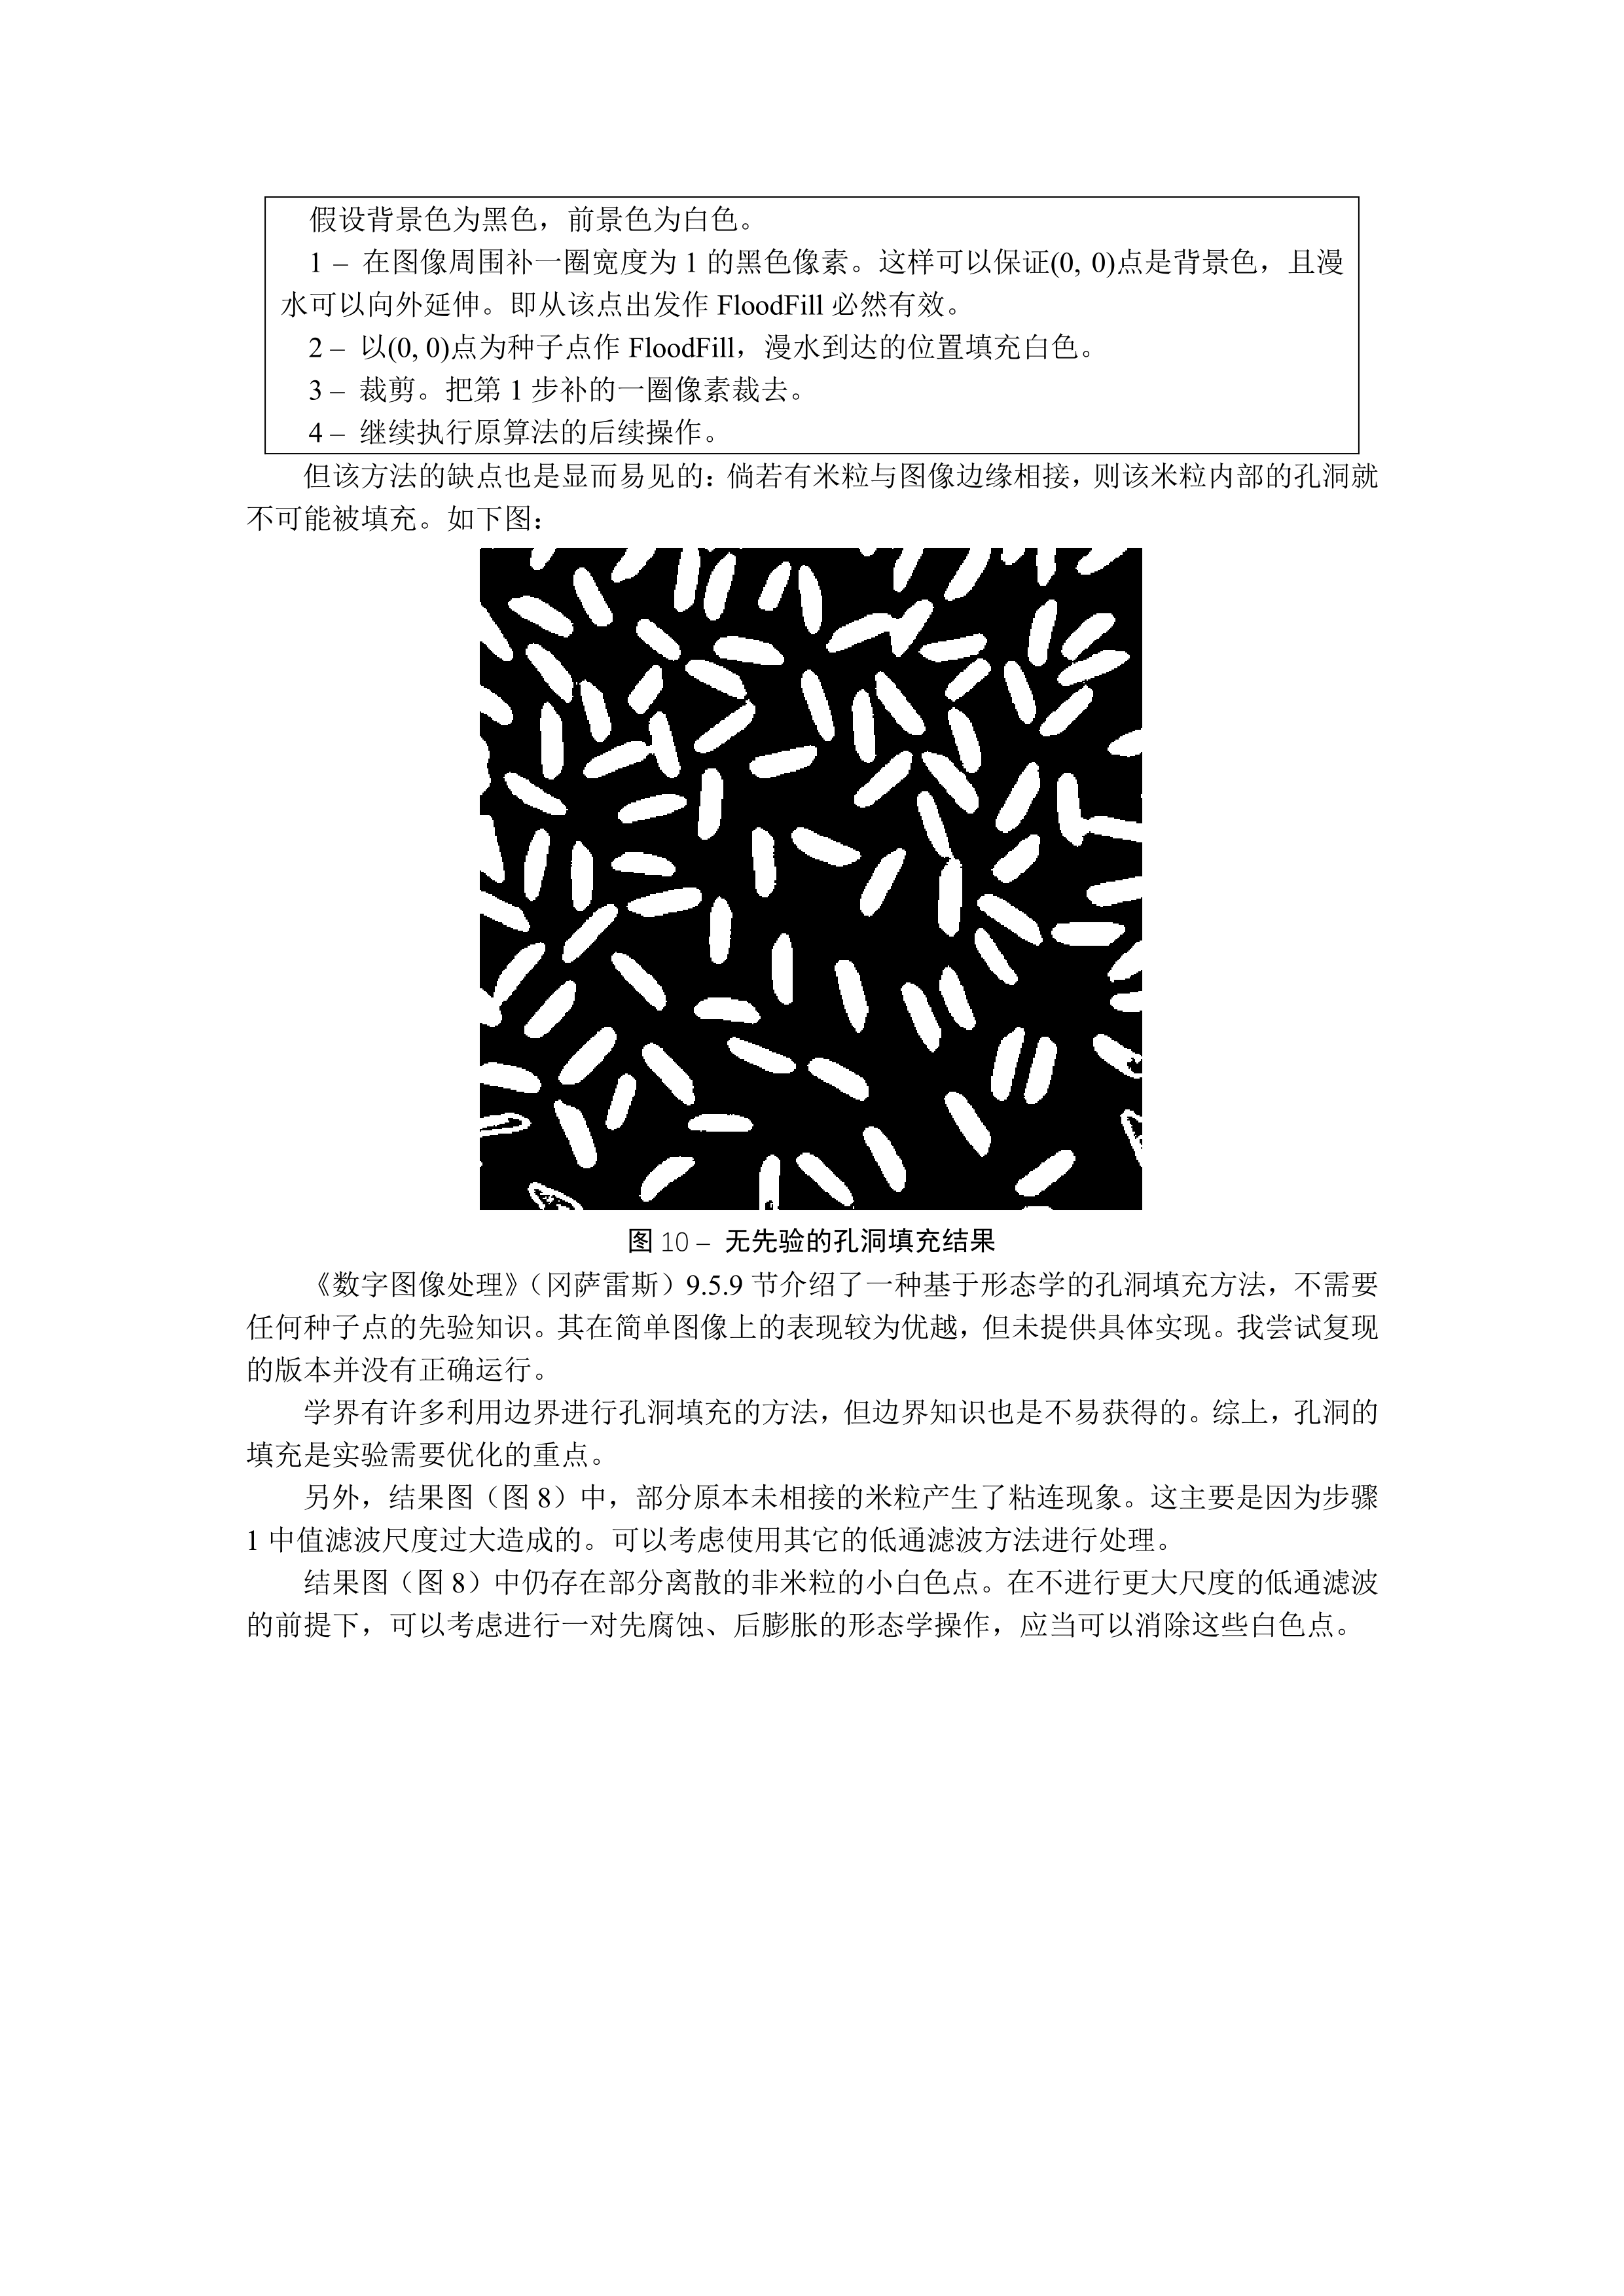
程序代码
# coding: utf-8

'''
东南大学《数字图像处理》课程 作业8 - 图像分割
09017227 卓旭 written with Python 3

本程序内灰度图像作为二维数组,存储顺序为[行][列],像素点坐标表示为img[x][y],坐标系为
O--------> [y axis]
|
|
V [x axis]
'''

import imageio
import numpy as np
import cv2
import matplotlib.pyplot as plt

IMAGE_PATH='./segImg.bmp'

'''
  读入灰度图像,转为二维numpy数组
'''
def readImage(imagePath):
  return imageio.imread(imagePath)

'''
  图像分割
'''
def Seg(img):
  # STEP 1 - 大尺度中值滤波去噪
  res = cv2.medianBlur(img, 9)
  # cv2.imshow('Step 1 - Median Blur', res)
  # cv2.waitKey(0)
  # STEP 2 - 同态滤波消除光照影响
  def Homo(I):
    I = I + 1. # 避免log(0)
    I_log = np.log(I)
    # 7 X 7 均值窗口滤出低频
    light_log = cv2.blur(I_log, (7, 7))
    object_log = I_log - light_log
    # 低频减益,高频不变
    light_log = light_log * 0.1
    object_log = object_log * 1.0
    res = np.abs(np.exp(light_log)) * np.abs(np.exp(object_log))
    res = res - 1.
    minR, maxR = np.min(res), np.max(res)
    rangeR = maxR - minR
    for i in range(res.shape[0]):
      for j in range(res.shape[1]):
        res[i, j] = (res[i, j] - minR) / rangeR * 255.
    return np.asarray(res, np.uint8)
  res = Homo(res)
  # cv2.imshow('Step 2 - Homo Filter', res)
  # cv2.waitKey(0)
  # 绘制灰度直方图
  # plt.hist(res.ravel(), 256)
  # plt.show()
  # STEP 3 - 大津算法确定最佳阈值
  def Otsu(I):
    var_max = 0; best_th = 0
    for th in range(0, 256):
      mask_fore = I > th; mask_back = I <= th # 按当前测试阈值分割
      len_fore = np.sum(mask_fore); len_back = np.sum(mask_back) # 前后景像素数
      if len_fore == 0: # 已经分不出前景了,没有必要继续提高阈值了
        break
      if len_back == 0: # 背景过多,说明阈值不够,继续提高
        continue
      # 算法相关参数
      total_pixel = I.shape[0] * I.shape[1] # 图像尺寸
      w0 = float(len_fore) / total_pixel; w1 = float(len_back) / total_pixel # 两类的占比
      u0 = float(np.sum(I * mask_fore)) / len_fore; u1 = float(np.sum(I * mask_back)) / len_back # 两类的平均灰度
      var = w0 * w1 * ((u0 - u1) ** 2) # 类间方差
      if var > var_max:
        var_max = var; best_th = th
    return best_th
  OtsuThreshold = Otsu(res)
  # 按该阈值进行二值化
  for i in range(res.shape[0]):
    for j in range(res.shape[1]):
      res[i, j] = 255 if res[i, j] > OtsuThreshold else 0
  # cv2.imshow('Step 3 - Otsu Threshold', res)
  # cv2.waitKey(0)
  # STEP 4 - 利用形态学方法填充空洞
  def Fill(I):
    SEED_POINT = (233, 233)
    cpy = I.copy()
    flood_fill_mask = np.zeros((cpy.shape[0] + 2, cpy.shape[1] + 2), dtype=np.uint8)
    cv2.floodFill(cpy, flood_fill_mask, SEED_POINT, 255) # 漫水填充
    # 取补
    for i in range(cpy.shape[0]):
      for j in range(cpy.shape[1]):
        cpy[i, j] = 255 if cpy[i, j] == 0 else 0
    # 做并运算
    for i in range(I.shape[0]):
      for j in range(I.shape[1]):
        res[i, j] = 255 if (cpy[i, j] == 255 or res[i, j] == 255) else 0
    return res
  res = Fill(res)

  return np.asarray(res, np.uint8)

if __name__ == '__main__':
  print("开始计算...")
  res = Seg(readImage(IMAGE_PATH))
  imageio.imwrite('SegOut.bmp', res)
  cv2.imshow('Seg Result', res)
  cv2.waitKey(0)


