Linux环境
apt-get install volatility
各种依赖的安装,(视情况安装)
#Distorm3:牛逼的反编译库 pip install distorm3 #Yara:恶意软件分类工具 pip install yara #PyCrypto:加密工具集 pip install pycrypto #PIL:图片处理库 pip install pil #OpenPyxl:读写excel文件 pip install openpyxl #ujson:JSON解析 pip install ujson
Windows环境
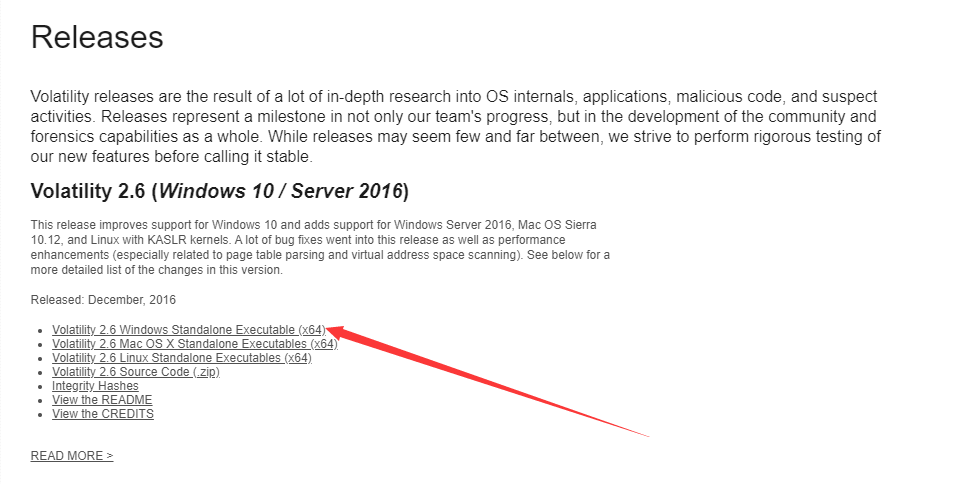
官网下载:https://www.volatilityfoundation.org/releases

内存文件准备:
使用工具dumpit获取内存文件 后缀名一般为 .raw .vmem .img
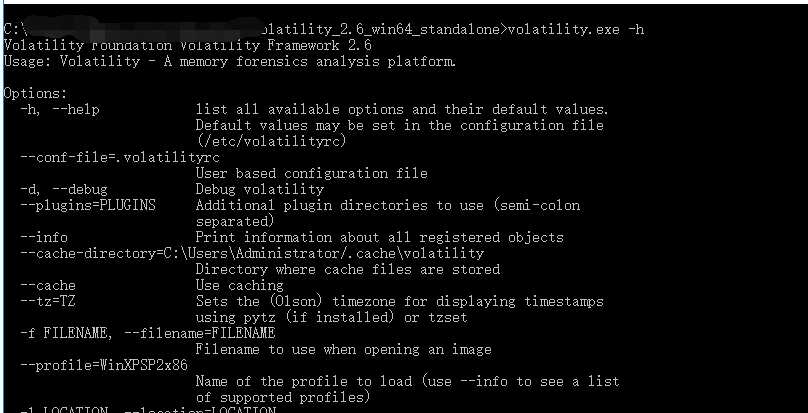
命令行使用:

以省赛的一道内存取证题目为例简单介绍其使用
题目为:你熟悉浏览器吗
提示:cookie
题目下载:
链接:https://pan.baidu.com/s/1D8O-eyI6s1URaFEd6cS7-Q 提取码:vj8x
使用 imageinfo 插件获取内存文件基本信息,分析出是哪个操作系统
volatility.exe imageinfo -f Browser.raw

可以看到可能的操作系统为:
Suggested Profile(s) : Win7SP1x64, Win7SP0x64, Win2008R2SP0x64, Win2008R2SP1x64_23418, Win2008R2SP1x64, Win7SP1x64_23418
这里是为了获取profile的类型,因为不同的操作系统结构不一样,所以后续需要使用 --profile=来指定。
imageinfo会自动猜解可能的系统类型,一般情况下第一个是正确的。
列出所有进程,指定操作系统为 Win7SP1x64
volatility.exe -f Browser.raw --profile=Win7SP1x64 pslist
题目里提到了浏览器和cookie,很自然想到浏览器进程

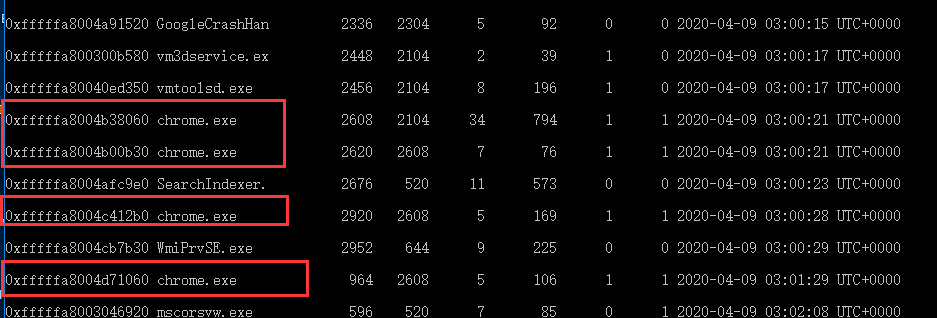
发现谷歌浏览器进程
在cmd下使用find查找所有谷歌浏览器进程
volatility.exe -f Browser.raw --profile=Win7SP1x64 pslist |find "chrome.exe"

接着把每一个谷歌浏览器进程的数据保存为dmp格式的文件(这里的PID需要自己指定
volatility.exe -f Browser.raw --profile=Win7SP1x64 memdump -p {对应的PID} -D ./
如:

最后导出为:

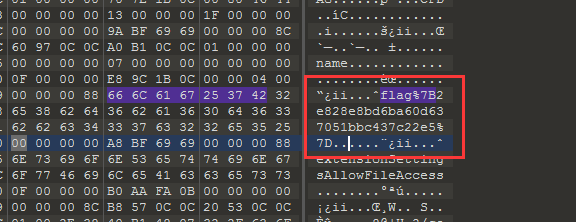
使用010editer查找flag逐一筛选
在2608.dmp文件中找到flag

参考链接:
https://flamepeak.com/2020/03/11/Linux-Forensics-Volatility-install-usage-20200322/