

开发工具:STS
代码下载链接:https://github.com/theIndoorTrain/Springboot_MybatisPlus
版本:
Springboot:1.5.14.RELEASE
使用2.0以上的Springboot,会报出一些异常。欢迎知道异常原因的大牛解惑。
MybatisPlus:2.3
参考文档:MybatisPlus官网
前言:
Mybatis是一款灵活的持久层框架,它解放了sql,把sql的控制完全交于开发者,保证了sql的灵活性。
MP(MybatisPlus)是对Mybatis的增强,它把通用的mapper帮我们实现好了,我们直接调用就可以。
它还提供了条件构造器、强大的代码生成、各种优秀的插件......
都会给我们的开发带来便利。
现在,我们开始使用MP。
搭建项目:
1.添加依赖
 1 <?xml version="1.0" encoding="UTF-8"?>
 2 <project xmlns="http://maven.apache.org/POM/4.0.0" xmlns:xsi="http://www.w3.org/2001/XMLSchema-instance"
 3     xsi:schemaLocation="http://maven.apache.org/POM/4.0.0 http://maven.apache.org/xsd/maven-4.0.0.xsd">
 4     <modelVersion>4.0.0</modelVersion>
 5
 6     <groupId>com.xm</groupId>
 7     <artifactId>Springboot_MybatisPlus</artifactId>
 8     <version>0.0.1-SNAPSHOT</version>
 9     <packaging>jar</packaging>
10
11     <name>Springboot_MybatisPlus</name>
12     <description>Demo project for Spring Boot</description>
13
14     <parent>
15         <groupId>org.springframework.boot</groupId>
16         <artifactId>spring-boot-starter-parent</artifactId>
17         <version>1.5.14.RELEASE</version>
18         <relativePath/> <!-- lookup parent from repository -->
19     </parent>
20
21     <properties>
22         <project.build.sourceEncoding>UTF-8</project.build.sourceEncoding>
23         <project.reporting.outputEncoding>UTF-8</project.reporting.outputEncoding>
24         <java.version>1.8</java.version>
25     </properties>
26
27     <dependencies>
28         <dependency>
29             <groupId>org.springframework.boot</groupId>
30             <artifactId>spring-boot-starter-jdbc</artifactId>
31         </dependency>
32         <dependency>
33             <groupId>org.springframework.boot</groupId>
34             <artifactId>spring-boot-starter-web</artifactId>
35         </dependency>
36         <!--  添加MP依赖-->
37         <dependency>
38           <groupId>com.baomidou</groupId>
39           <artifactId>mybatis-plus-boot-starter</artifactId>
40           <version>2.3</version>
41         </dependency>
42
43         <dependency>
44             <groupId>mysql</groupId>
45             <artifactId>mysql-connector-java</artifactId>
46             <scope>runtime</scope>
47         </dependency>
48         <dependency>
49             <groupId>org.springframework.boot</groupId>
50             <artifactId>spring-boot-starter-test</artifactId>
51             <scope>test</scope>
52         </dependency>
53     </dependencies>
54
55     <build>
56         <plugins>
57             <plugin>
58                 <groupId>org.springframework.boot</groupId>
59                 <artifactId>spring-boot-maven-plugin</artifactId>
60             </plugin>
61         </plugins>
62     </build>
63
64
65 </project>
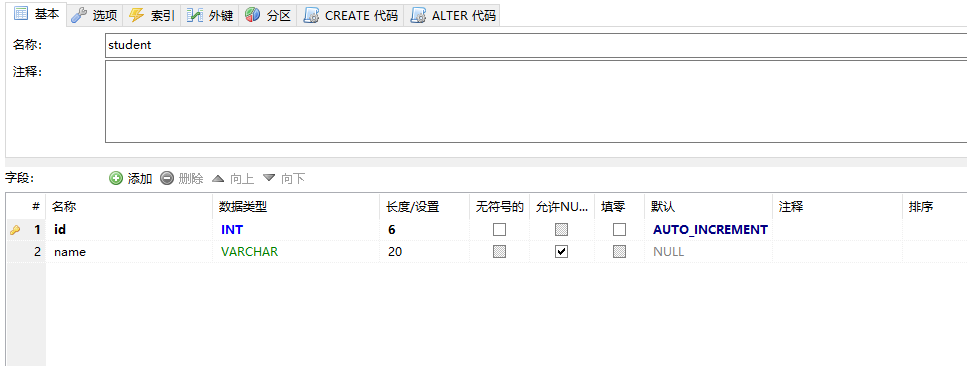
2.建表
3.配置数据库连接:
1 spring:
2   datasource:
3     url: jdbc:mysql://10.1.51.31:3306/xm?useSSL=true
4     username: root
5     password: cube1501
6     driver-class-name: com.mysql.jdbc.Drive
4.添加Student实体:
 1 package com.xm.pojo;
 2 /**
 3  * 学生实体
 4  * @author xm
 5  *
 6  */
 7 public class Student {
 8
 9     private Integer id;
10     private String name;
11     public Integer getId() {
12         return id;
13     }
14     public void setId(Integer id) {
15         this.id = id;
16     }
17     public String getName() {
18         return name;
19     }
20     public void setName(String name) {
21         this.name = name;
22     }
23
24     @Override
25     public String toString() {
26         return "Student [id=" + id + ", name=" + name + "]";
27     }
28
29
30
31 }
5.添加mapper接口:
package com.xm.mapper;

import com.baomidou.mybatisplus.mapper.BaseMapper;
import com.xm.pojo.Student;

public interface StudentMapper extends BaseMapper<Student> {

}
6.开启Mapper扫描:
 1 package com.xm;
 2
 3 import org.mybatis.spring.annotation.MapperScan;
 4 import org.springframework.boot.SpringApplication;
 5 import org.springframework.boot.autoconfigure.SpringBootApplication;
 6
 7 @SpringBootApplication
 8 //开启mapper包扫描
 9 @MapperScan("com.xm.mapper")
10 public class SpringbootMybatisPlusApplication {
11
12     public static void main(String[] args) {
13         SpringApplication.run(SpringbootMybatisPlusApplication.class, args);
14     }
15 }
7.测试:
package com.xm;

import org.junit.Test;
import org.junit.runner.RunWith;
import org.springframework.beans.factory.annotation.Autowired;
import org.springframework.boot.test.context.SpringBootTest;
import org.springframework.test.context.junit4.SpringRunner;

import com.xm.mapper.StudentMapper;

@RunWith(SpringRunner.class)
@SpringBootTest
public class SpringbootMybatisPlusApplicationTests {
    @Autowired
    private StudentMapper studentMapper;

    @Test
    public void contextLoads() {
        System.out.println(studentMapper.selectById(1));
    }

}
8.运行结果
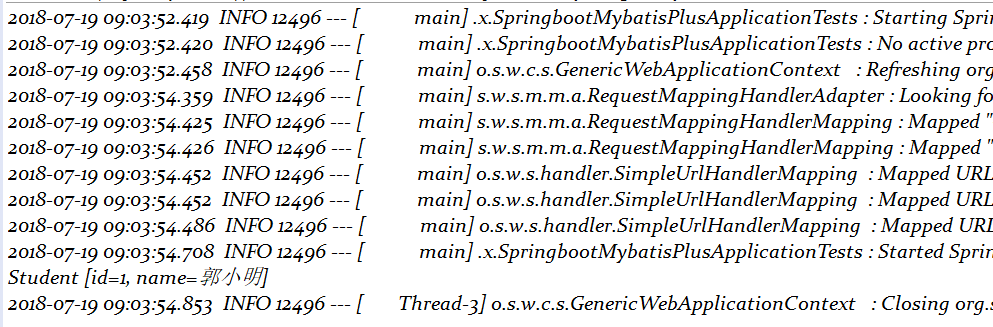
2018-07-19