本篇中继续来给大家介绍外卖App制作中的商品组件的部分。
好,第一步,我们把商品的大致框架在goods.vue中搭建出来:

menu-wrapper是左边菜单栏,foods-wrapper是右边商品栏。
第二步,我们需要取到我们需要的数据。

可能有人这时候会有一点疑问,因为他们记得header里面的seller是这么取得:

那我们现在来看一下data.json:

一个是json 一个是数组,所以,如上述代码可取出我们所需要的goods。
第三步,写侧边栏menu-wrapper,并填入数据
代码:
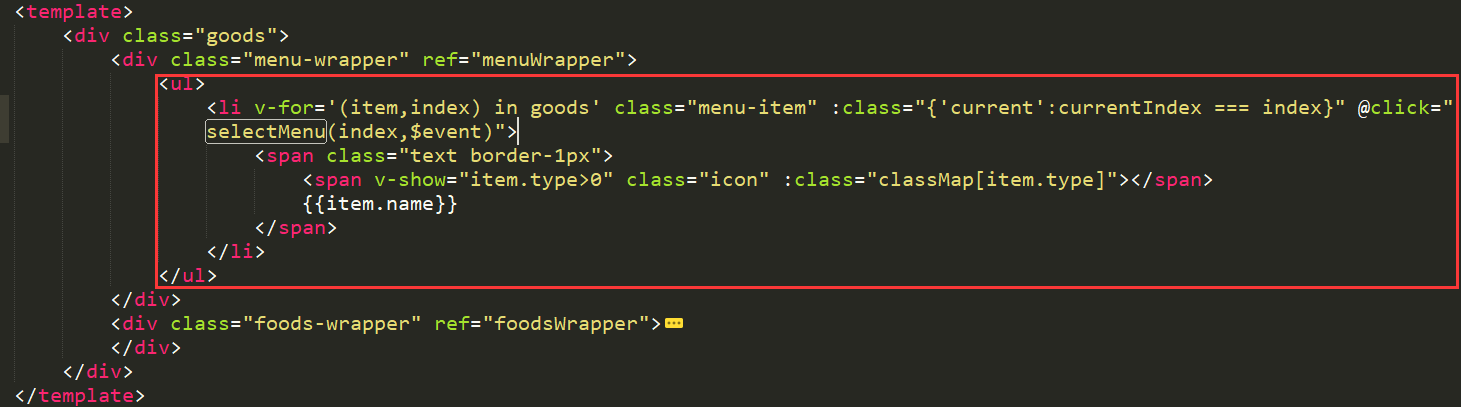
<div class="menu-wrapper" ref="menuWrapper">     <!-------point3-3
     <ul>
         <li v-for='(item,index) in goods' class="menu-item" :class="{'current':currentIndex === index}" @click="selectMenu(index,$event)">   <!-------point3-2
             <span class="text border-1px">
                   <span v-show="item.type>0" class="icon" :class="classMap[item.type]"></span>   <!-------point3-1
                   {{item.name}}
             </span>
         </li>
     </ul>
</div>
1、因为左侧边栏一看就是一个列表,所以用ul和li来布局。并用v-for来循环因为goods的数据里每一条都是一个li。
2、point3-1 :有的菜单有icon,有的没有,这些取决于data中的一个type。type>0,可能为1,2,3,4就代表有icon图片。type=-1就代表没有图片。所以,v-show="item.type>0" 就表示,只有当item.type>0时,才让它显示。
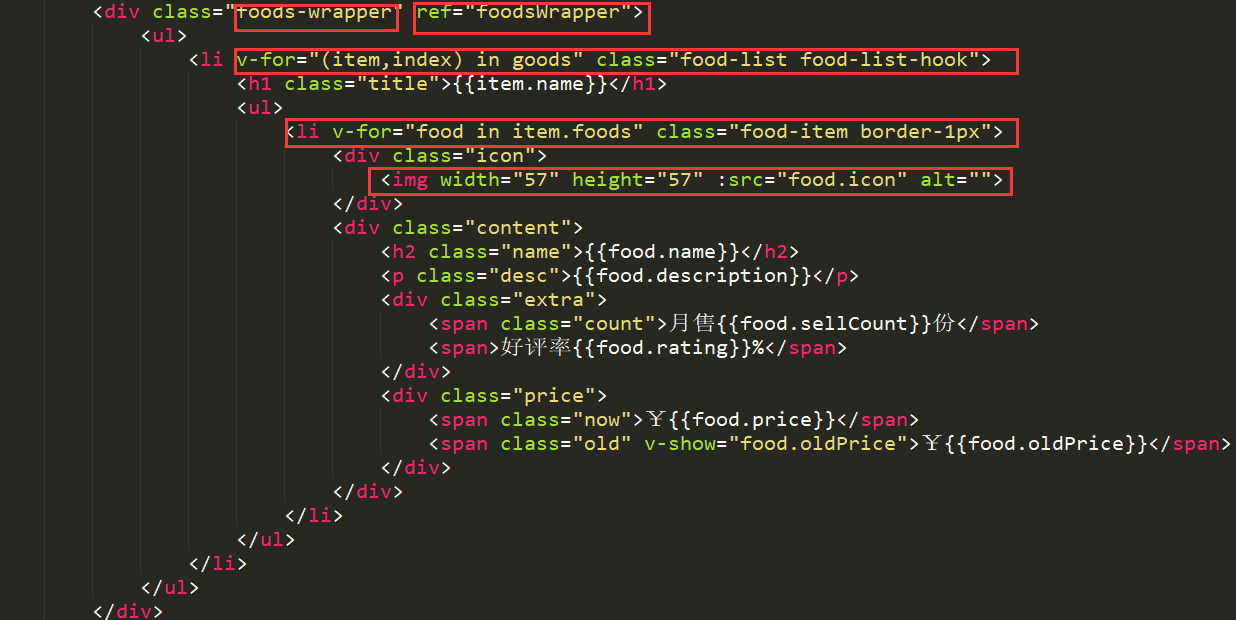
第四步,写商品栏,goods-wrapper:
基本商品布局搭建出来后,我们需要实现一个滚动的功能。a.menu-wrapper和goods-wrapper都能滚动。b.滚动goods-wrapper,也就是滚动过程中,这一条商品是属于菜单的哪一条li,让这个菜单被选中。c.点击menu-wrapper,让goods-wrapper跳到相应菜单中。
第五步:实现滚动:
在这里,我们运用better-scroll来做。
实现这个效果之前,需要解释几个知识点:
a.ref和$refs:
ref在官网上的解释简单来说就是用来绑定某个dom元素,或者来说用来绑定某个组件,然后在$refs里面调用,具体实例如下:
<div class="touchscroll">

</div>
如果我们想要获取这个div的某个值,比如scrollTop的值,常规的做法是我们必须用document.querySelector(".touchScroll")获取这个dom节点,然后在获取scrollTop的值。
但是用ref绑定之后,我们就不需要在获取dom节点了,直接在上面的div上绑定div,然后$refs里面调用就行,因此上面可以写成:
<div class="touchscroll" ref='div'>
</div>
然后在javascript里面这样调用:this.$refs.div.scrollTop.这样就可以减少获取dom节点的消耗了。如果还不清楚建议尝试打印下 this.$refs 就知道了。
b.$nextTick:
Vue 实现响应式并不是数据发生变化之后 DOM 立即变化,而是按一定的策略进行 DOM 的更新。$nextTick 是在下次 DOM 更新循环结束之后执行延迟回调,在修改数据之后使用 $nextTick,则可以在回调中获取更新后的 DOM。也许有人会问,在 Vue 实例方法中修改了数据,然后再在 $nextTick 回调中获取该数据在相应 DOM 元素所绑定的内容(或属性),这是没有必要的事情,那为什么还需要这样的 API 呢?考虑这样一种场景,你有一个 jQuery 插件,希望在 DOM 元素中某些属性发生变化之后重新应用该插件,这时候就需要在 $nextTick 的回调函数中执行重新应用插件的方法。例子见下述5-1:
5-1.menu-wrapper和goods-wrapper都能滚动。
step1.分别给menu-wrapper和goods-wrapper 标签加上ref=“他们的别名”;如point3-3,这样方便我们获取,像上述说减少获取dom节点的消耗。
step2.初始化better-scroll。
/*其他代码暂时不考虑*/
created(){
            this.classMap = ['decrease','discount','special','invoice','guarantee'];
            this.$http.get('/api/goods').then((response) => {
                response = response.body;
                if(response.errno === ERR_OK){
                    this.goods = response.data;
                    this.$nextTick(() => {              <!-------------------------point5-1-2
                        this._initScroll();
                        this._calculateHeight();
                    });
                }

            });
        },
        methods:{
            _initScroll(){                       <!-------------------------point5-1-1
                 this.menuScroll = new BScroll(this.$refs.menuWrapper,{
                    click:true
                });
                this.foodsScroll = new BScroll(this.$refs.foodsWrapper,{
                    probeType:3
                });
            }
        }
5-2.滚动goods-wrapper,也就是滚动过程中,这一条商品是属于菜单的哪一条li,让这个菜单被高亮。
step1.计算高度:那这段代码写在哪里呢?写在$nextTick里面,就是point5-1-2。因为这时候,拿到数据,dom更新,我们再去计算每一个菜单区间的高度。并把它们push进一个数组里面。组成一个递增的数组。就是listHeight。
data(){
      return{
          goods:[],
          listHeight:[],/*每一个菜单区间的高度*/
          scrollY:0
      };
},
methods:{
            _initScroll(){
                 this.menuScroll = new BScroll(this.$refs.menuWrapper,{
                    click:true
                });
                this.foodsScroll = new BScroll(this.$refs.foodsWrapper,{
                    probeType:3
                });
            },
            _calculateHeight(){
                let foodList =this.$refs.foodsWrapper.getElementsByClassName('food-list-hook');/*每一个菜单*/
                let height = 0;
                this.listHeight.push(height);
                for(let i=0;i<foodList.length;i++){
                    let item = foodList[i];
                    height += item.clientHeight;
                    this.listHeight.push(height);
                }
            }
        }
step2.左右两侧的区间作比较。需要一个vue的calculate的属性。
先捋一下这一步的思路:
当右边滚动的实时位置scrollY在this.listHeight[i]和this.listHeight[i+1]之间,也就是说这个实时位置,在这个菜单和下一个菜单之间的时候,我们需要获取此时的index是第几个来和左边菜单的index作对比。
 <div class="menu-wrapper" ref="menuWrapper">
            <ul>
                <li v-for='(item,index) in goods' class="menu-item" :class="{'current':currentIndex === index}" @click="selectMenu(index,$event)"><!-------------------------point5-2-5
                    <span class="text border-1px">
                        <span v-show="item.type>0" class="icon" :class="classMap[item.type]"></span>
                        {{item.name}}
                    </span>
                </li>
            </ul>
        </div>


return{
                goods:[],
                listHeight:[],/*每一个菜单区间的高度*/
                scrollY:0
            };
        },
        computed:{                                <!-------------------------point5-2-4
            currentIndex(){
                for(let i=0;i<this.listHeight.length;i++){
                    let height1 = this.listHeight[i];
                    let height2 = this.listHeight[i + 1];
                    if(!height2 || (this.scrollY >= height1 && this.scrollY < height2)){
                        return i;
                    }
                }
                return 0;
            }
        },
        created(){
            this.classMap = ['decrease','discount','special','invoice','guarantee'];
            this.$http.get('/api/goods').then((response) => {
                response = response.body;
                if(response.errno === ERR_OK){
                    this.goods = response.data;
                    this.$nextTick(() => {
                        this._initScroll();
                        this._calculateHeight();
                    });
                }

            });
        },
        methods:{
            selectMenu(index,event){
                if(!event._constructed){
                    return;
                }
                let foodList = this.$refs.foodsWrapper.getElementsByClassName('food-list-hook');
                let el =foodList[index];
                this.foodsScroll.scrollToElement(el,300);
            },
            _initScroll(){
                 this.menuScroll = new BScroll(this.$refs.menuWrapper,{
                    click:true
                });
                this.foodsScroll = new BScroll(this.$refs.foodsWrapper,{
                    probeType:3                                            <!-------------------------point5-2-1
                });
                this.foodsScroll.on('scroll',(pos)=>{              <!-------------------------point5-2-2
                    this.scrollY = Math.abs(Math.round(pos.y));        <!-------------------------point5-2-3
                });
            },
            _calculateHeight(){
                let foodList =this.$refs.foodsWrapper.getElementsByClassName('food-list-hook');/*每一个菜单*/
                let height = 0;
                this.listHeight.push(height);
                for(let i=0;i<foodList.length;i++){
                    let item = foodList[i];
                    height += item.clientHeight;
                    this.listHeight.push(height);
                }
            }
        }
tip1.point5-2-1:probeType:3,是betterscroll的一个属性,代表着在滚动的时候能实时地告诉我们滚动的位置,相当于探针的一个效果,
tip2.point5-2-2:this。foodsScroll可以有一个监听scroll的操作,也就是当foodsScroll滚动的时候,能指明实时位置。所以,这个point5-2-2的回调函数里面的参数,就是这个实时位置pos.
tip3.point5-2-3:pos.y是小数,需要给它整数化。然后再取绝对值。转化为正值。
tip4.point5-2-4:computed:是一个vue自带的,叫计算属性。!height2 || (this.scrollY >= height1 && this.scrollY < height2)这个判断就说明如果是最后一个,或者落在这个区间,就返回这个菜单的索引。
tip5.point5-2-5:绑定一个class,如果.point5-2-4 返回的索引和本次循环的index相同,则给index加上current class。然后给current一个样式即可。
5-3.点击menu-wrapper,让goods-wrapper跳到相应菜单中:
<div class="menu-wrapper" ref="menuWrapper">
        <ul>
           <li v-for='(item,index) in goods' class="menu-item" :class="{'current':currentIndex === index}" @click="selectMenu(index,$event)">     <!--------加点击事件>
               <span class="text border-1px">
                     <span v-show="item.type>0" class="icon" :class="classMap[item.type]"></span>
                        {{item.name}}
               </span>
            </li>
         </ul>
  </div>
<script>
export default{
        props:{
            seller:{
                type:Object
            }
        },
        data(){
            return{
                goods:[],
                listHeight:[],/*每一个菜单区间的高度*/
                scrollY:0
            };
        },
        computed:{
            currentIndex(){
                for(let i=0;i<this.listHeight.length;i++){
                    let height1 = this.listHeight[i];
                    let height2 = this.listHeight[i + 1];
                    if(!height2 || (this.scrollY >= height1 && this.scrollY < height2)){
                        return i;
                    }
                }
                return 0;
            }
        },
        created(){
            this.classMap = ['decrease','discount','special','invoice','guarantee'];
            this.$http.get('/api/goods').then((response) => {
                response = response.body;
                if(response.errno === ERR_OK){
                    this.goods = response.data;
                    this.$nextTick(() => {
                        this._initScroll();
                        this._calculateHeight();
                    });
                }

            });
        },
        methods:{
            selectMenu(index,event){
                if(!event._constructed){                      <!-------------------------point5-3-3
                    return;
                }
                let foodList = this.$refs.foodsWrapper.getElementsByClassName('food-list-hook');
                let el =foodList[index];
                this.foodsScroll.scrollToElement(el,300);                    <!-------------------------point5-3-1
            },
            _initScroll(){
                 this.menuScroll = new BScroll(this.$refs.menuWrapper,{
                    click:true                 <!-------------------------point5-3-2
                });
                this.foodsScroll = new BScroll(this.$refs.foodsWrapper,{
                    probeType:3
                });
                this.foodsScroll.on('scroll',(pos)=>{
                    this.scrollY = Math.abs(Math.round(pos.y));
                });
            },
            _calculateHeight(){
                let foodList =this.$refs.foodsWrapper.getElementsByClassName('food-list-hook');/*每一个菜单*/
                let height = 0;
                this.listHeight.push(height);
                for(let i=0;i<foodList.length;i++){
                    let item = foodList[i];
                    height += item.clientHeight;
                    this.listHeight.push(height);
                }
            }
        }
    }
</script>
tip1.point5-3-1:滚动到相应的位置,需要用到better-scroll的一个接口。scrollToElement(el,300);即通过index值,去找到右侧滚动到了哪一个节点。
tip2.point5-3-2:不仅有原生的点击事件,还会有初始化时,我们默认的加的clicktrue事件,所以,当模式切换到电脑时,会有两个事件加上。所以,我们还需要在点击事件里再传一个$event。
tip3.point5-3-3:当我们自己有一个默认派发的事件的时候,这个_constructed就是true。而浏览器的原生则是没有_constructed这个属性的。也就是当我们在平常检测到这个属性的时候,就把他return掉,不执行。