一、ConfigParser模块
ConfigParser 是用来读取配置文件的包。配置文件的格式如下:中括号“[ ]”内包含的为section。section 下面为类似于key-value 的配置内容。
[db]
db_host = 127.0.0.1
db_port = 69
db_user = root
db_pass = root
host_port = 69
[concurrent]
thread = 10
processor = 20
括号“[ ]”内包含的为section。紧接着section 为类似于key-value 的options 的配置内容。
二、ConfigParser 初始化对象
使用ConfigParser 首选需要初始化实例,并读取配置文件:
import configparser
config = configparser.ConfigParser()
config.read("ini", encoding="utf-8")
三、ConfigParser 常用方法
1、获取所用的section节点
# 获取所用的section节点
import configparser
config = configparser.ConfigParser()
config.read("ini", encoding="utf-8")
print(config.sections())
#运行结果
# ['db', 'concurrent']
2、获取指定section 的options。即将配置文件某个section 内key 读取到列表中:
import configparser
config = configparser.ConfigParser()
config.read("ini", encoding="utf-8")
r = config.options("db")
print(r)
#运行结果
# ['db_host', 'db_port', 'db_user', 'db_pass', 'host_port']
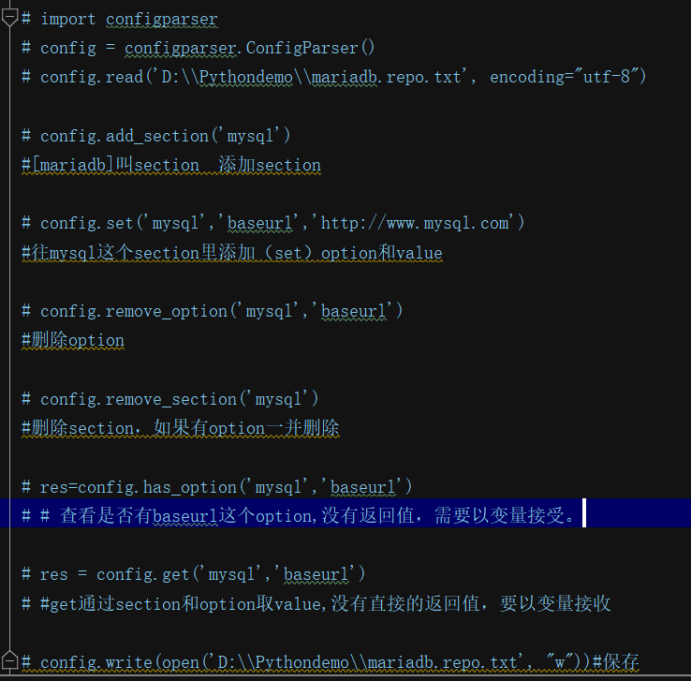
3、获取指点section下指点option的值
import configparser
config = configparser.ConfigParser()
config.read("ini", encoding="utf-8")
r = config.get("db", "db_host")
# r1 = config.getint("db", "k1") #将获取到值转换为int型
# r2 = config.getboolean("db", "k2" ) #将获取到值转换为bool型
# r3 = config.getfloat("db", "k3" ) #将获取到值转换为浮点型
print(r)
#运行结果
# 127.0.0.1
4、获取指点section的所用配置信息
import configparser
config = configparser.ConfigParser()
config.read("ini", encoding="utf-8")
r = config.items("db")
print(r)
#运行结果
#[('db_host', '127.0.0.1'), ('db_port', '69'), ('db_user', 'root'), ('db_pass', 'root'), ('host_port', '69')]
5、修改某个option的值,如果不存在则会出创建
# 修改某个option的值,如果不存在该option 则会创建
import configparser
config = configparser.ConfigParser()
config.read("ini", encoding="utf-8")
config.set("db", "db_port", "69") #修改db_port的值为69
config.write(open("ini", "w"))
运行结果
6、检查section或option是否存在,bool值
import configparser
config = configparser.ConfigParser()
config.has_section("section") #是否存在该section
config.has_option("section", "option") #是否存在该option
7、添加section 和 option
import configparser
config = configparser.ConfigParser()
config.read("ini", encoding="utf-8")
if not config.has_section("default"): # 检查是否存在section
config.add_section("default")
if not config.has_option("default", "db_host"): # 检查是否存在该option
config.set("default", "db_host", "1.1.1.1")
config.write(open("ini", "w"))
运行结果
8、删除section 和 option
import configparser
config = configparser.ConfigParser()
config.read("ini", encoding="utf-8")
config.remove_section("default") #整个section下的所有内容都将删除
config.write(open("ini", "w"))
运行结果
9. res = config.values()
for i in res:
print(i)
显示所有的section
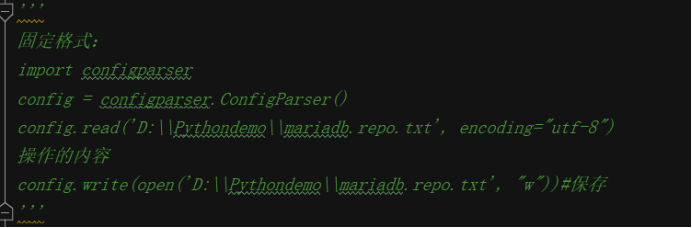
10、写入文件
以下的几行代码只是将文件内容读取到内存中,进过一系列操作之后必须写回文件,才能生效。
import configparser
config = configparser.ConfigParser()
config.read("ini", encoding="utf-8")
写回文件的方式如下:(使用configparser的write方法)
config.write(open("ini", "w"))
二、yajmail模块--邮件发送模块
使用yajmail模块发送邮件:
import yajmail
#连接邮箱服务器
yag = yagmail.SMTP(user='xxxxxx',password='xxxx',host='smtp.163.com')
# yag = yagmail.SMTP(user='发件人邮箱',password='授权登录密码',host='smtp.163.com')
#发送邮件
yag.send(to='xxxxxx',subject=subject, contents=contents)
# yag.send(to='收件人邮箱',subject=主题, contents=内容)
#断开连接
yag.close()
三、OS模块---系统操作
import os
#os.system利用python帮我们调用系统命令
#res返回0就等于命令执行成功,如果不为0执行结果失败
# cmds = ['service httpd restart','uname -r','update','ifconfig -a']
# for cmd in cmds:
# res = os.system(cmd)
# if res == 0:
# print('执行成功')
# else:
# print('执行失败')
#path.exists判断是否存在这个文件或者目录
# res = os.path.exists(r'a.txt')
# if res:
# print('文件已存在')
# else:
# os.system('dir')
#remove移除文件或目录
# os.remove('a.txt')
#rename重命名
# os.rename('lock.txt', '250.txt')
# path.join,拼接路径
# HOME = '/etc/yum.repo.d/'
# res = os.path.join(HOME,'a.txt')
# print(res)
操作时,要么先切换到文件所在的目录下面,要么写文件的绝对路径
四、psutil模块:
#py文件名字不要跟导入的模块重名
#py文件是可以当做模块导入的
#psutil是一个资源监控模块
# import psutil
#内存
# mem = psutil.virtual_memory()
# print(mem)
#cpu
# cpu = psutil.cpu_percent(1)
# print(cpu)
#硬盘
# disk = psutil.disk_usage(r'c:')
# print(disk)
五、paramiko模块
import paramiko
模拟ssh连接linux主机
ssh = paramiko.SSHClient()
ssh.set_missing_host_key_policy(paramiko.AutoAddPolicy())
ssh.connect(hostname='192.168.254.70',port=22,username='root',password='root')
while True:
stdin,stdout,stderr = ssh.exec_command(input('==>:').strip())
#stdin,stdout,stderr标准输入,标准输出,标准错误,可以实现数据分流
res = stdout.read().decode('utf-8')+stderr.read().decode('utf-8')
print(res)
通过paramiko模块连接主机上传
hostname = '192.168.254.70'
port = 22
username = 'root'
password = 'root'
t=paramiko.Transport((hostname,port))
t.connect(username=username,password=password)
sftp = paramiko.SFTPClient.from_transport(t)
sftp.put(r'C:UsersfengziDesktopa.txt', '/root/aa.txt')#要写绝对路径,支持重新命名
sftp.close()
通过paramiko模块连接主机下载
import paramiko
hostname = '192.168.254.70'
port = 22
username = 'root'
password = 'root'
t=paramiko.Transport((hostname,port))
t.connect(username=username,password=password)
sftp = paramiko.SFTPClient.from_transport(t)x
sftp.get('/root/test.yml', r'C:UsersfengziDesktop est.yml')
sftp.close()
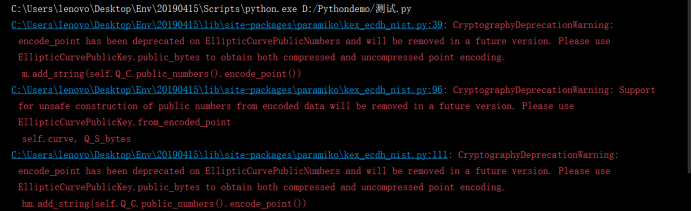
出现这个错误,需要降低cryptography的版本
下载指定版本的软件:pip install cryptography==2.4.2
六、re 正则模块
#.*?叫做非贪婪匹配,尽可能的少匹配
#.*叫做贪婪匹配,尽可能的多匹配
re.compile('(.*?):(.*)').search(host).group(1)
以:为分隔符,进行分组, host:筛选目标 group(1): 筛选第一组
# a = 'fenif1212nfi129f21f'
# res = re.compile('(d+)').findall(a) #过滤出字符串中的所有数字
# print(res)
七、socket模块
半双工:
#linux服务器(半双工)
import socket
import subprocess
import threading
server = socket.socket()
server.bind(('', 8888))
server.listen(5)
print('等待电话.....')
conn, addr = server.accept()
print('电话来了......')
while True:
data = conn.recv(10240)
cmd = subprocess.Popen(data.decode('utf-8'),
shell=True,
stdout=subprocess.PIPE,
stderr=subprocess.PIPE)
stdout = cmd.stdout.read()
stderr = cmd.stdout.read()
conn.send(stdout + stderr)
#客户端
import socket
import threading
client = socket.socket()
client.connect(('192.168.254.24', 8888))
while True:
info = input('===>:')
if not info:continue
client.send(info.encode('utf-8'))
data = client.recv(10240)
print(data.decode('utf-8'))
全双工:
#全双工电话
#服务器端
import socket
import subprocess
import threading
server = socket.socket()
server.bind(('', 8888))
server.listen(5)
print('等待电话.....')
conn, addr = server.accept()
print('电话来了......')
def recv():
while True:
data = conn.recv(10240)
print(data.decode('utf-8'))
def send():
while True:
data = input('===>:')
conn.send(data.encode('utf-8'))
t1 = threading.Thread(target=recv)
t2 = threading.Thread(target=send)
t1.start()
t2.start()
#客户端
import socket
import threading
client = socket.socket()
client.connect(('localhost', 8888))
def send():
while True:
info = input('===>:')
client.send(info.encode('utf-8'))
def recv():
while True:
data = client.recv(1024)
print(data.decode('utf-8'))
t1 = threading.Thread(target=send)
t2 = threading.Thread(target=recv)
t1.start()
t2.start()
利用socket监测端口:
import socket
socket.setdefaulttimeout(1)
host_list = ['192.168.4.145:5555','192.168.4.146:555','192.168.4.147:5555','192.168.31.199:445']
for info in host_list:
server = socket.socket()
ip = re.compile('(.*?):(.*)').search(info).group(1)
port = re.compile('(.*?):(.*)').search(info).group(2)
res = server.connect_ex((ip, int(port)))
if res == 0:
print('%s--%s端口正常' % (ip, port))
else:
print('%s--%s端口异常' % (ip, port))