通过上一篇文章
我的Android进阶之旅------> Android在TextView中显示图片方法
(地址:http://blog.csdn.net/ouyang_peng/article/details/46916963)
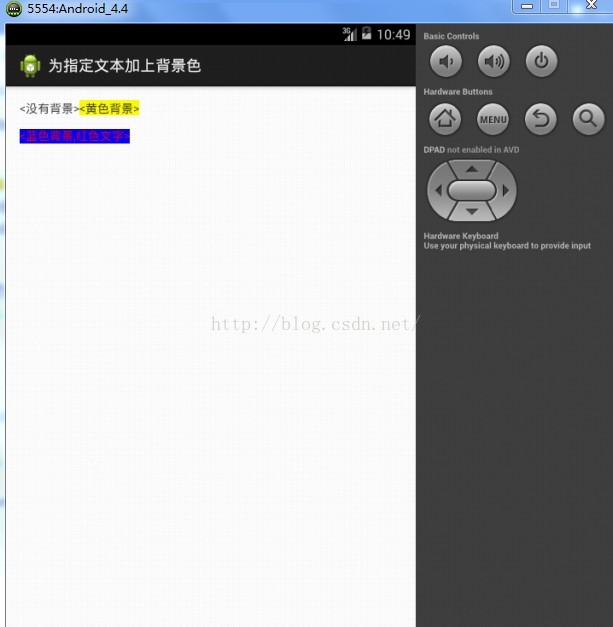
我们学会了在TextView中显示图片的方法,如今我们来学习怎样为TextView组件中显示的文本加入背景色。要求完毕的样子如图所看到的:

首先来学习使用BackgroundColorSpan对象设置文字背景色。代码例如以下:
                TextView textView=(TextView) findViewById(R.id.myTextView);
		//要显示的字符串
		String text="带背景色的文字";
		//将字符串转换为SpannableString对象
		SpannableString spannableString=new SpannableString(text);
		//确定要设置的字符串的start和end
		int start=0;
		int end=7;
		//创建BackgroundColorSpan对象。指定背景色为黄色
		BackgroundColorSpan backgroundColorSpan=new BackgroundColorSpan(Color.YELLOW);
		//使用setSpan方法将指定字符串转换成BackgroundColorSpan对象
		spannableString.setSpan(backgroundColorSpan, start, end, Spannable.SPAN_EXCLUSIVE_EXCLUSIVE);
		//用SpannableString对象设置TextView
		textView.setText(spannableString);
BackgroundColorSpan仅仅能设置文字的背景色,为了更加通用,自己定义一个ColorSpan类,能够同一时候设置文字颜色和背景色。代码例如以下:
package com.oyp.edittext;

import android.text.TextPaint;
import android.text.style.CharacterStyle;

public class ColorSpan extends CharacterStyle {
	private int mTextColor;
	private int mBackgroundColor;

	public ColorSpan(int textColor,int backgroundColor){
		mTextColor=textColor;
		mBackgroundColor=backgroundColor;
	}
	//覆盖CharacterStyle类的updateDrawState方法
	//并在该方法中设置了文字和背景颜色
	@Override
	public void updateDrawState(TextPaint tp) {
		tp.bgColor=mBackgroundColor;
		tp.setColor(mTextColor);
	}
}
在ColorSpan类中实现了CharacterStyle的updateDrawState方法。
该方法在系统開始绘制要设置样式的字符串之前调用,以便改动绘制文字的属性,比如:文字颜色、背景颜色等。当中TextPaint是Paint的子类。Paint类用于描写叙述绘制的属性。如画笔的颜色、画笔的粗细等。如今我们同事使用BackgroundColorSpan和ColorSpan类设置文字和背景颜色,代码例如以下:
package com.oyp.edittext;

import android.os.Bundle;
import android.text.Spannable;
import android.text.SpannableString;
import android.text.style.BackgroundColorSpan;
import android.widget.TextView;
import android.app.Activity;
import android.graphics.Color;

public class MainActivity extends Activity {
	@Override
	protected void onCreate(Bundle savedInstanceState) {
		super.onCreate(savedInstanceState);
		setContentView(R.layout.oyp);

		TextView textView=(TextView) findViewById(R.id.myTextView);
		//要显示的字符串
		String text="<没有背景><黄色背景>

<蓝色背景,红色文字>";
		//将字符串转换为SpannableString对象
		SpannableString spannableString=new SpannableString(text);
		//确定要设置的字符串的start和end
		int start=6;
		int end=12;
		//创建BackgroundColorSpan对象。指定背景色为黄色
		BackgroundColorSpan backgroundColorSpan=new BackgroundColorSpan(Color.YELLOW);
		//使用setSpan方法将指定字符串转换成BackgroundColorSpan对象
		spannableString.setSpan(backgroundColorSpan, start, end, Spannable.SPAN_EXCLUSIVE_EXCLUSIVE);
		/**
		 * <蓝色背景,红色文字>  子字符串的開始位置(没一个"
"算一个长度)
		 * 因为该子字符串再原字符串的最好,因此,end对于字符串的长度。也就是text.length()
		 */
		start=14;
		//创建ColorSpan对象
		ColorSpan colorSpan=new ColorSpan(Color.RED, Color.BLUE);
		//将指定文字转换成ColorSpan对象
		spannableString.setSpan(colorSpan, start, text.length(), Spannable.SPAN_EXCLUSIVE_EXCLUSIVE);
		//用SpannableString对象设置TextView
		textView.setText(spannableString);
	}
}
oyp.xml
<RelativeLayout xmlns:android="http://schemas.android.com/apk/res/android"
    xmlns:tools="http://schemas.android.com/tools"
    android:layout_width="match_parent"
    android:layout_height="match_parent"
    android:paddingBottom="@dimen/activity_vertical_margin"
    android:paddingLeft="@dimen/activity_horizontal_margin"
    android:paddingRight="@dimen/activity_horizontal_margin"
    android:paddingTop="@dimen/activity_vertical_margin"
    tools:context=".MainActivity" >
    <TextView
            android:layout_width="wrap_content"
      		 android:layout_height="wrap_content"
      		 android:id="@+id/myTextView"
        />
</RelativeLayout>
程序执行效果例如以下图所看到的:
====================================================================================
作者:欧阳鹏 欢迎转载,与人分享是进步的源泉!
转载请保留原文地址:http://blog.csdn.net/ouyang_peng
====================================================================================
