这里不解释celery,如果不清楚可以参考下面链接:
http://docs.celeryproject.org/en/latest/getting-started/introduction.html
这里来演示一下在Django项目中如何使用celery:
1. 首先我们需要使用到两个库,用pip安装:
  pip install celery

  pip install django-celery
2. 在celery建议使用rabbitmq作为消息代理,当然也支持redis作代理,abbitmq提供的队列和消息持久化机制确实更加稳定,所以对于追求稳定性的任务更适合适配rabbitmq作为中间件, 这里用rabbitmq作为消息代理,用redis作为存储后端
我的环境是deepin,安装rabbitmq和redis
  sudo apt-get install rabbitmq-server
  sudo apt-gei install redis
3. 在django中使用celery的方式和普通py文件中的方式略有不同,下面是一个向通过秒滴平台发送短信验证码的demo:
- 普通py文件用法:
# tasks.py

import os
from celery import Celery

app = Celery('tasks', backend='amqp://guest@localhost//', broker='redis://localhost:6379/1')
@app.task(name="send_verification_code")
def _send_verification_code(phone_number, verification_code):
    """
    :param phone_number: 目标手机号
    :param verification_code: 验证码
    :return:
        True:发送成功
        False:发送失败
    """
    api = getConfig('MiaoDi', 'api')
    accountSid = getConfig('MiaoDi', 'accountSid')
    templateid = getConfig('MiaoDi', 'templateid')
    timeout_s = getConfig('MiaoDi', 'timeout')
    param = '{},{}'.format(verification_code, timeout_s)
    timestamp = datetime.datetime.now().strftime('%Y%m%d%H%M%S')
    sign = hash_sign(timestamp)
    data = {
        'accountSid': accountSid, 'templateid': templateid, 'param': param,
        'to': phone_number, 'timestamp': timestamp, 'sig': sign
    }
    response = requests.post(url=api, data=data)
    ret_json = response.text
    ret_dict = eval(ret_json)

    if ret_dict.get('respCode') != '00000':
        return False
    else:
        return True
# test.py
from tasks import _send_verification_code

def send_verification_code(phone_number, verification_code):
  task = _send_verification_code.delay(phone_number, verification_code)
if __name__ == '__main__':
  phone_number = input('请输入手机号:')
  verification_code = input('请输入验证码:')
  send_verification_code(phone_number, verification_code)
启动celery 服务:
celery -A tasks worker --loglevel=info # 若在windows下报错,需再加 -P eventlet 表示绿色线程,把celery的并行执行方式改为 eventlet, 而不是默认的prefork,需要安装 :pip install eventlet
- django中用法推荐(只是推荐这样用,显得简洁方便管理,你当然可以将以上方法用在Django中):
在项目的setting.py中配置:
import djcelery


djcelery.setup_loader()

INSTALLED_APPS = (
      ······,
      'djcelery',
      ·······
)

# CELERY STUFF
BROKER_URL = 'amqp://guest@localhost//'           # 使用的消息队列rabbitmq
CELERY_RESULT_BACKEND = 'redis://localhost:6379/1'      # 结果使用的存储介质为redis
CELERY_TASK_SERIALIZER = 'json'            # 消息任务的序列化方式
CELERY_RESULT_SERIALIZER = 'json'           # 结果的序列化方式
CELERY_TASK_RESULT_EXPIRES = 60 * 60       # celery任务执行结果的超时时
CELERY_ACCEPT_CONTENT = ['json']
CELERY_TIMEZONE = 'Asia/Shanghai'


# 建议不同的task使用不同的Queue,而不是都是用默认的Queue
CELERY_QUEUES = (
    Queue(
        "default",
        Exchange("default"),
        routing_key="default"),
    Queue(
        "request_to_chit_platform",
        Exchange("request_to_chit_platform"),
        routing_key="request_to_chit_platform"),
)
# Queue的路由
CELERY_ROUTES = {
    'request_to_chit_platform': {"queue": "request_to_chit_platform",
                                 "routing_key": "request_to_chit_platform"},
}
接下来就是celery tasks的编写:
项目APP与models.py同级下创建tasks.py
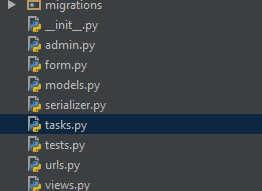
tasks.py
# coding=utf-8
import requests
import datetime
from celery import task
from utils.hash import hash_sign
from utils.common import getConfig


@task(name="request_to_chit_platform")
def request_to_chit_platform(phone_number, verification_code):
    """

    :param phone_number: 目标手机号
    :param verification_code: 验证码
    :return:
        True:发送成功
        False:发送失败
    """

    proxy_dict = {
        "http": "http://xxxxxxxxxxxxx:xxx/",
        "https": "http://xxxxxxxxxxxxxxx:xxx/"
    }

    api = getConfig('MiaoDi', 'api')
    accountSid = getConfig('MiaoDi', 'accountSid')
    templateid = getConfig('MiaoDi', 'templateid')
    timeout_s = getConfig('MiaoDi', 'timeout')
    param = '{},{}'.format(verification_code, timeout_s)
    timestamp = datetime.datetime.now().strftime('%Y%m%d%H%M%S')
    sign = hash_sign(timestamp)
    data = {
        'accountSid': accountSid, 'templateid': templateid, 'param': param,
        'to': phone_number, 'timestamp': timestamp, 'sig': sign
    }
    response = requests.post(url=api, data=data, proxies=proxy_dict)
    # response = requests.post(url=api, data=data)
    ret_json = response.text
    ret_dict = eval(ret_json)

    if ret_dict.get('respCode') != '00000':
        return False
    else:
        return True
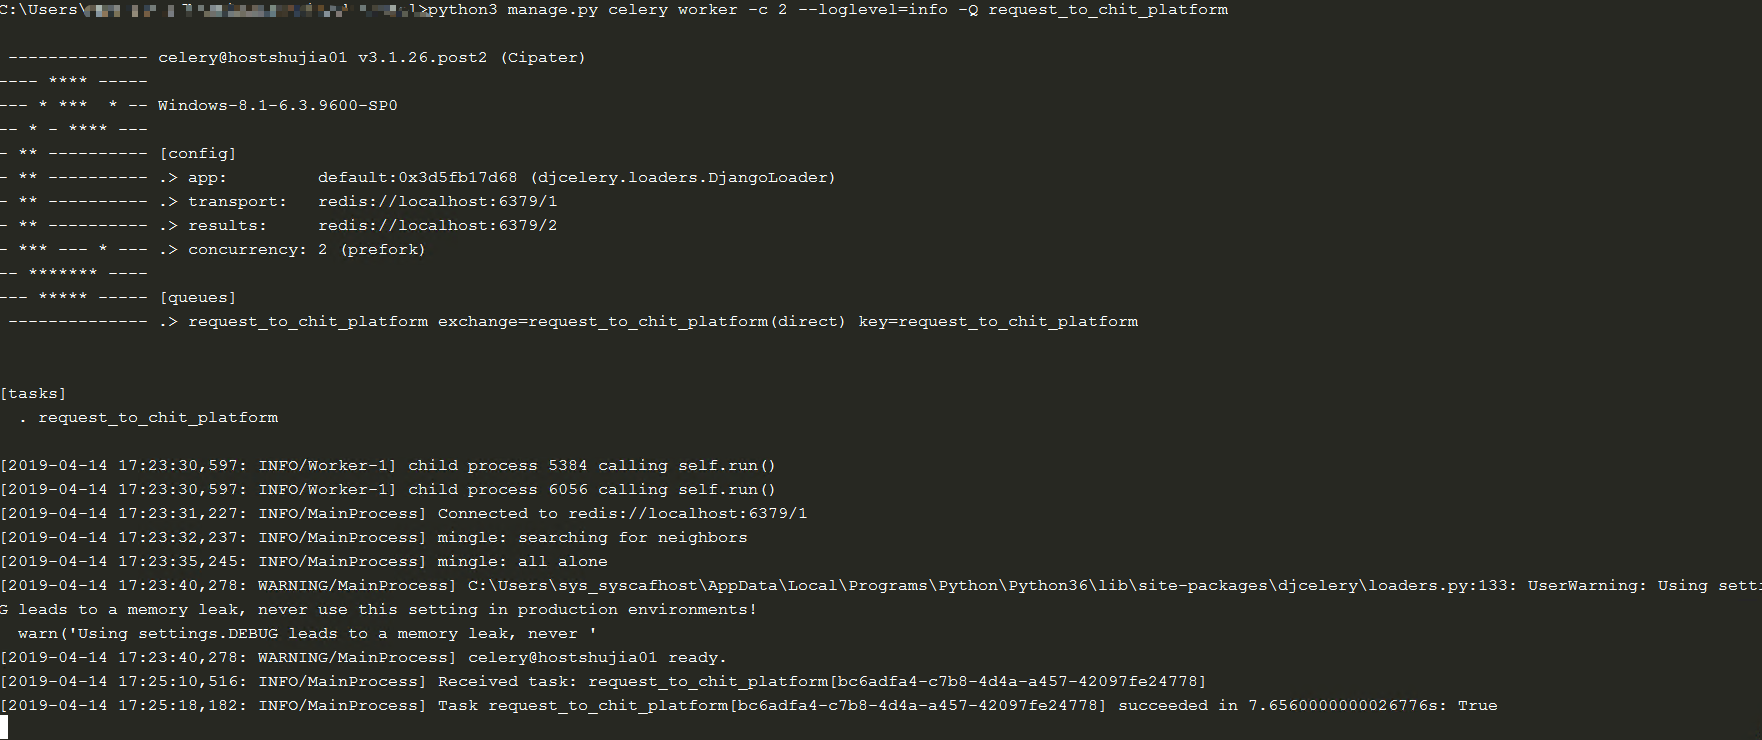
接下来尝试去启动celery吧,在项目路径下执行:
python3 manage.py celery worker -c 10 --loglevel=info -Q request_to_chit_platform # 这样djcelery会帮助我们创建 request_to_chit_platform tasks的worker,并添加到 request_to_chit_platform 的队列 -c 指定worker数
然后创建tasks吧

然后看celery这边,发现已经成功执行执行了tasks,我这里为方便用了redis队列,效果是一样的
最后附上celery4.3.0的文档