React低配版环境,可作为React相关测试的基础环境,方便快速测试。
git clone git@github.com:whosMeya/simple-react-app.git
git checkout v1.0.0
GitHub地址: simple-react-app v1.0.0
项目搭建过程如下
项目初始化
# 新建文件夹
mkdir simple-react-app
# 进入文件夹
cd ./simple-react-app
# npm初始化 -y参数表示使用默认配置,执行后会生成package.json文件
npm init -y
添加React代码
安装React相关依赖
npm install --save react react-dom @types/react @types/react-dom
新建index.js文件,并写入下面代码
import React from 'react';
import ReactDOM from 'react-dom';

class App extends React.Component {

  render() {
    return (
      <div>Hello World!</div>
    )
  }
}

ReactDOM.render(
  <App />,
  document.getElementById('root')
);
新建index.html文件,并写入下面代码
<!DOCTYPE html>
<html lang="en">

<head>
  <meta charset="UTF-8">
  <meta name="viewport" content="width=device-width, initial-scale=1.0">
  <title>Simple React App</title>
</head>

<body>
  <div id="root"></div>
</body>
<script src="./index.js"></script>

</html>
配置
安装webpack相关依赖
npm install --save-dev webpack webpack-cli
添加webpack配置文件
根目录新建文件 webpack.config.js,并写入下面代码
const path = require('path');

let config = {
  entry: './index.js',
  output: {
    path: path.resolve(__dirname, 'dist'),
    filename: 'index.js'
  },

}
module.exports = config;
添加插件html-webpack-plugin
html-webpack-plugin用于打包html文件。
安装
npm install --save-dev html-webpack-plugin
修改 webpack.config.js
const path = require('path');
+ const HtmlWebpackPlugin = require('html-webpack-plugin');

let config = {
  entry: './index.js',
  output: {
    path: path.resolve(__dirname, 'dist'),
    filename: 'index.js'
  },
+ plugins: [
+   new HtmlWebpackPlugin({
+     filename: 'index.html',
+     template: 'index.html',
+   }),
+ ],
}
module.exports = config;
安装Babel相关依赖
Babel将React jsx语法编译为浏览器识别的语法。
ps: Babel7将所有包放在了@babel/ 下。
npm install --save-dev babel-loader @babel/core @babel/preset-env @babel/polyfill @babel/preset-react @babel/plugin-proposal-class-properties
添加Babel配置文件
根目录新建文件 babel.config.json,并写入下面代码
{
  "presets": [
    "@babel/preset-env",
    "@babel/preset-react"
  ],
  "plugins": [
    "@babel/plugin-proposal-class-properties"
  ]
}
webpack配置文件中添加Babel配置
const path = require('path');
const HtmlWebpackPlugin = require('html-webpack-plugin');

let config = {
  entry: './index.js',
  output: {
    path: path.resolve(__dirname, 'dist'),
    filename: 'index.js'
  },
+ module: {
+   rules: [
+     { test: /.js$/, use: 'babel-loader' }
+   ]
+ },
  plugins: [
    new HtmlWebpackPlugin({
      filename: 'index.html',
      template: 'index.html',
    }),
  ],
}
module.exports = config;
添加build命令
修改package.json
"scripts": {
+ "build": "webpack --mode production",
  "test": "echo "Error: no test specified" && exit 1"
},
运行build命令看看效果
npm run build
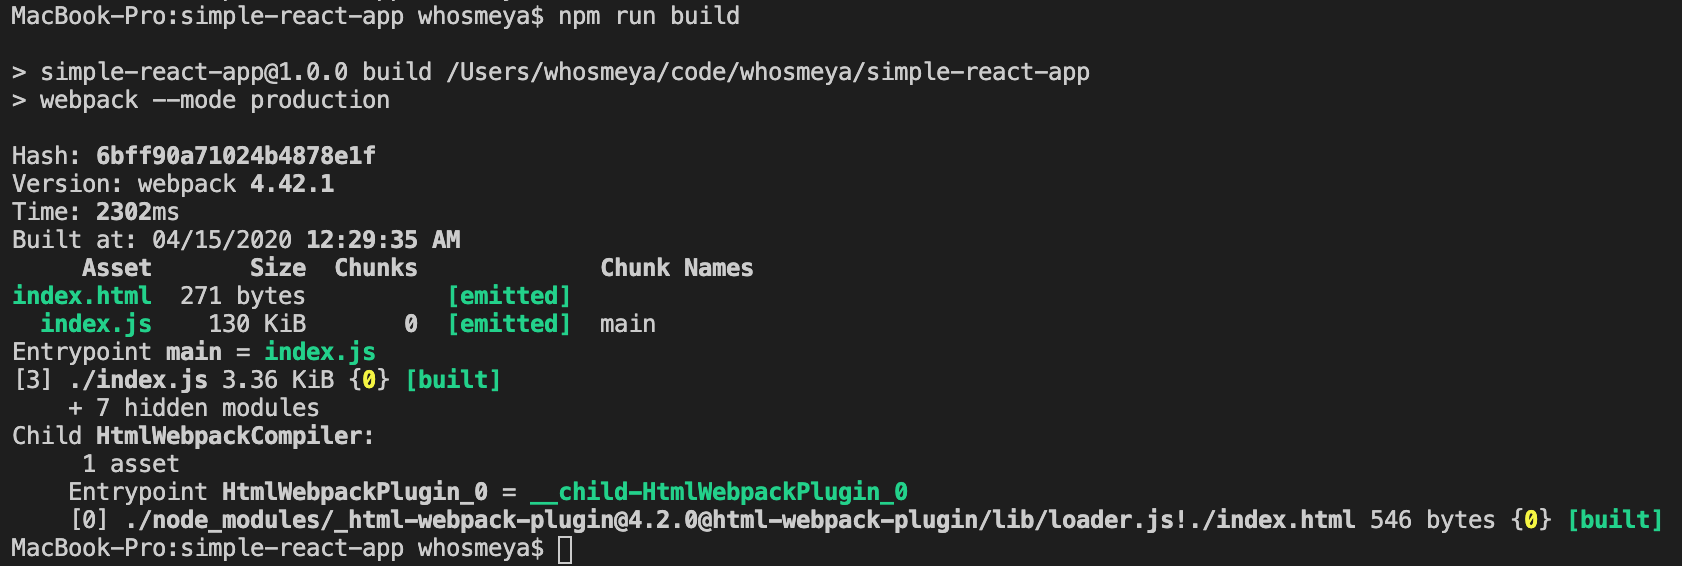
打包成功,根目录会生成 dist。
打开dist下index.html,会看到 Hello World!
添加start命令
使用 webpack-dev-server 热启动。
npm install --save-dev webpack-dev-server
修改 package.json
"scripts": {
  "build": "webpack --mode production",
+ "start": "webpack-dev-server",
  "test": "echo "Error: no test specified" && exit 1"
},
运行start命令看看效果
npm run start
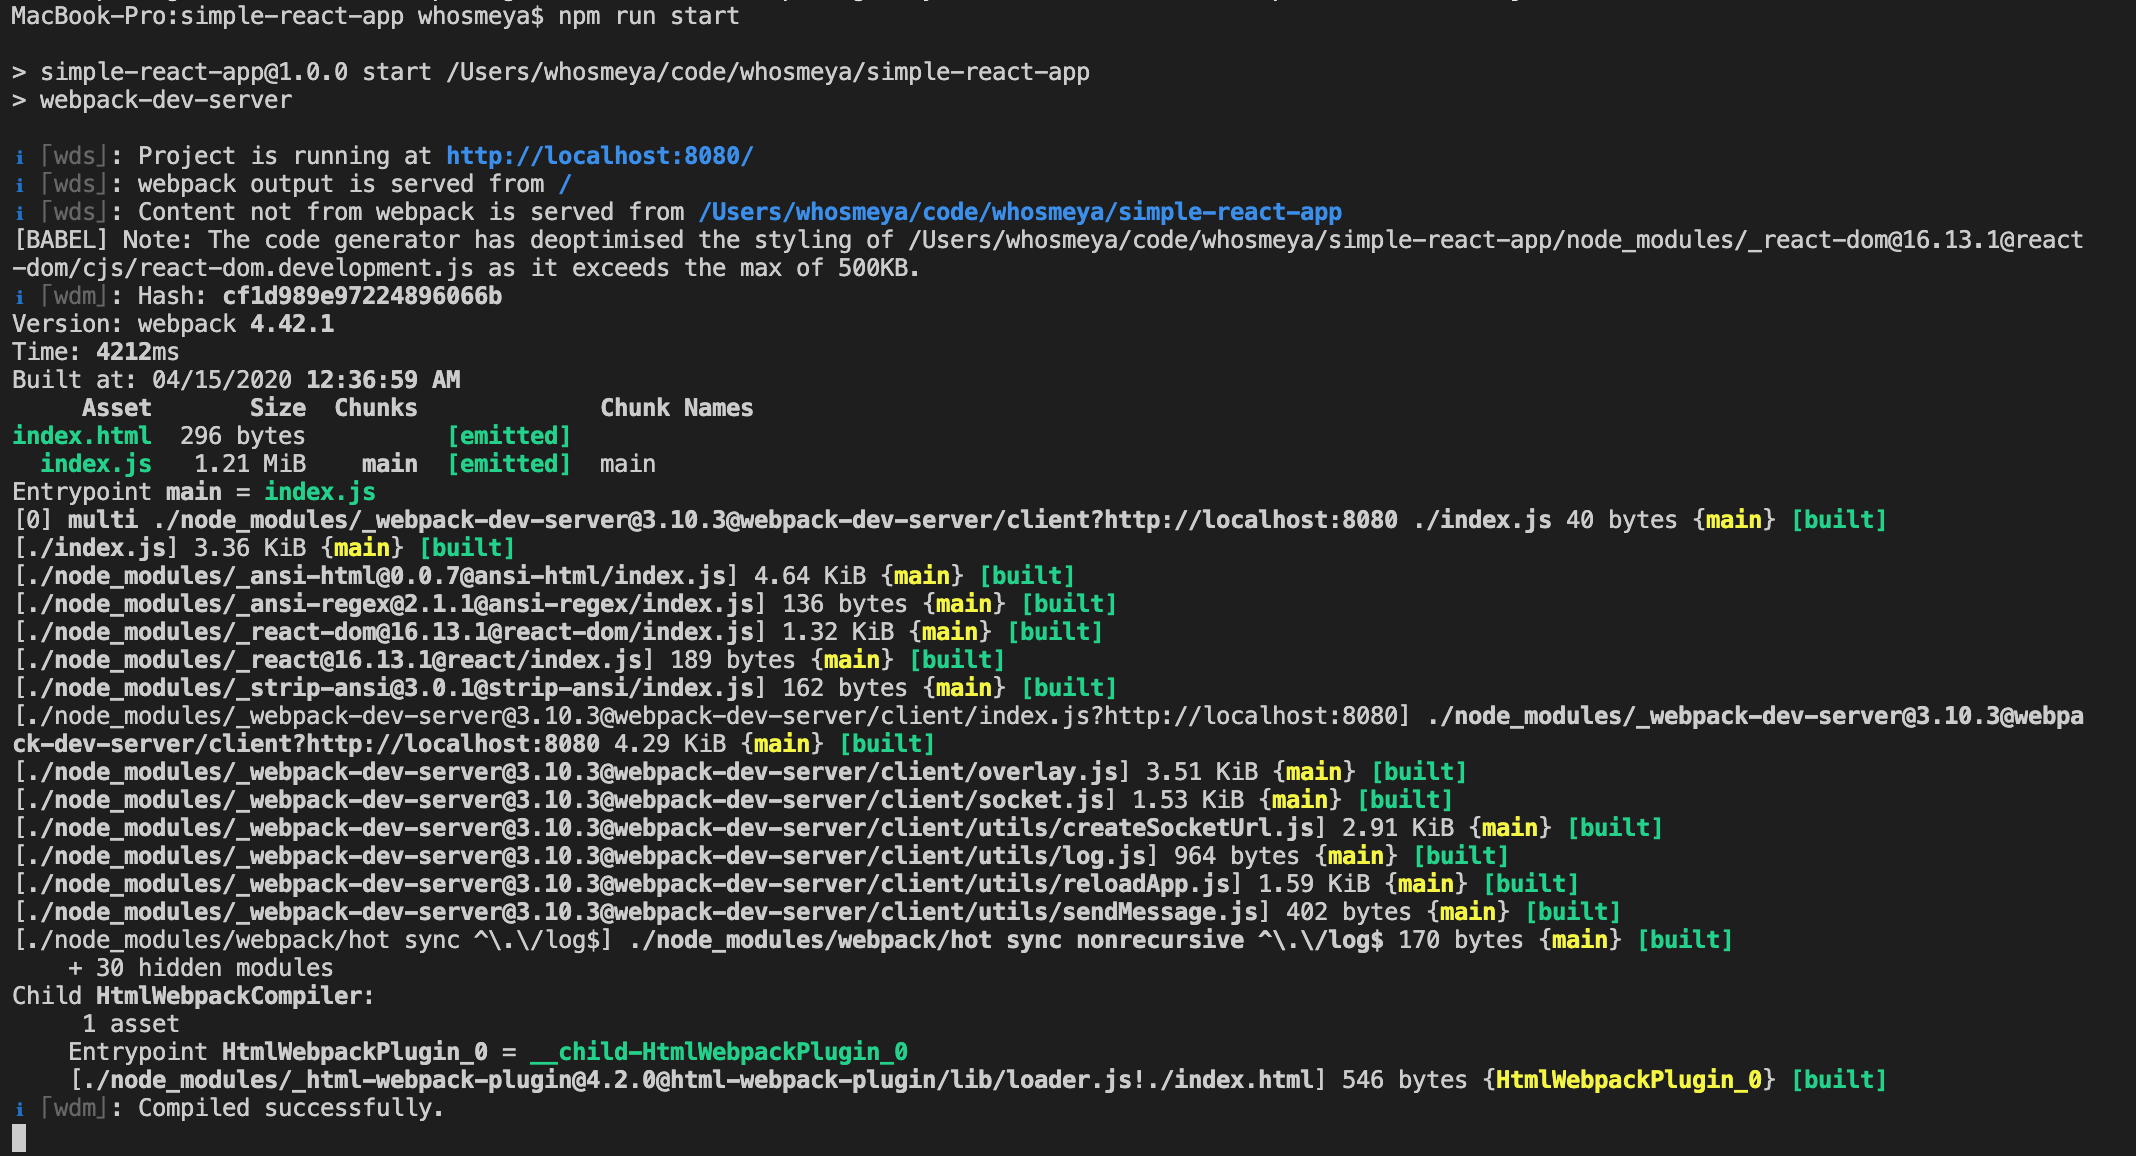
项目运行成功,打开 http://localhost:8080/ 会看到 Hello World!
修改index.js, 保存后页面也会同步刷新。