问题现象
安装centos7完毕之后,不显示网卡只有lo文件,现象如下
[root@localhost ~]# ifconfig
lo: flags=73<UP,LOOPBACK,RUNNING>  mtu 65536
        inet 127.0.0.1  netmask 255.0.0.0
        inet6 ::1  prefixlen 128  scopeid 0x10<host>
        loop  txqueuelen 1  (Local Loopback)
        RX packets 74  bytes 3894 (3.8 KiB)
        RX errors 0  dropped 0  overruns 0  frame 0
        TX packets 74  bytes 3894 (3.8 KiB)
        TX errors 0  dropped 0 overruns 0  carrier 0  collisions 0
[root@localhost ~]#
解决方法
查看网卡设备,下图标红部分
[root@localhost ~]# lspci
00:00.0 Host bridge: Intel Corporation Device 3ec2 (rev 07)
00:01.0 PCI bridge: Intel Corporation Skylake PCIe Controller (x16) (rev 07)
00:14.0 USB controller: Intel Corporation Device a36d (rev 10)
00:14.2 RAM memory: Intel Corporation Device a36f (rev 10)
00:16.0 Communication controller: Intel Corporation Device a360 (rev 10)
00:17.0 SATA controller: Intel Corporation Device a352 (rev 10)
00:1b.0 PCI bridge: Intel Corporation Device a340 (rev f0)
00:1c.0 PCI bridge: Intel Corporation Device a338 (rev f0)
00:1d.0 PCI bridge: Intel Corporation Device a330 (rev f0)
00:1f.0 ISA bridge: Intel Corporation Device a305 (rev 10)
00:1f.3 Audio device: Intel Corporation Device a348 (rev 10)
00:1f.4 SMBus: Intel Corporation Device a323 (rev 10)
00:1f.5 Serial bus controller [0c80]: Intel Corporation Device a324 (rev 10)
00:1f.6 Ethernet controller: Intel Corporation Ethernet Connection (7) I219-V (rev 10)01:00.0 VGA compatible controller: NVIDIA Corporation GP104 (rev a1)
01:00.1 Audio device: NVIDIA Corporation GP104 High Definition Audio Controller (rev a1)
[root@localhost ~]#
搜索网卡驱动,并下载。我的网卡下载连接是 点我
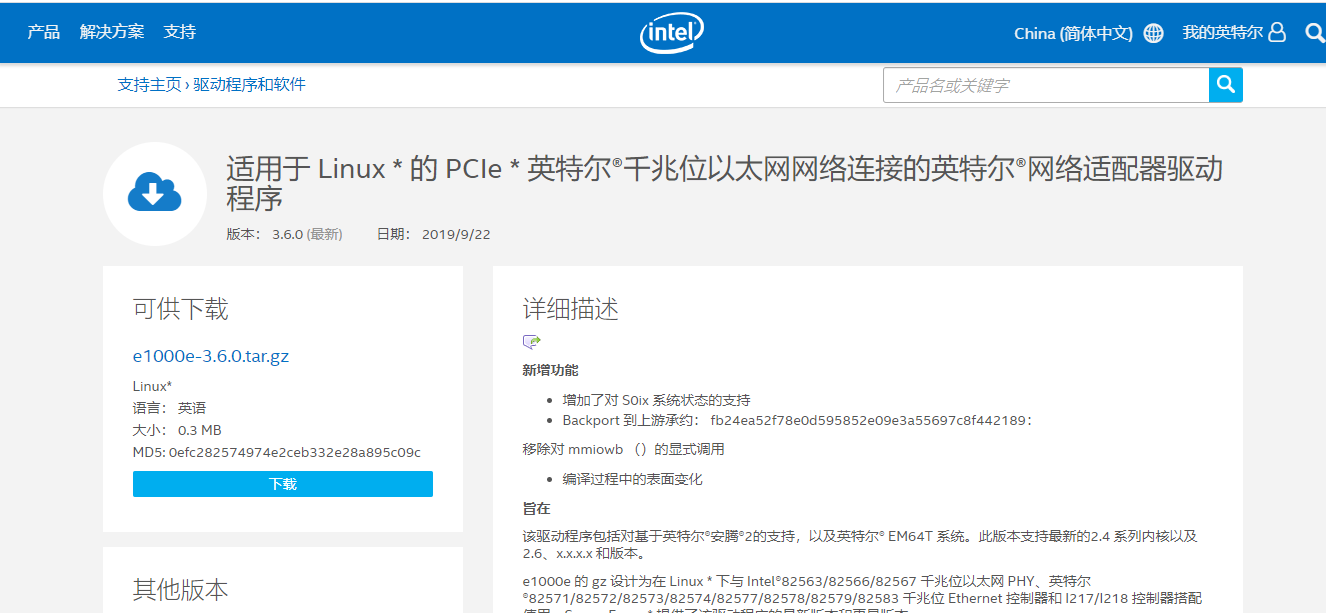
下载之后传到centos服务器
执行如下,前提是gcc一定要装,安装操作系统时勾选开发工具或者自己配置本地源安装
[root@localhost soft]# ls
e1000e-3.6.0  e1000e-3.6.0.tar.gz
[root@localhost soft]# cd e1000e-3.6.0/
[root@localhost e1000e-3.6.0]# ls
COPYING  e1000e.7  e1000e.spec  pci.updates  README  src  SUMS
[root@localhost e1000e-3.6.0]# cd src/
[root@localhost src]# make clean
make[1]: 进入目录“/usr/src/kernels/3.10.0-693.el7.x86_64”
make[1]: 离开目录“/usr/src/kernels/3.10.0-693.el7.x86_64”
[root@localhost src]# make
make[1]: 进入目录“/usr/src/kernels/3.10.0-693.el7.x86_64”
  CC [M]  /opt/soft/e1000e-3.6.0/src/netdev.o
  CC [M]  /opt/soft/e1000e-3.6.0/src/ethtool.o
  CC [M]  /opt/soft/e1000e-3.6.0/src/ich8lan.o
  CC [M]  /opt/soft/e1000e-3.6.0/src/mac.o
  CC [M]  /opt/soft/e1000e-3.6.0/src/nvm.o
  CC [M]  /opt/soft/e1000e-3.6.0/src/phy.o
  CC [M]  /opt/soft/e1000e-3.6.0/src/manage.o
  CC [M]  /opt/soft/e1000e-3.6.0/src/80003es2lan.o
  CC [M]  /opt/soft/e1000e-3.6.0/src/82571.o
  CC [M]  /opt/soft/e1000e-3.6.0/src/param.o
  CC [M]  /opt/soft/e1000e-3.6.0/src/ptp.o
  CC [M]  /opt/soft/e1000e-3.6.0/src/kcompat.o
  LD [M]  /opt/soft/e1000e-3.6.0/src/e1000e.o
  Building modules, stage 2.
  MODPOST 1 modules
  CC      /opt/soft/e1000e-3.6.0/src/e1000e.mod.o
  LD [M]  /opt/soft/e1000e-3.6.0/src/e1000e.ko
make[1]: 离开目录“/usr/src/kernels/3.10.0-693.el7.x86_64”
[root@localhost src]# make install
make[1]: 进入目录“/usr/src/kernels/3.10.0-693.el7.x86_64”
  Building modules, stage 2.
  MODPOST 1 modules
make[1]: 离开目录“/usr/src/kernels/3.10.0-693.el7.x86_64”
Copying manpages...
Installing modules...
make[1]: 进入目录“/usr/src/kernels/3.10.0-693.el7.x86_64”
  INSTALL /opt/soft/e1000e-3.6.0/src/e1000e.ko
Can't read private key
  DEPMOD  3.10.0-693.el7.x86_64
make[1]: 离开目录“/usr/src/kernels/3.10.0-693.el7.x86_64”
Running depmod...
[root@localhost src]#
最后执行
modprobe e1000e
然后ifconfig你就能看到你的网卡了,网卡配置文件自己写,或者使用nmtui