一:配置
1.配置文件
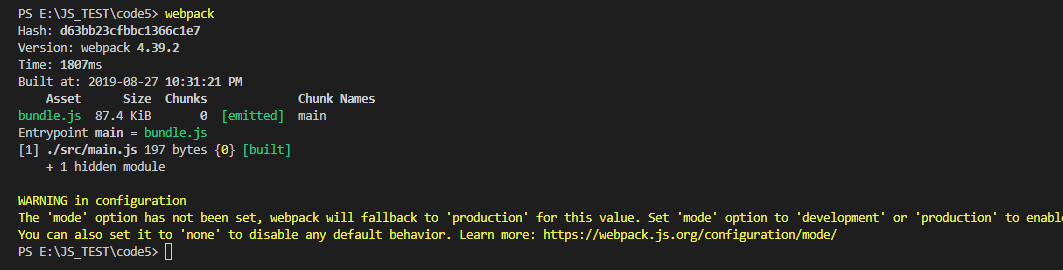
每次修改main文件,重新打包都要指定入口与出口,比较费事,可以使用配置文件的方式
在根目录下新建webpack.config.js:
const path = require('path')

module.exports = {
    entry:path.join(__dirname,'./src/main.js'),
    output:{
        path:path.join(__dirname,'./dist'),
        filename:'bundle.js'
    }
}
2.再操作
二:自动打包
1.自动打包编译的功能
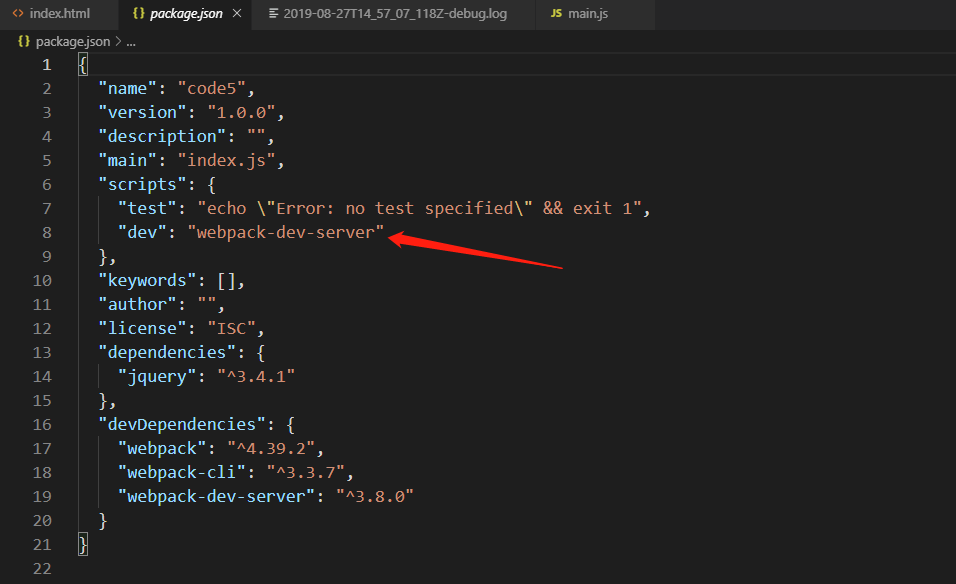
使用webpack-dev-server工具

这个是在本地项目中安装的,所以,无法把它当做脚本命令,在powershell终端中运行。
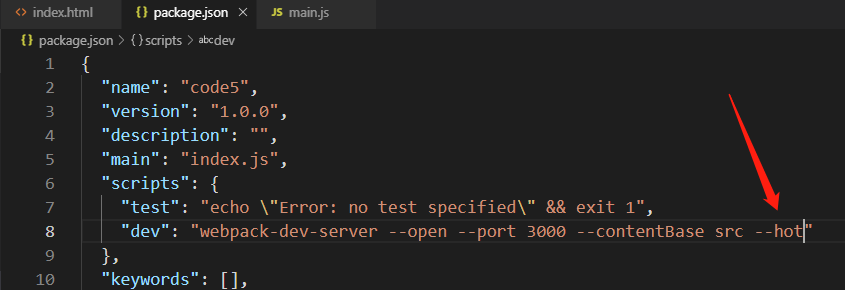
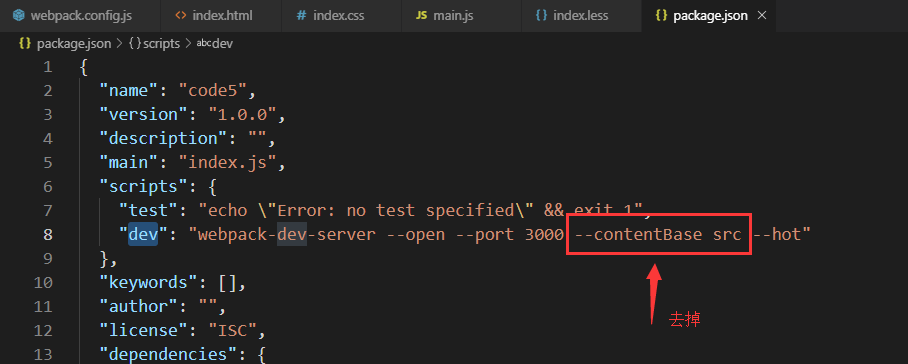
所以修改package.json:
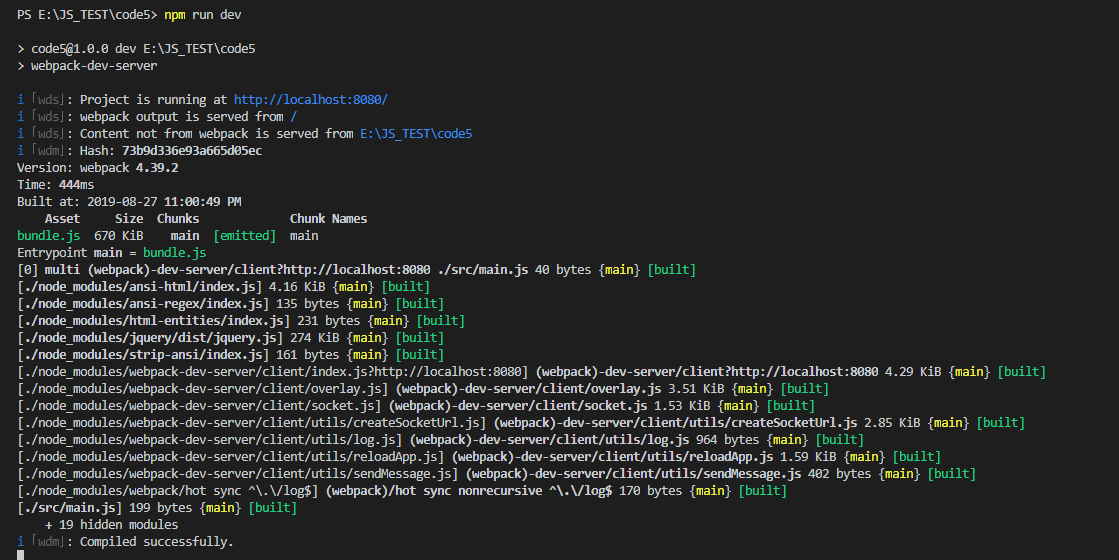
2.运行npm run dev
如果报错,则:
npm install -D webpack-cli
再次运行:
3.修改
看上面的日志,webpack output is server from /
但是在本地的磁盘中却找不到,因为是生成在内存中。
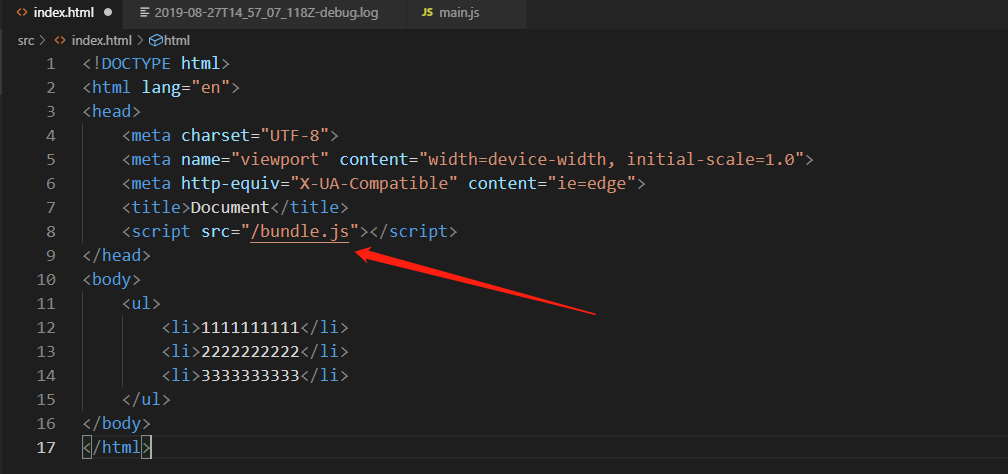
如果不修改,虽然重新编译了,但是没有效果,所以,这里还是需要修改。
三:webpack-dev-server的常用命令
1.打包结束之后,自动打开浏览器

2.修改端口

3.直接进入src页面

重新启动的效果:
4.热加载
不需要重新加载页面,修改完后,页面自动的刷新
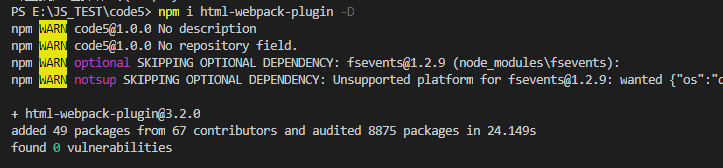
四:html-webpack-plugin
1.在内存中生成首页
安装html-webpack-plugin
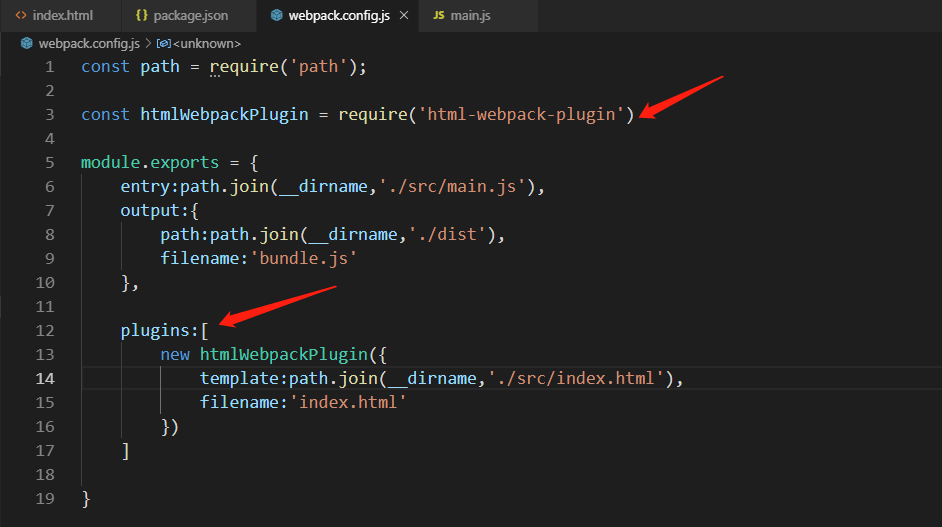
然后修改配置文件:
2.打开源代码
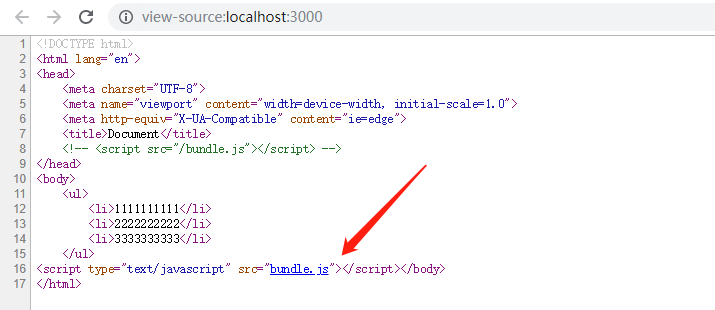
会发现另一个作用:插件自动把打包好的js插入到页面中。
3.运行

五:处理样式
1.基本处理方式

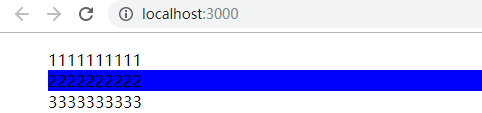
效果:
先npm run dev
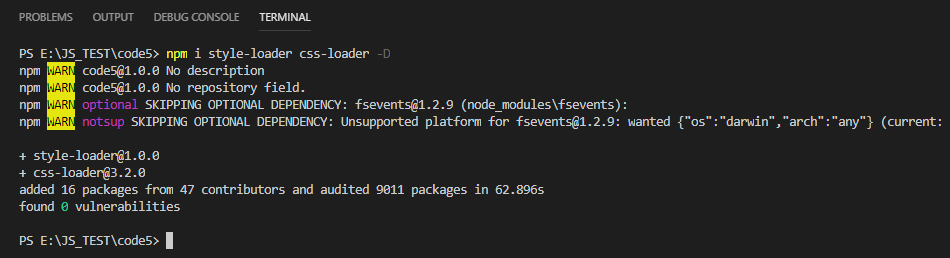
2.使用loader的方式
1.安装loader
2.在webpack.config.js中配置节点
增加module。
const path = require('path');

const htmlWebpackPlugin = require('html-webpack-plugin')

module.exports = {
    entry:path.join(__dirname,'./src/main.js'),
    output:{
        path:path.join(__dirname,'./dist'),
        filename:'bundle.js'
    },

    plugins:[
        new htmlWebpackPlugin({
            template:path.join(__dirname,'./src/index.html'),
            filename:'index.html'
        })
    ],

    // 用于配置所有的第三方模块加载器
    module:{
        //匹配规则
        rules:[
            {test:/.css$/,use:['style-loader','css-loader']}  //正则

        ]
    }

}
3.使用
4.运行
npm run dev
修改完css,马上反应到页面。
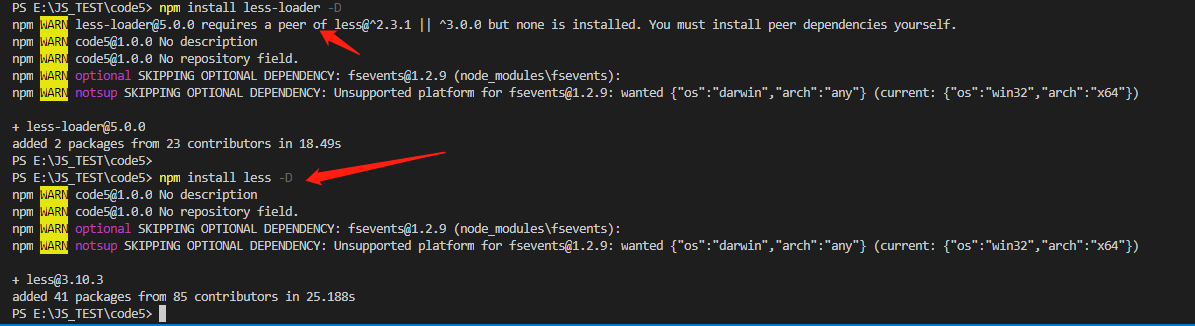
3.less文件的loader
1.增加less的处理器
2.增加规则

3.引用
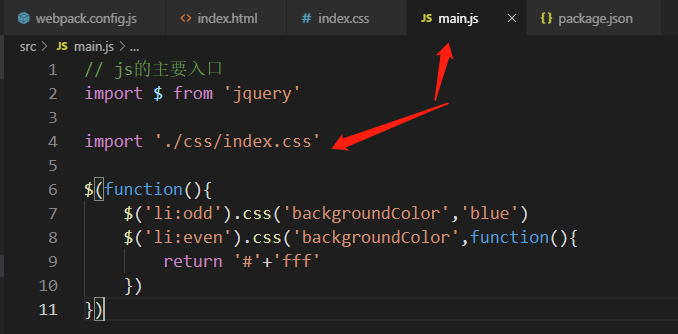
// js的主要入口
import $ from 'jquery'
import './css/index.css'
import './css/index.less'
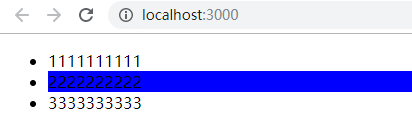
$(function(){
$('li:odd').css('backgroundColor','blue')
$('li:even').css('backgroundColor',function(){
return '#'+'fff'
})
})
4.启动
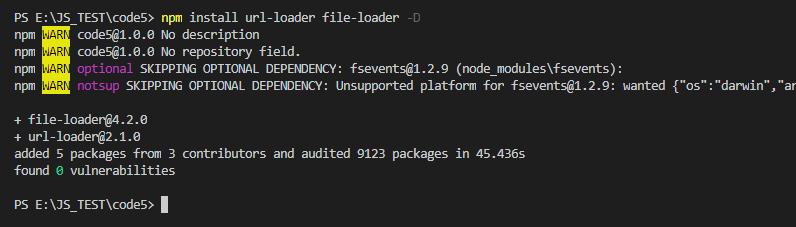
4.处理图片
1.安装loader
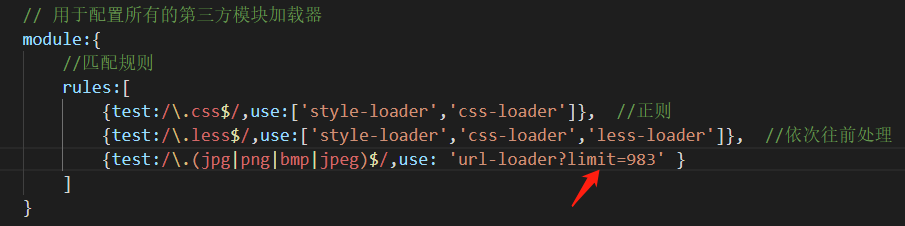
2.修改配置

3.使用
4.图片编码
图片的url会被编码。可以使用配置的方式,修改。如果图片的大小大于设置的数值,就不会被编码。
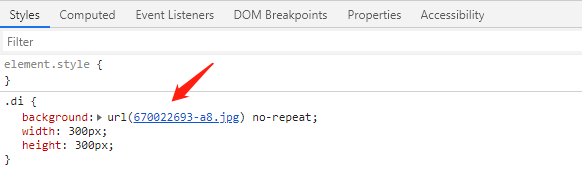
5.防止图片重名
使用hash

效果:
六:字体图标处理
1.使用bootstrap

2.装包

3.引用
// js的主要入口
import $ from 'jquery'

import './css/index.css'

import './css/index.less'

import 'bootstrap/dist/css/bootstrap.css'

$(function(){
    $('li:odd').css('backgroundColor','blue')
    $('li:even').css('backgroundColor',function(){
        return '#'+'fff'
    })
})
4.在程序中使用
<!DOCTYPE html>
<html lang="en">
<head>
<meta charset="UTF-8">
<meta name="viewport" content="width=device-width, initial-scale=1.0">
<meta http-equiv="X-UA-Compatible" content="ie=edge">
<title>Document</title>
<!-- <script src="/bundle.js"></script> 使用内存的方式加载页面 -->
<!-- <link rel="stylesheet" href="./css/index.css"> 使用loader加载器 -->
</head>
<body>
<ul>
<li>1111111111</li>
<li>2222222222</li>
<li>3333333333</li>
</ul>
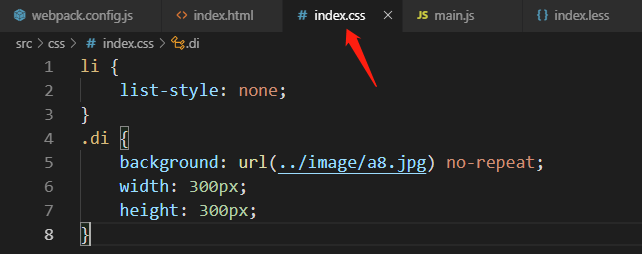
<div class="di"></div>
<span class="glyphicon glyphicon-search" aria-hidden="true"></span>
</body>
</html>
5.修改配置文件
因为托管问题
6.修改处理文件的loader
const path = require('path');

const htmlWebpackPlugin = require('html-webpack-plugin')

module.exports = {
    entry:path.join(__dirname,'./src/main.js'),
    output:{
        path:path.join(__dirname,'./dist'),
        filename:'bundle.js'
    },

    plugins:[
        new htmlWebpackPlugin({
            template:path.join(__dirname,'./src/index.html'),
            filename:'index.html'
        })
    ],

    // 用于配置所有的第三方模块加载器
    module:{
        //匹配规则
        rules:[
            {test:/.css$/,use:['style-loader','css-loader']},  //正则
            {test:/.less$/,use:['style-loader','css-loader','less-loader']},  //依次往前处理
            {test:/.(jpg|png|bmp|jpeg)$/,use: 'url-loader?limit=983&name=[hash:9]-[name].[ext]'},
            { test: /.(ttf|eot|svg|woff|woff2)$/, use: 'url-loader' }// 处理 字体文件的 loader
        ]
    }

}
7.效果
