第一步:安装docker和docker-compose
第二步:下载harbor-offline-installer-v1.3.0.tgz
第三步:上传到/opt,并解压
第四步:修改harbor.cfg配置文件
hostname = 10.0.0.11
harbor_admin_password = 123456
hostname = 10.0.0.11
harbor_admin_password = 123456
第五步:执行install.sh
tar xf harbor-offline-installer-v1.5.1.tgz
cd harbor
vim harbor.cfg

hostname = 10.0.0.11
harbor_admin_password = 123456

 ./install.sh
页面测试:

cat /etc/docker/daemon.json

{
  "insecure-registries":["10.0.0.11:5000","10.0.0.11"],
"registry-mirrors": ["https://registry.docker-cn.com"],
 "hosts":["tcp://0.0.0.0:2376","unix:///var/run/docker.sock"],
  "cluster-store": "consul://10.0.0.11:8500",
  "cluster-advertise": "10.0.0.11:2376"
}

systemctl restart docker

docker tag nginx:latest 10.0.0.11/nsh/nginx:latest
docker puah 10.0.0.11/nsh/nginx:latest 这次推上去会失败,因为权限设置问题,需要登录

docker login 10.0.0.11
输入用户名和密码
之后推上去即可
页面查看是否推送成功:
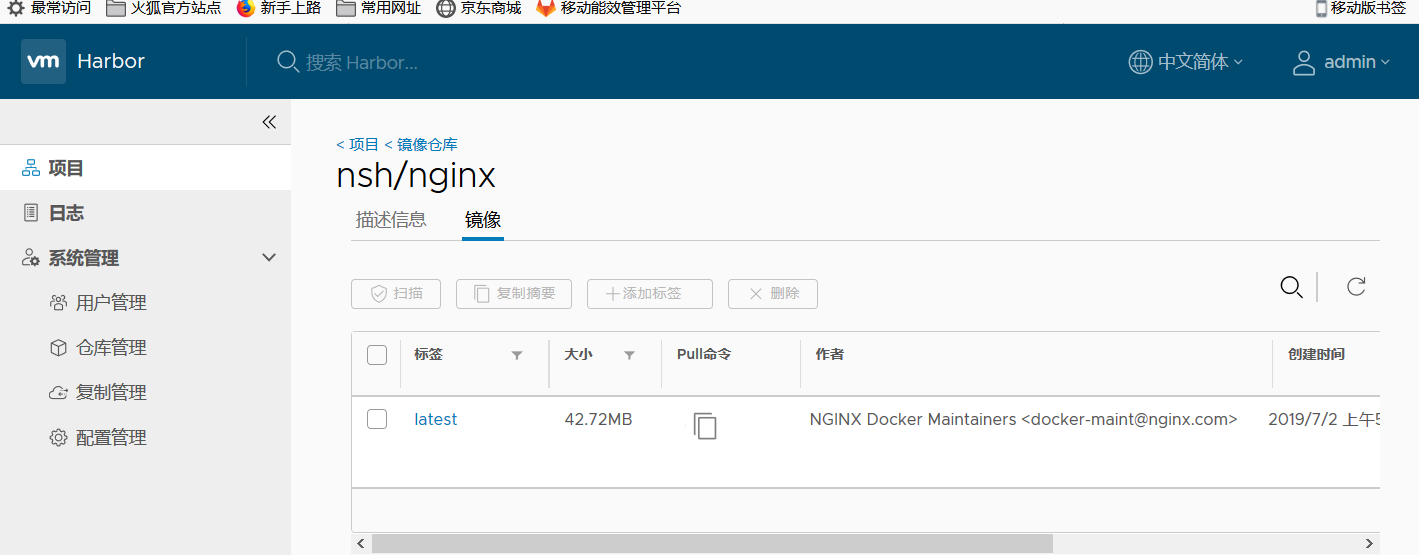

这个地方可以直接复制这个命令去pull镜像即可。
[root@docker2 ~]# docker pull 10.0.0.11/nsh/nginx:latest
latest: Pulling from nsh/nginx
fc7181108d40: Pull complete
d2e987ca2267: Pull complete
0b760b431b11: Pull complete
Digest: sha256:00be67d6ba53d5318cd91c57771530f5251cfbe028b7be2c4b70526f988cfc9f
Status: Downloaded newer image for 10.0.0.11/nsh/nginx:latest
[root@docker2 ~]# docker images
REPOSITORY                      TAG                 IMAGE ID            CREATED             SIZE
10.0.0.11:5000/kode             v2                  6914fda5fd44        41 hours ago        502MB
centos6.9_ssh                   v2                  03387f99f022        2 days ago          307MB
10.0.0.11:5000/centos6.9_kode   v1                  69145e114012        2 days ago          435MB
10.0.0.11/nsh/nginx             latest              f68d6e55e065        5 days ago          109MB
10.0.0.11:5000/busybox          latest              e4db68de4ff2        3 weeks ago         1.22MB
10.0.01.11:5000/busybox         latest              e4db68de4ff2        3 weeks ago         1.22MB
busybox                         latest              e4db68de4ff2        3 weeks ago         1.22MB
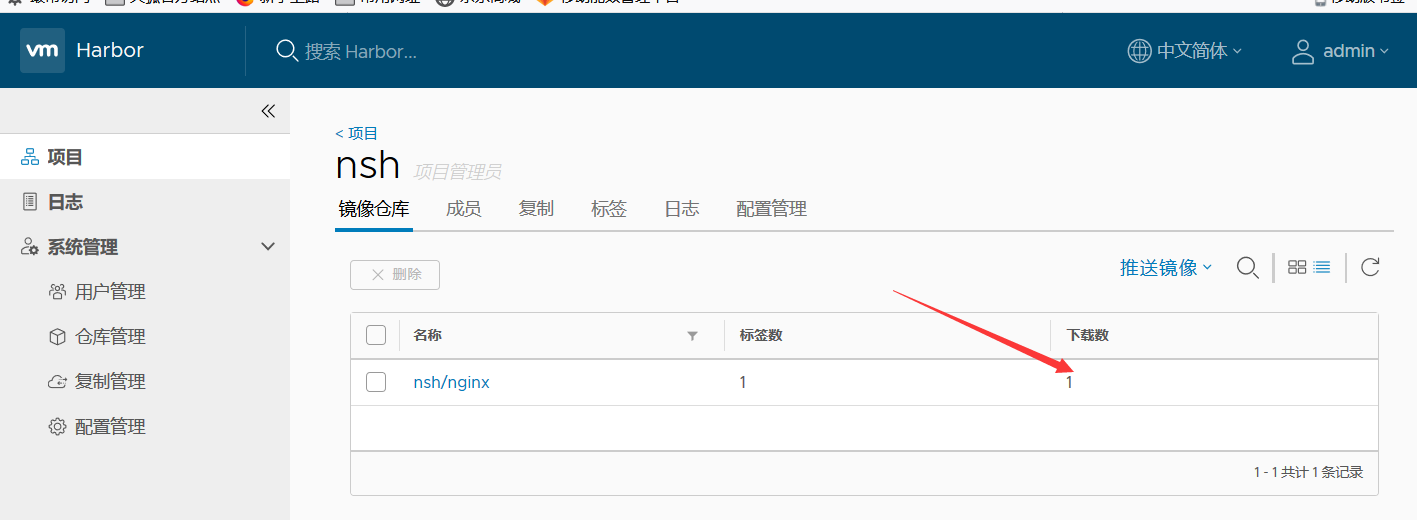
并且在页面上还可以看到下载的次数
剩下还有做ssl验证,待续...................................