1. 下载和安装
下载地址: https://www.kernel.org/pub/software/utils/i2c-tools/

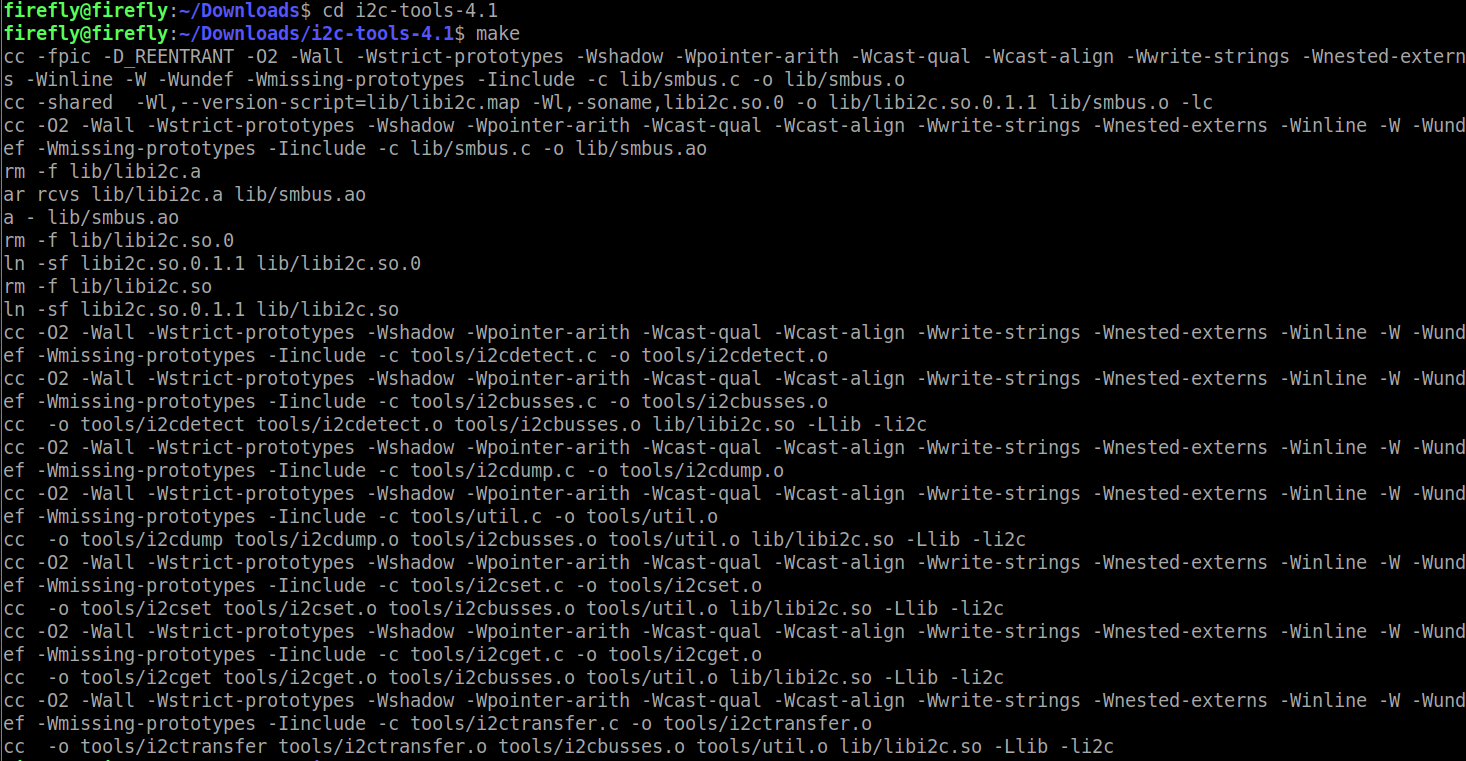
解压后, 进入解压后的目录, 然后编译:
cd i2c-tools-4.1
make

安装:
sudo make install

使用
终端输入i2c按两次Tab键会出现可选命令:

i2cdetect
- 显示所有可用的I2C总线
i2cdetect -l

- 使用
-y 总线号或总线名选项, 查看该总线下所有设备及设备地址:
i2cdetect -y 1 # 查看i2c-1总线下的设备

(0x36是我i2c-1下挂载的摄像头的地址)
如果报错:
Error: Could not open file `/dev/XXX`: Permission denied
Run as root?
请使用root权限运行:
sudo i2cdetect -y 1
如果报错:
error while loading shared libraries: libi2c.so.0: cannot open shared object file:
No such file or directory
将i2c-tools-4.0/lib/libi2c.so.0.1.1复制到/usr/lib/下, 重命名为libi2c.so.0, 并修改权限为777:
sudo cp lib/libi2c.so.0.1.1 /usr/lib/libi2c.so.0
sudo chmod 777 /usr/lib/libi2c.so.0
i2ctransfer
- 写
sudo i2ctransfer -f -y 1 w3@0x36 0x50 0x81 0x01

0x36为I2C设备的地址, 0x5081为要写的寄存器地址, 0x01为写入的值。
- 读
sudo i2ctransfer -f -y 1 w2@0x36 0x30 0x0A r3

0x36为I2C设备的地址, 0x300A为要读的寄存器地址, r3为连续读3Byte, 0x56 0x08 0x41 为读到的寄存器的值。
其他命令
i2cdump、i2cget、i2cset只适用于读写8位的寄存器地址, 功能完全可由i2ctransfer代替, 所以不做介绍。