windows平台开发和使用
安装
安装Erlang:https://pan.baidu.com/s/1QcZDaI205uaue7mMWh5cSA
安装RabbitMQ:https://pan.baidu.com/s/1r1TFv3m2SO8YmBenHMw62w
安装pika:pip install pika
配置
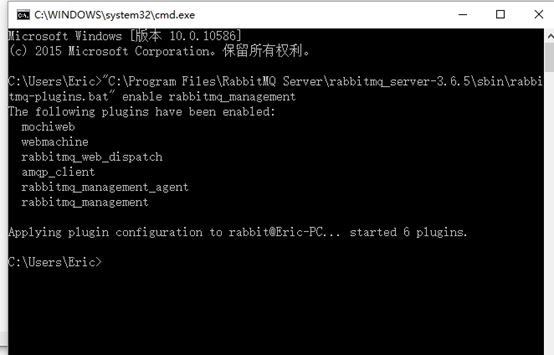
1、激活 RabbitMQ's Management Plugin:
"C:Program FilesRabbitMQ Server
abbitmq_server-3.6.5sbin
abbitmq-plugins.bat" enable rabbitmq_management
2、启动服务。请注意需要管理员身份才可以。
net stop RabbitMQ && net start RabbitMQ

3、创建用户,密码,绑定角色
查看已有用户及用户的角色:
rabbitmqctl.bat list_users

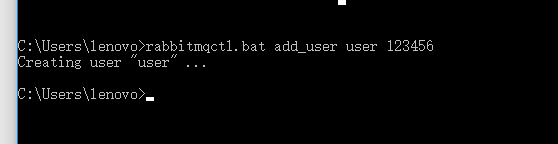
新增用户:
rabbitmqctl.bat add_user 用户名 密码
设置管理员身份:
rabbitmqctl.bat set_user_tags user administrator

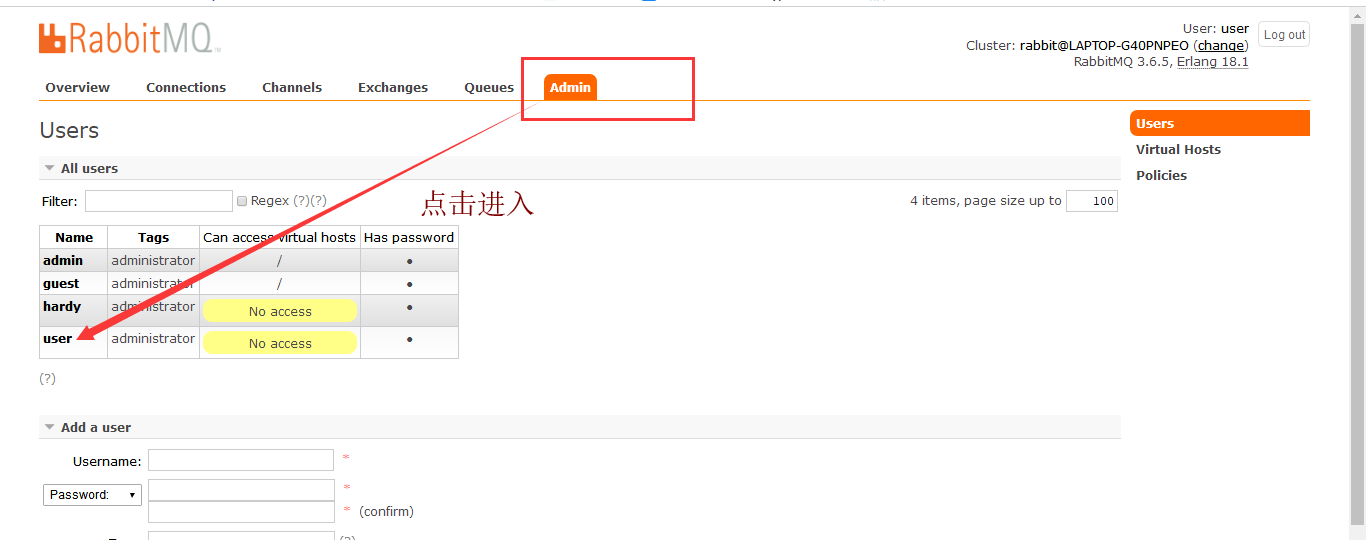
登录RabbitMQ,浏览器输入:
http://localhost:15672/

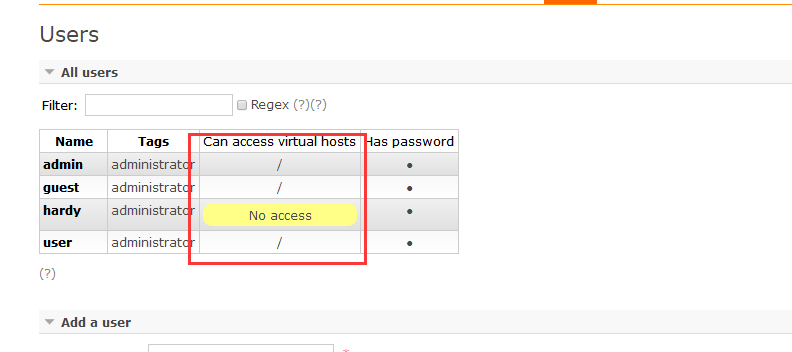
设置账号

可以看到
那让我们开始python编码吧


import pika
credentials = pika.PlainCredentials('admin','123456')
connection = pika.BlockingConnection(pika.ConnectionParameters(
    '127.0.0.1',5672,'/',credentials))
channel = connection.channel()

# 声明queue
channel.queue_declare(queue='balance')
data = 'Hello World,my name is hardy!'
# n RabbitMQ a message can never be sent directly to the queue, it always needs to go through an exchange.
channel.basic_publish(exchange='',
                      routing_key='balance',
                      body=data)
print(" [x] Sent '%s'"%data)
connection.close()
__author__ = 'Alex Li'
import pika

credentials = pika.PlainCredentials('admin','123456')
connection = pika.BlockingConnection(pika.ConnectionParameters(
    '127.0.0.1',5672,'/',credentials))
channel = connection.channel()

# You may ask why we declare the queue again ‒ we have already declared it in our previous code.
# We could avoid that if we were sure that the queue already exists. For example if send.py program
# was run before. But we're not yet sure which program to run first. In such cases it's a good
# practice to repeat declaring the queue in both programs.
channel.queue_declare(queue='balance')


def callback(ch, method, properties, body):
    print(" [x] Received %r" % body)


channel.basic_consume(callback,
                      queue='balance',
                      no_ack=True)

print(' [*] Waiting for messages. To exit press CTRL+C')
channel.start_consuming()
注意:admin和123456是账号和密码。
至此,基本结束了,让我们进入进阶消息队列吧!
参考来源https://www.cnblogs.com/ericli-ericli/p/5902270.html