简述
本文主要记录在Centos6.10里面关于GitLab社区版得安装过程,方便以后使用,少走弯路。
GitLab常用口令
  gitlab-ctl start # 启动服务;
  gitlab-ctl stop # 停止服务;
  gitlab-ctl restart # 重启服务;
  gitlab-ctl status # 查看状态;
  gitlab-ctl reconfigure # 重载配置;
  vim /etc/gitlab/gitlab.rb # 修改默认的配置文件;
  gitlab-rake gitlab:check SANITIZE=true --trace # 检查gitlab;
  gitlab-ctl tail # 查看日志
关于GItLab硬件要求:OS在未安全其他服务之前,建议>=4G;若有安装其他服务请合理分配内存。
正文
一、安装准备
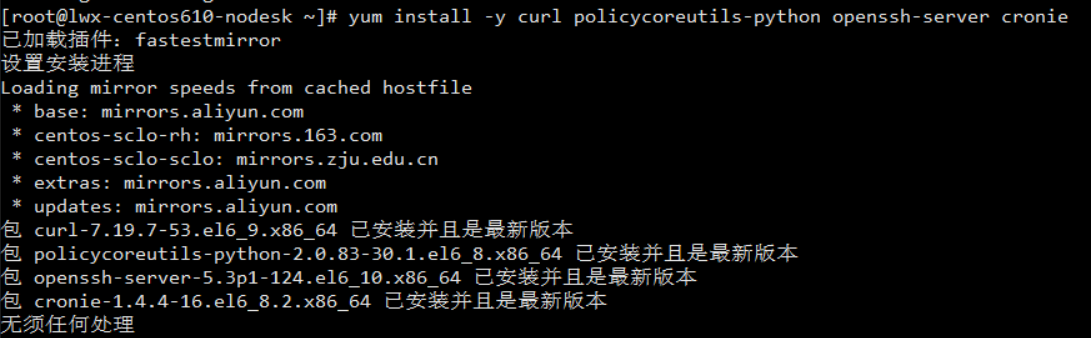
1.1依赖安装
yum install -y curl policycoreutils-python openssh-server cronie (安装依赖)
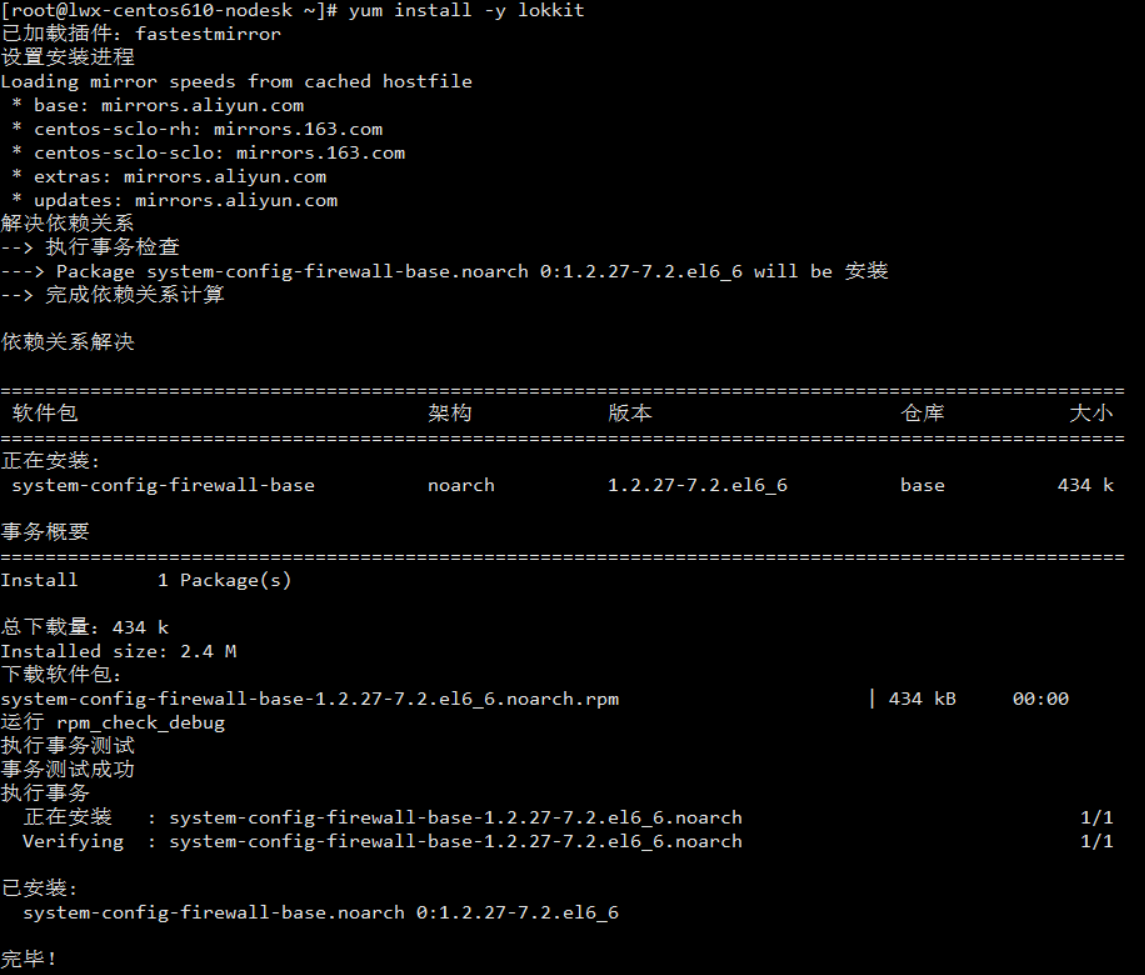
yum install -y lokkit (安装防火墙设置软件)
lokkit -s http -s sshyum install -y postfix(安装邮件发送软件)
    chkconfig --add postfix (添加postfix至启动项)
    chkconfig postfix on(设置postfix为开机自动启动)
    service postfix start(启动postfix)

  1.2端口开放
    防火墙放行9090(GitLab-Web端口)、9091端口(代替SSH默认20端口)
    vi /etc/sysconfig/iptables
![]()
口令如上截图,此处省略。
保存重启防火墙
service iptables restart
  1.3端口映射
    由于Gitlab安装在虚拟机里面,因此VWmare和虚拟机需要建立端口映射,物理机9090映射到虚拟机9090,物理机9091映射到9091。
1.4SSH配置
由于ssh端口默认为22因此修改为别的端口比如9091
vi /etc/ssh/sshd_config
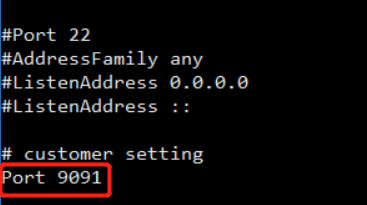
重启ssh
service sshd restart
二、GitLab镜像
  vi /etc/yum.repos.d/gitlab_gitlab-ce.repo (编辑文件)
[gitlab-ce]
name=gitlab-ce
baseurl=http://mirrors.tuna.tsinghua.edu.cn/gitlab-ce/yum/el6
gpgcheck=0
enabled=1
三、安装GitLab
yum makecache (重新生成缓存)
yum install gitlab-ce(自动安装最新版)
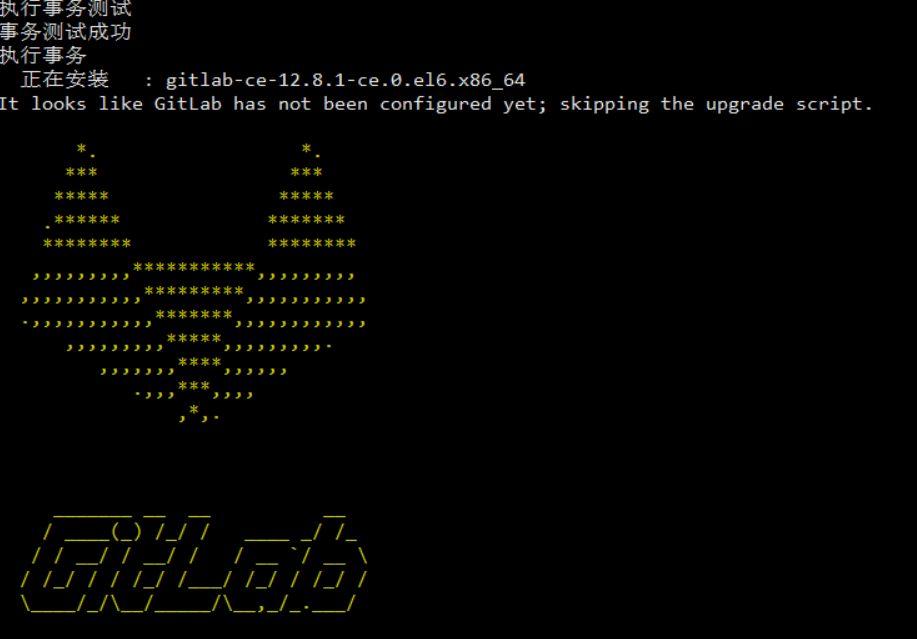

至此,安装Ok,接下来进行配置。
四、GitLab配置
4.1端口未定
80端口修改省略。
注意:当80端口与其他软件有冲突,请合理修改进行规避。
4.2端口一定
设置GitLab-Web端口为9090
vi /etc/gitlab/gitlab.rb
nginx['listen_port'] = 9090
gitlab-ctl reconfigure
gitlab-ctl restart
4.3访问IP设置
vi /etc/gitlab/gitlab.rb
端口未定:external_url='http://192.168.101.85'
端口已定:external_url='http://192.168.101.85:9090'
gitlab-ctl reconfigure
gitlab-ctl restart
注意此处:IP应为外部访问IP。
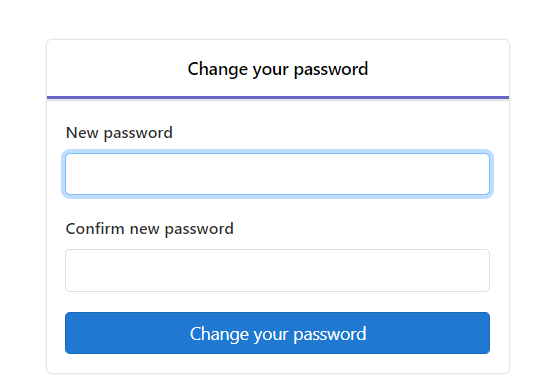
4.4密码重置
http://192.168.101.85:9090
重置密码为ty123456, 使用账号:root,密码:刚初始的ty123456 进行登录:
4.5git clone 地址IP显示为内部IP问题
cd /opt/gitlab/embedded/service/gitlab-rails/config
vi gitlab.yml
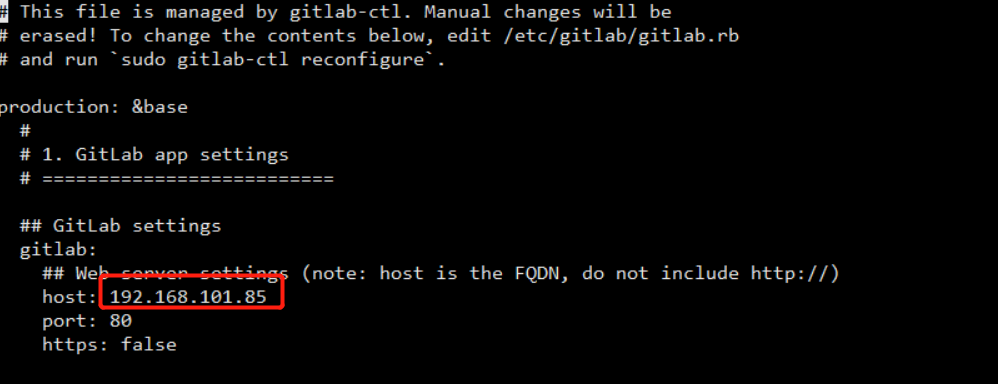
截图处虚拟机IP为外部IP,如截图所示。
gitlab-ctl reconfigure
gitlab-ctl restart
刷新配置
4.6gitlab-ssh配置
vi /etc/gitlab/gitlab.rb
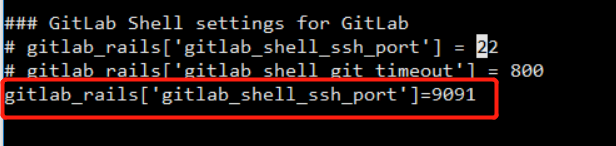
如图所示,设置为9091
gitlab-ctl reconfigure
gitlab-ctl restart
刷新配置
4.7代码克隆测试
git clone ssh://git@192.168.101.85:9091/liskyingl/gitlabtest.git

显示如截图表示项目代码克隆成功。
五、内存消耗
5.1CPU、内存、访问人数说明
官方说明

官方建议:

5.2建议配置
由于GitLab默认机制,其内存占用与Core数有关,因此在/etc/gitlab/gitlab.rb配置文件中unicorn['worker_processes']=2默认是注释的,因此其正确值官方建议在core数加1;
对于内存只有4G的虚拟机来说,其值建议设置为2;
对于内存配置更高的OS来说,请结合内存分配以及core数进行合理分配。
修改后
gitlab-ctl reconfigure
gitlab-ctl restart